
This is the struggle if you live in a studio apartment. Your desk is five feet from your bed. Your kitchen backs up against your “office.” And somehow clutter always sneaks back in.
But here’s the better news: You don’t need a bigger home to carve out an orderly, peaceful workspace. All you need are the right hacks.
Keep reading to run through 4 quick studio apartment space hacks for clean desk energy — all practical, budget-friendly and easily executed even in the smallest of footprints. Whether that’s for the home office, a late-night study, or you just want your desk to stop resembling some kind of disaster zone, these are sure-fire tips for transforming how you use every inch of your apartment.
Let’s get into it.
Why Your Desk Setup Actually Matters More in a Studio
In a larger house, a messy desk has one room to mess up. You shut the door on it, forget about it and carry on.
In a studio? That mess is everywhere. You see it from the couch. You see it from the bed. You have it with you the first moment you wake up.
Research has corroborated these findings with regard to productivity and environment: visual clutter raises stress levels and hampers focus. A clean desk = a cleaner brain. That’s not just a hunch — it’s backed by research.
So yes, your desk setup does matter. In a studio apartment, it could be more important than any other item in the room.
The Studio Apartment Challenge No One Talks About
Most desk organization tips are written for people with dedicated offices. They say something like “add a bookshelf” or “put in a filing cabinet.”
That doesn’t cut it when your whole apartment is 400 square feet.
Studio life means every item of furniture needs to pull double or triple duty. Your desk may also serve as your dining table. Your storage may be under your bed. Every hack needs to be space-smart, not just visually lovely.
And that’s exactly what these four hacks are based on.
Hack #1 — Mount Everything You Can on the Wall
Floors and desks are prime real estate in a studio. The wall? Often completely ignored.
Wall-mounting is one of the quickest ways to score clean desk vibes without shelling out big bucks or having to reorganize your entire apartment.
What You Can Actually Mount
Here’s a handy table of common desk items and their wall-mounted equivalents:
| Desk Item | Wall Alternative |
|---|---|
| Monitor | Monitor wall arm or floating mount |
| Desk lamp | Swing-arm wall sconce |
| Notebooks & books | Floating shelves or pegboard |
| Charging cables | Cable clips and wall-mounted charging station |
| Headphones | Small wall hook or pegboard hook |
| Calendar/planner | Framed corkboard or magnetic wall panel |
If your monitor hangs on a wall arm, you have the whole desk surface to work with. That one change alone instantly makes your desk look 10x cleaner.
How to Do It Without Ruining Your Walls
Renters tend to avoid wall-mounting because they fear losing their deposit.
But there are real solutions to this. Command strips now hold up to 16 pounds. There are wall shelves held up by peel-and-stick hooks. Pegboards can be propped against the wall and fastened with furniture brackets — no drilling required.
If you’re permitted to drill, install wall anchors and patch any holes with spackle before you leave. It takes five minutes and costs hardly any money.
The Pegboard Trick That Changes Everything
For good reason, a pegboard above your desk is one of the most tried-and-true studio apartment space hacks. It is fully customizable, stores a ridiculous amount of stuff, and keeps your desk surface absolutely clear.
You can hang:
- Headphones
- Small plants
- Scissors, pens, and markers
- Paper trays
- Small shelves for books or binders
- Cable organizers
Paint it the same color as your wall and it fades into the background. Paint it a statement accent color and it becomes a feature. Either way, it works.
Hack #2 — Use Vertical Space with Slim, Tall Storage

Organizing is something most people think about horizontally. They spread things on top of the desk, on the floor, on shelves.
In a studio apartment, it’s time to start thinking vertically.
Tall and slim storage units take up little floor space but give you maximum storage capacity. A shelf that is 12 inches deep but 6 feet tall will store more than a wide, low shelf — and it frees up more floor space around your desk.
The Best Vertical Storage Options for Small Spaces
A rundown of storage options, ranked by floor space occupied vs. storage capacity:
| Storage Type | Floor Space Used | Storage Capacity | Best For |
|---|---|---|---|
| Tall slim bookshelf (12″W) | Very Low | High | Books, binders, decor |
| Floating wall shelves | None | Medium | Daily items, plants |
| Ladder shelf | Low | Medium | Display + storage |
| Under-desk drawer unit | None (desk space) | Medium | Office supplies |
| Corner shelf tower | Low | High | Dead corner space |
| Over-door organizer | None | Low–Medium | Small items, tools |
Don’t Ignore the Dead Corner
Corners are the most unused space in every apartment. A corner shelf tower or a wraparound floating corner shelf converts that dead space into smart storage.
If your desk is pushed into a corner, you can extend your work surface with a small L-shaped shelf or desktop organizer. Suddenly, you have twice the surface without having purchased a larger desk.
Stack, Don’t Spread
Layer on your actual desktop surface. Use a monitor riser with a drawer underneath. Arrange your books vertically with a bookend rather than placing them flat. Use a small desktop shelf unit that adds a second level above your workspace.
This stacking strategy allows you to maintain the same desk footprint but multiply how much it can hold — while keeping that clean, organized aesthetic that makes clean desk vibes feel effortless.
Hack #3 — Cable Management Is the Secret Nobody Uses
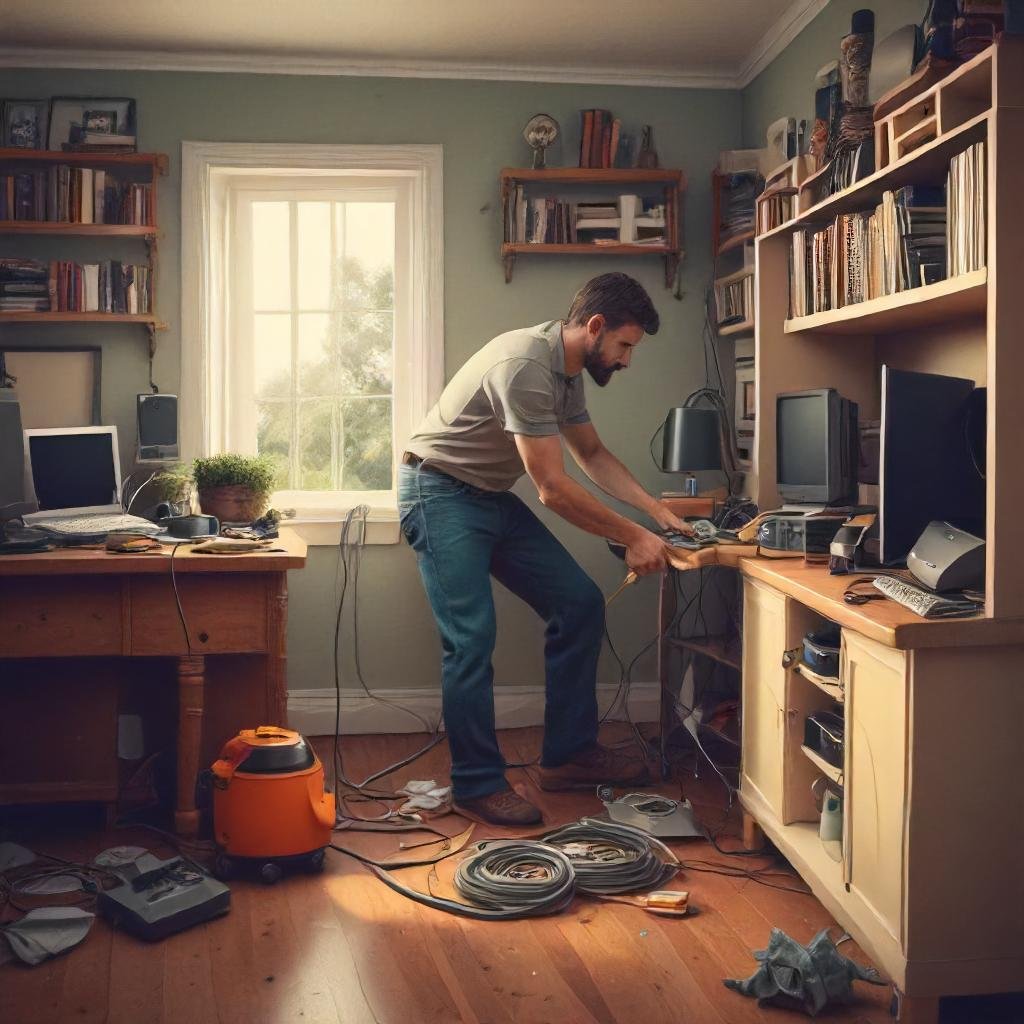
This one sounds boring. It is not boring.
Nothing messes up a clean desk quicker than tangled cables. No matter how perfectly everything else is organized, one nest of power cords and USB cables makes your entire setup look chaotic.
Good cable management is invisible when it’s done right. That’s the goal.
The Three-Step Cable Fix
Step 1: Reduce
Start by counting your cables. Most people have more than they need. If you have a wireless mouse and keyboard, you just eliminated two cables. A USB hub reduces six individual cables to one. A single power strip with surge protection gathers all your plugs into one managed block.
Step 2: Route
Move every cable off the desk surface and off the floor. Use:
- Cable raceways (plastic channels that mount to the wall or desk edge)
- Under-desk cable trays (mount beneath your desk surface — completely hidden)
- Cable clips (stick to the wall or desk leg and guide cables in a straight line)
Step 3: Label and Bind
Use velcro cable ties — not zip ties, which you have to cut — to bundle cables together. Label each one with a small tag or a piece of washi tape and a marker. You’ll never have to sift through five cables just to find the right one again.
What This Actually Looks Like
Here is a before-and-after comparison showing the impact of cable management on perceived desk cleanliness:
| Scenario | Visual Clutter Level | Stress Impact | Time to Find a Cable |
|---|---|---|---|
| No cable management | Very High | High | 2–5 minutes |
| Cables bundled, still on desk | Medium | Medium | 30–60 seconds |
| Cables routed under desk | Low | Low | Immediate |
| Wireless setup + under-desk routing | Very Low | Very Low | Instant |
Wireless Is Worth It
If your budget allows, going wireless where possible is the single fastest way to bring clean desk vibes to your studio apartment. A wireless charging pad replaces your phone cable. Wireless earbuds replace headphone cables. A Bluetooth keyboard and mouse eliminate two of the most common desk cables.
You don’t need to do it all at once. Begin with one wireless upgrade, notice the difference, and go from there.
According to The Spruce’s guide to home office organization, reducing visible cables is one of the top factors that makes a workspace feel instantly cleaner and more professional.
Hack #4 — Create Zones to Visually Separate Work and Life
This hack is different from the others. It’s less about physically organizing stuff and more about how you mentally and visually partition your studio.
In a studio apartment, work and life coexist in the same room. If you’re not careful, your desk bleeds into your bedroom. Your bedroom bleeds into your kitchen. Everything starts blurring into the same frenzied space.
Zones fix this. They create a mental degree of separation even when physical separation is impossible.
How to Create Zones Without Walls
A zone doesn’t need a physical wall to exist. You can use:
Rugs: A rug under your desk area instantly defines your “work zone.” It creates a visible boundary that your brain picks up on. Step off the rug and you’re in a different “room” — even if it’s only two feet away.
Lighting: Use a dedicated desk lamp that is different from your ambient lighting. When the desk lamp is on and the overhead lights are dim, your brain knows it’s time to work. When the desk lamp is off and warm ambient light is on, you’re in relaxation mode.
Room Dividers: A simple bookshelf, a folding screen, or even a hanging curtain can physically separate your desk from your bed or couch. You don’t need to fully block the view — a suggestion of separation is all you need.
Color and Decor: Keep your desk space visually distinct from the rest of your studio. If your apartment leans toward warmer, cozier tones, give your desk a cooler, more minimal look. The visual contrast signals “this is the workspace” without any words needed.
The “End of Work” Reset Ritual
Zone psychology works even better when combined with a daily reset habit.
At the end of every work session, spend five minutes:
- Clearing your desk surface to a clean baseline
- Putting away any items that don’t belong in the work zone
- Turning off your desk lamp and switching to ambient lighting
This ritual retrains your brain to actually “leave work” — even when work is 10 feet from your bed. Over time, you’ll notice your stress levels drop and your ability to relax at home genuinely improves.
Keep Your Desk Zone for Work Only
One rule that makes the whole system work: only work at your desk.
Don’t scroll social media there. Don’t eat there. Don’t watch Netflix there. The moment you turn your desk into a multi-purpose hangout spot, the zone breaks down.
Keep it sacred. Use it for focused tasks. Your brain will start to automatically shift into productive mode the moment you sit down.
Putting All 4 Hacks Together
Here’s a quick visual summary of how all four hacks work together to create your clean desk setup:
| Hack | What It Fixes | Time to Implement | Cost Level |
|---|---|---|---|
| Mount everything on the wall | Surface clutter, wasted wall space | 1–3 hours | Low–Medium |
| Vertical slim storage | Floor clutter, storage overflow | 1–2 hours | Low–Medium |
| Cable management | Visual chaos from cords | 30–60 minutes | Very Low |
| Create work/life zones | Mental clutter, lack of focus | 1–2 hours | Low |
You don’t have to address all four at once. In fact, just tackling cable management can do wonders for how your desk feels — and it costs essentially nothing.
Pick one hack. Do it this weekend. Then move to the next.
Budget Breakdown: What All This Actually Costs
Cost is one of the biggest concerns people have when thinking about home organization. Here’s a realistic look at what each hack might run you:
| Item | Estimated Cost |
|---|---|
| Pegboard (24″x48″) + hooks | $25–$45 |
| Monitor wall arm | $25–$60 |
| Floating wall shelves (set of 3) | $20–$50 |
| Cable raceway kit | $10–$20 |
| Under-desk cable tray | $15–$30 |
| Velcro cable ties (50-pack) | $8–$12 |
| Area rug (small, 4×6 ft) | $30–$80 |
| Folding room divider | $40–$100 |
| Estimated Total | $173–$397 |
And you don’t have to buy everything all at once. Even spending $30 on a cable tray and some velcro ties will make quite the difference.
5 Common Mistakes That Crush Clean Desk Vibes
Before embarking on your organization journey, look out for these pitfalls:
Buying storage before decluttering. If you have too much stuff, more storage just means more organized clutter. Declutter before you purchase anything. Donate, throw away, or store things somewhere else first.
Prioritizing looks over function. A gorgeous desk setup that’s impossible to work at isn’t clean — it’s staged. Build for the way you really work, then make it look good.
Ignoring maintenance. Even a tidy desk will get messy again without regular resets. Start a 5-minute daily or weekly tidy habit. Without it, you’ll be back to square one within a month.
Using too many “organizer” items. Ironic but true: purchasing a bunch of small trays, cups, and bins can actually add to visual clutter. Keep your desk accessories simple and purposeful.
FAQs: Studio Apartment Space Hacks for Clean Desk Vibes
Q: I’m renting a studio and can’t drill into walls. What are my options?
A: You have plenty of options. Command strips hold shelves and hooks up to 16 pounds. Pegboards can be propped against the wall and secured with furniture straps. Freestanding shelving units and desktop risers need no wall installation whatsoever.
Q: My desk doubles as my dining table. How do I maintain a clean look?
A: Use a tray system. Keep your work items on a designated tray. When it’s time to eat, the entire tray slides to a shelf or cabinet in seconds. When work time comes back, the tray comes out. This swap happens in under a minute and keeps both zones fully functional.
Q: What’s the single fastest hack I can do today for free?
A: Cable management with what you already own. Use twist ties, rubber bands, or even strips of tape to bundle cables together and route them to one side of your desk. It takes 10 minutes and you see a difference immediately.
Q: How do I make a small desk feel bigger?
A: Use a riser or wall arm to raise your monitor. This lifts your screen up, frees up the space beneath it, and opens up your entire desk surface. Pair that with a vertical storage unit close by so your desk itself stays clear of anything besides what you’re currently working on.
Q: Do I need to buy expensive organizers to get clean desk vibes?
A: Not at all. A rubber band around cables, a box lid as a tray, a stack of books as a monitor riser — clean desk vibes come from reduction and intention, not expensive products. The mindset shift matters more than the gear.
Q: How often should I reset my desk?
A: If possible, do a quick 5-minute reset at the end of every work session. Once a week, do a deeper 15-minute reset. This prevents entropy from building up and makes your daily tidy feel like a matter of course.
Final Thoughts: Small Space, Big Energy
Just because you live in a studio apartment doesn’t mean you have to put up with mess and disorder. It means being smarter about how you use the space you have.
The 4 fast studio apartment space hacks for clean desk vibes in this guide — wall mounting, vertical storage, cable management, and zone creation — work together to transform even the tiniest desk into a calm, focused, and productive workspace.
It doesn’t all have to happen in one weekend. Start with one hack. Pay attention to how it changes how you feel in your space. Then build from there.
A clean desk isn’t only about appearance. It’s about giving your brain a place to breathe. In a studio apartment, that matters more than ever.