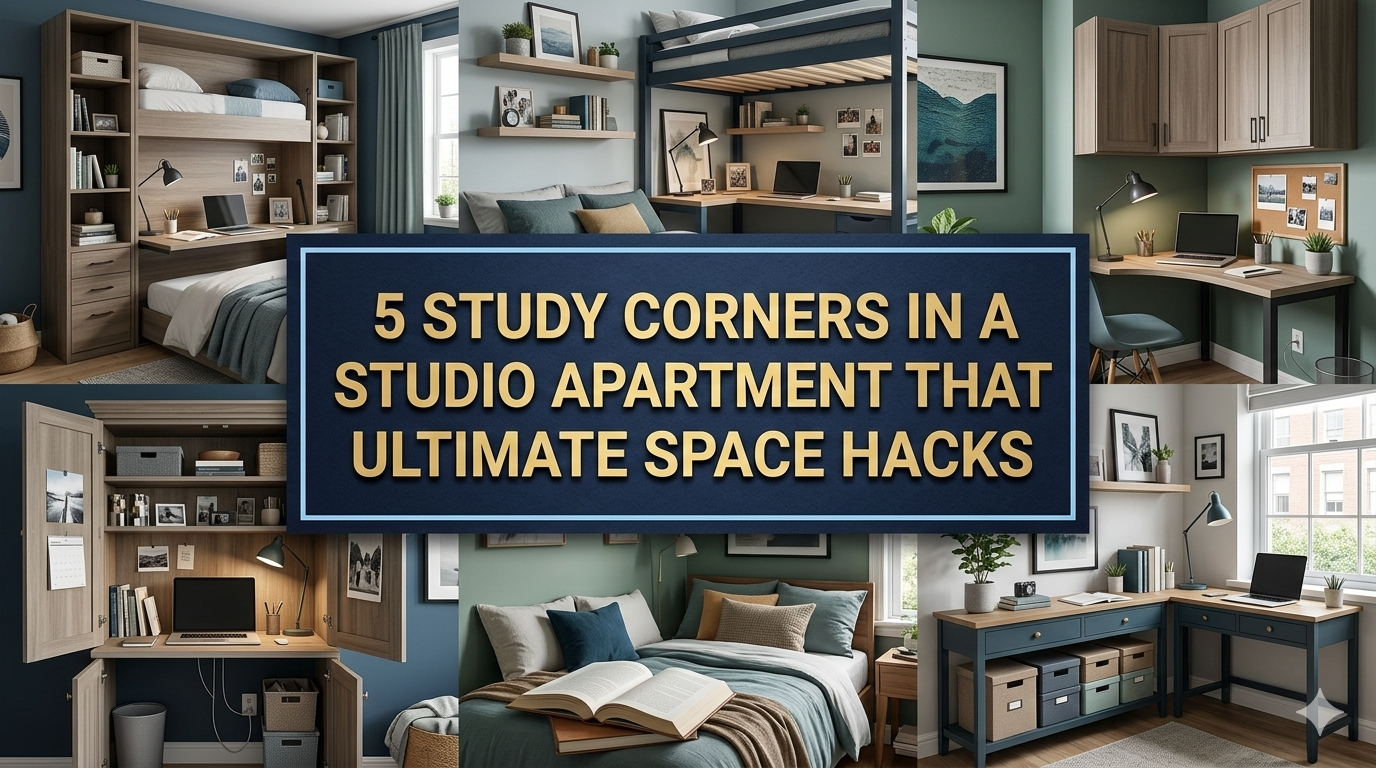
Living in a studio apartment is like an ongoing game of Tetris — where every block must fit perfectly. When you also require a dedicated study corner, things get trickier still. But here’s the good news: a small space doesn’t have to equal a cramped, stressful workspace.
With the right studio apartment space hacks, you can carve out a productive, comfortable study corner — even if your entire apartment is about the size of a large bedroom. Whether you’re a student burning the midnight oil or an office worker turning your couch physically and psychologically into your office between Zoom calls, this guide is for you.
These are not generic tips you have read a hundred times. These are five exhaustive, pragmatic and surprising hacks that function in real small spaces.
Let’s get into it.
Hack #1: Go Vertical — Your Walls Are Wasted Gold
When most people think about storage, they think floor space. But in a studio apartment, it’s a counting game you can’t win. You have only so many square feet on the ground. Your walls, though? That’s untapped territory.
Why Vertical Space Changes Everything
By mounting shelves, pegboards or cabinets to your walls, you release the floor entirely. This helps make your apartment feel larger and keeps your study nook from being cluttered. It also keeps your books, notebooks and supplies within arm’s reach without encroaching on your desk surface.
Interior design studies consistently find that vertical storage creates a greater sense of openness in small rooms — as much as 30 percent more. That’s an enormous visual change in a studio apartment.
Best Vertical Storage for Your Study Corners
Here’s a quick comparison between vertical storage solutions:
| Storage Type | Best For | Approx. Cost | Difficulty to Install |
|---|---|---|---|
| Floating shelves | Books, decor, binders | $20–$80 | Easy |
| Pegboards | Supplies, headphones, cables | $15–$50 | Easy |
| Wall-mounted cabinets | Hidden storage, files | $50–$200 | Medium |
| Ladder shelves | Books + style | $40–$150 | None (freestanding) |
| Over-desk hutch | Monitor + books combo | $60–$250 | Easy |
How to Set It Up
Begin with a pegboard right above your desk. You can hang small baskets, hooks for headphones and a place to hold pens — or even a small whiteboard. It keeps everything on display and organized, with not a single drawer necessary.
Then install one or two floating shelves on the side wall. The bottom shelf is good for textbooks you use often or a small plant. Use the top for stuff you don’t need every day — binders from earlier semesters, or decorative items.
Pro tip: Place shelves at eye level and above to draw the eye up, giving the illusion of a higher ceiling and a more spacious room.
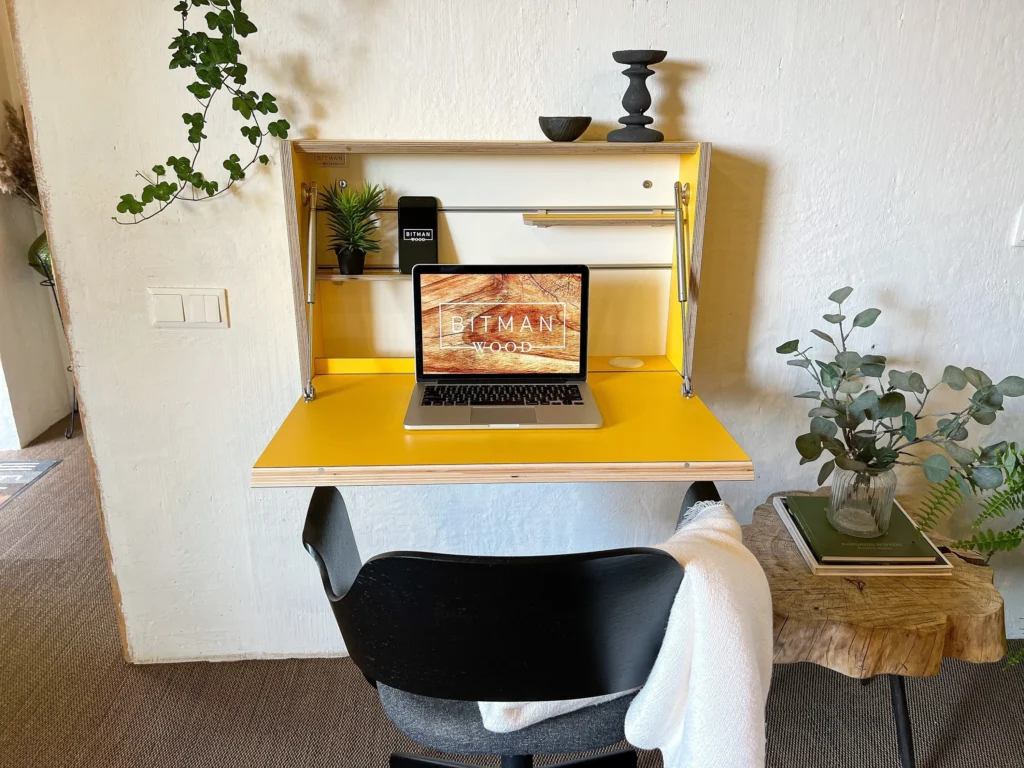
Hack #2: The Fold-Away Desk — A Disappearing Study Corner
What if your study corner didn’t need to exist all the time? What if it could tuck away after you’re done, recapturing that space for yoga, cooking or simply breathing?
That’s the very function of a fold-away or wall-mounted drop-leaf desk.
Why This Hack is Ideal for Studio Apartments
A traditional desk occupies permanent floor space. In a studio, that means giving up your only walking path or crowding your sleeping area. A fold-away desk solves this completely.
When it’s open, it’s a fully operational workspace. When it’s not in use, it looks like a flat panel mounted on the wall — or even an art piece if you select the right design.
Types of Fold-Away Desks to Consider
Murphy desk (wall-mounted fold-down): This is the most popular option. It mounts on the wall and folds down to form a desk surface. Most come with built-in shelves and compartments above them.
Floating drop-leaf table: A smaller, simpler version. Good if you just need a small surface for a laptop.
Console-to-desk convertible: This rests against the wall like a long, narrow table but opens into full desk dimensions. No installation required.
Corner fold-down desk: Fits neatly in a corner and folds away completely when not needed. Great for utilizing dead corner space.
What to Look For When Buying
- Weight capacity (should hold at least 30–50 lbs for a laptop, monitor and books)
- Compatibility with wall studs (always anchor into studs, not just drywall)
- Surface size when open (ideally at least 24 inches deep and 36 inches wide)
- Built-in storage so your supplies don’t go missing when the desk folds up
This one hack can free up 10–15 square feet of usable floor space in your apartment. That is not nothing — in a studio, that’s everything.
Hack #3: Light It Right — Lighting That Increases Focus and Creates an Illusion of Space
Here’s what most people get completely wrong about study corners: they solely focus on furniture and storage. They forget about lighting.
A poorly lit study corner does more than strain your eyes. It makes your space feel darker, smaller and cave-like. Good lighting, however, can open up a tiny corner and make a huge difference in how long you can study before fatigue sets in.
The Three-Layer Lighting Rule
Good room lighting — especially in a workspace — uses three layers:
1. Ambient lighting: The main overhead light. This establishes the room’s baseline brightness. If your studio has a ceiling light in the center, that’s your ambient layer.
2. Task lighting: Focused light directed onto your workspace. A desk lamp is the classic example. This is the most important layer for a study corner.
3. Accent lighting: Decorative light that adds depth and warmth. Think LED strip lights behind a monitor or under shelves.
Why Task Lighting Is More Important Than You Realize
A good desk lamp will help cut down on eye strain, keep you focused for longer and make your corner feel purposeful and warm — instead of cramped and like an afterthought.
Here’s what to look for when shopping for a study corner desk lamp:
| Feature | Why It Matters |
|---|---|
| Color temperature 4000K–5000K | Simulates daylight, helps maintain alertness |
| Adjustable arm | Position light exactly where you need it |
| Dimmer switch | Brightness can be adjusted for time of day |
| USB charging port | Eliminates one cable on your desk |
| Low glare | Reduces reflection from screen |
Space-Expanding Lighting Tricks
Place a lamp in the corner behind your monitor to create a “bias lighting” effect. This cuts down on eye strain from screen contrast and makes the wall behind your desk glow softly — visually pushing that wall back and giving an impression of greater space.
Install warm LED strip lights under your floating shelves. The glow they cast downward adds depth and makes your book collection look like a stylish home library instead of a pile of books.
If your study corner is near a window — all the better. Angle your desk perpendicular to the window (not facing directly toward it) to get natural light without glare on your screen. Natural light is the most effective productivity booster there is.
Hack #4: Zone It With Rugs, Color and Dividers — A Room Within a Room
The biggest challenge of living in a studio apartment is that everything bleeds into everything else. Your kitchen is close to your bed. Your couch faces your closet. And your “study corner” feels like it’s just… part of the chaos.
The solution? Create visual zones. Make your study corner feel like its own room, even if it’s only 6 feet wide.
Why Zoning Works Psychologically
Your brain responds differently when it sees a defined space. A clearly zoned study corner sends the message: this is where I work. That mental division between “relaxing space” and “work space” can genuinely increase productivity — even if they’re only a few feet apart.
Research in environmental psychology suggests that people who carve out different zones for work and rest in small apartments experience lower stress levels and better sleep quality than those who mentally mix the two.
How to Zone With a Rug
One of the most effective (and underrated) zoning tools is a rug. Place a rug just under your desk and chair. Pick a different color or pattern from your flooring or main area rug.
This gives an instant visual contrast. Even in an open floor plan, the eye identifies the rug as a defined territory. Your study corner now has its own “floor.”
Color Zoning for Study Corners
You don’t have to repaint your walls — most leases won’t allow it anyway. Instead, apply color in small doses:
- Use removable peel-and-stick wallpaper to create an accent wall in a different shade in your study corner
- Get a bold-colored chair or desk lamp that differs from your bedroom furniture
- Add a colorful pinboard or framed art above the desk that serves as a visual “header” for the zone
Room Dividers That Double as Storage
Want a more physical boundary? Try these:
Bookshelf divider: A tall, open bookshelf placed perpendicular to the wall creates a subtle boundary between your study corner and sleeping area. It stores your books AND divides the room.
Curtain divider: Hang curtains from a ceiling-mounted track to fully enclose your study corner when needed. This also minimizes distractions during deep work sessions.
Plant wall: A row of tall indoor plants — such as bamboo, snake plants or tall pothos on shelves — creates a natural, living divider that also purifies the air and reduces stress.
For more creative ways to style and organize your studio layout, check out Studio Apartment Setup — a dedicated resource packed with practical ideas for small-space living.
Hack #5: Cable Control and Clutter-Free Surfaces — The Hack That Ties Everything Together
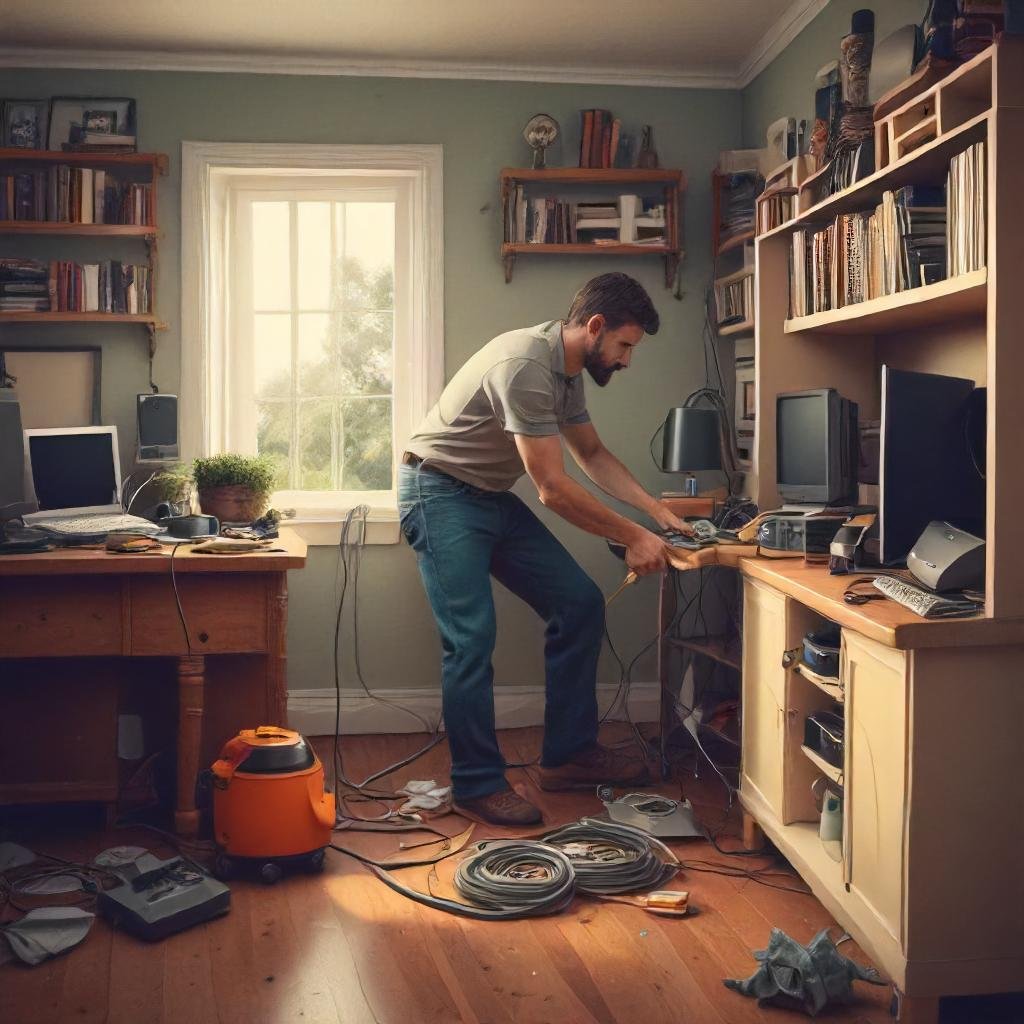
You could have the most beautiful study corner in the world. But if your desk is buried under tangled cables, sticky notes, pens rolling everywhere and a pile of old assignments? It won’t feel productive. It’ll feel stressful.
Clutter is the silent killer of small space livability. In a studio apartment, it spreads quickly. In a study corner, it destroys focus immediately.
The Cable Management System You Actually Need
Cables are the biggest desktop chaos culprit. Here’s a simple system that works:
Step 1 — Go wireless where possible. Wireless keyboard, wireless mouse, wireless charger. Fewer cables = fewer problems.
Step 2 — Use cable clips or adhesive cable channels. Route cables along the back edge of your desk and down one leg. They disappear from view immediately.
Step 3 — Use a cable management box. This is a simple plastic or fabric box that conceals your power strip and the bundle of cables behind it. It sits on the floor or on a shelf. No more cable spaghetti.
Step 4 — Label your cables. Use small cable tags or colored tape to identify each wire. When something needs to be unplugged, you know exactly which cable to grab.
The “One In, One Out” Surface Rule
Keep your desk surface as clear as possible. The rule is simple: for every new item you add to your desk, something else has to leave. This prevents the gradual accumulation of clutter that always creeps in over time.
At most, your desk surface should have:
- Your laptop or monitor
- One notebook and one pen
- Your desk lamp
- One small plant or personal item
That’s it. Everything else goes into drawers, onto shelves or into storage boxes.
Desk Organization Tools Worth Buying
| Tool | Purpose | Average Cost |
|---|---|---|
| Desk drawer organizer | Separate pens, clips, erasers | $10–$25 |
| Monitor stand with storage | Raises screen + hides items below | $25–$60 |
| Magnetic wall strips | Hold metal tools, scissors, rulers | $10–$20 |
| Stackable file trays | Organize papers by priority | $15–$30 |
| Cable management box | Hide power strips and cables | $15–$35 |
Digital Declutter Counts Too
A cluttered screen is just as distracting as a stacked desk. According to research from Princeton University’s Neuroscience Institute, physical and visual clutter directly competes with your ability to focus. Spend 10 minutes every Sunday clearing your downloads folder, filing documents properly and closing browser tabs you’ve been hoarding for weeks. An organized digital workspace nurtures an organized physical one.
Bringing It All Together — Your Studio Study Corner Blueprint
Here’s a quick visual recap of how all five hacks work together:
| Hack | Main Benefit | Effort Level | Cost Range |
|---|---|---|---|
| Go Vertical | More storage, less floor clutter | Low | $20–$200 |
| Fold-Away Desk | Reclaims floor space | Medium | $60–$300 |
| Smart Lighting | Better focus, bigger feel | Low | $20–$150 |
| Zoning With Rugs/Dividers | Mental separation, less distraction | Low–Medium | $30–$200 |
| Cable & Clutter Control | Clean surface, reduced stress | Low | $10–$100 |
You don’t have to do all five at the same time. Begin with the fold-away desk or vertical storage — whichever one addresses your biggest pain point right now. Add the others as your budget and time allow.
Mistakes Everyone Makes When Setting Up Studio Study Corners
Before you go shopping and start drilling holes in your walls, watch out for these common errors:
Selecting a desk that is too large. It’s tempting to buy a full-size desk because you think you need the surface area. But a large desk in a small studio will make the entire room feel cramped. Measure twice, buy once.
Ignoring the chair. A bad chair ruins everything. You don’t need something as expensive as a gaming chair, but you definitely need one with decent back support. An ergonomic chair that fits the height of your desk will save your posture and let you study longer.
Placing the study corner in the worst spot. Don’t face your desk toward a blank wall with no visual relief — it’s suffocating. Don’t place it next to your bed either, as that blurs the mental line between sleep and work. Near a window is ideal.
Overloading the shelves. Vertical storage is a great idea — provided it stays organized. Don’t use it as a dumping ground. Be selective about what goes on display.
FAQs About Studio Apartment Space Hacks for Study Corners
Q: How much space do I really need for an effective study nook? You can create a functional study nook in as little as 4 feet of wall space and 3 feet of floor depth. With a fold-down desk, you can work with even less when the desk is stowed.
Q: Which desk is the best choice for a studio apartment? A wall-mounted fold-down Murphy desk works best for most studio apartments. If you prefer something freestanding, look for a desk under 40 inches wide with built-in shelving above it.
Q: Can I set up a study corner without drilling holes? Yes. Freestanding ladder shelves, freestanding room dividers, adhesive hooks and tension-rod mounted pegboards all require zero drilling. Many fold-down desks also use adhesive wall mounts that don’t require studs.
Q: How can I minimize noise distractions in a studio study corner? Use a white noise machine or lo-fi music through headphones. Soft furnishings like a rug, curtains and an upholstered chair naturally absorb sound. A bookshelf divider also acts as a slight sound buffer.
Q: What color should I paint or decorate my study corner walls? For focus and calm, cool tones like soft blue, grey-green or warm white work best. Avoid very dark colors in a small space — they can make it feel closed in, unless you’re using them as a single accent element with good lighting.
Q: How do I keep my study corner organized long-term? Set a weekly reset habit. Spend 10 minutes every Sunday clearing your desk, filing papers and resetting the space. A 10-minute habit prevents months of chaos.
Q: Is a standing desk worth it in a studio apartment? For those who spend long hours at their desk, a standing desk converter — which sits on top of your existing desk — is an excellent option. It adds flexibility without taking up additional floor space. Full standing desks are usually too bulky for studio apartments.
That’s a Wrap — Small Space, Big Potential
A studio apartment doesn’t have to deter you from studying, focusing or getting work done. With smart studio apartment space hacks, your study corner can actually be one of the most intentional, functional and inspiring spots in your entire home.
Go vertical. Fold away the things you don’t use. Light it properly. Zone it clearly. And keep it clean.
Together, these five hacks turn a neglected corner into a space that truly supports how you think and work. And the best part? You don’t need a renovation budget or an interior design degree to pull it off.
Pick one hack to try this weekend. Notice how it transforms the feel of your apartment. Then keep going.
Your best study sessions are waiting — right there in the corner.