
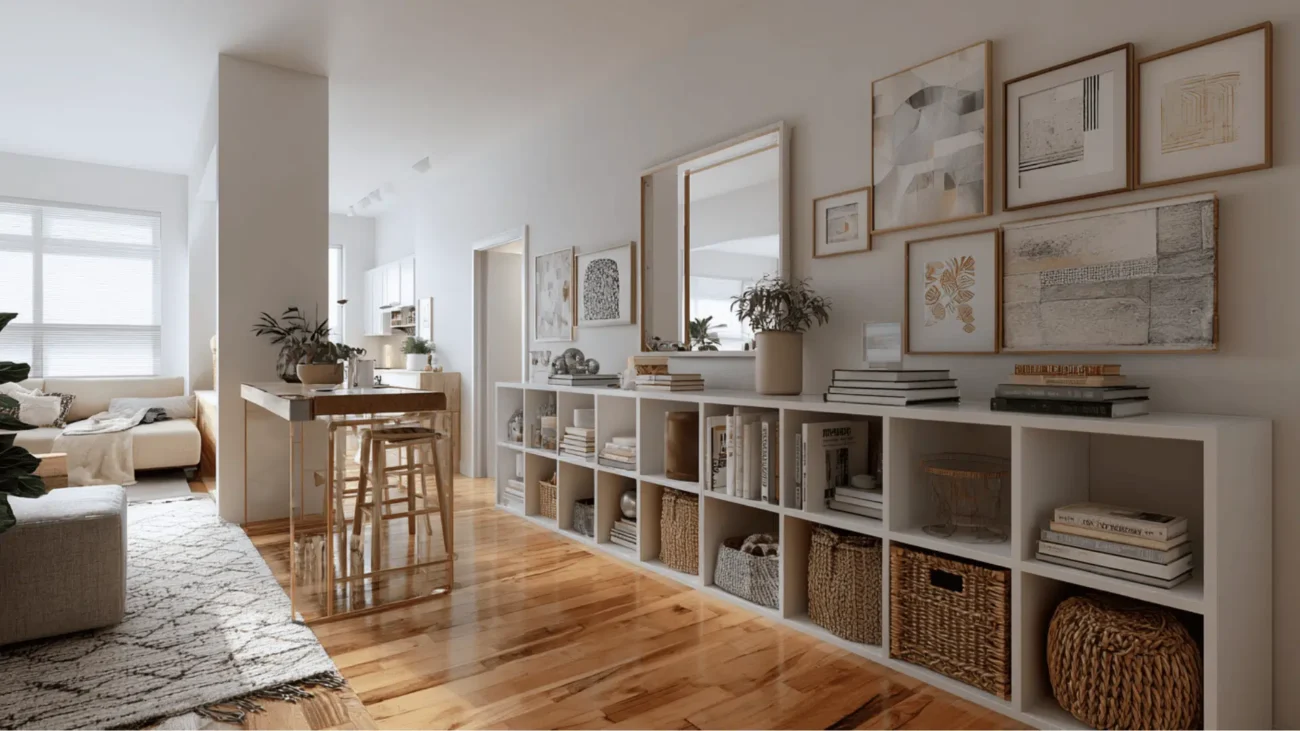
There was a point last spring where I genuinely could not find my passport. I knew it was somewhere in my studio apartment. I tore through the desk drawer, the shelf above the closet, the little basket I use as a catch-all near the door. Nothing. I was leaving in four hours and my 380-square-foot apartment had somehow swallowed a government document.
I found it eventually — wedged behind a stack of books on a shelf I’d basically given up on. But that moment cracked something open for me. I realized my organizing “system” was just a collection of random containers and good intentions held together by wishful thinking.
So I started actually researching organizing products. Not just browsing Amazon at midnight and adding stuff to my cart — genuinely reading reviews, testing things, returning what didn’t work, and keeping what did. I spent way more time on this than any person should, and honestly? I regret nothing. My studio feels like a completely different place now.
These are the four products that genuinely made a difference — not because they’re trendy or because some influencer was holding them in a white kitchen, but because they solved real problems in a real small apartment.
1. Modular Drawer Organizers (Specifically the Stackable Kind)
Every studio apartment has at least one drawer that’s basically a black hole. Mine was my kitchen junk drawer — spatulas, takeout menus I never look at, a mystery key, three dead batteries — all living together in chaotic harmony.
I tried the cheap plastic dividers first. You know the ones — the flat grid-style trays that come in a pack of six and immediately start sliding around the moment you open the drawer. Useless. Absolutely useless.
What actually worked were stackable, interlocking drawer organizers. The ones I landed on were from a brand called mDesign, but OXO and Yamazaki make solid versions too. The key feature is that they lock together, so they don’t shift when you’re rummaging around.
Here’s what changed when I switched:
- I could see everything in one glance instead of digging
- I stopped buying duplicate items because I “couldn’t find” something I already had
- The drawer actually closed properly for the first time in two years
What to look for when buying:
| Feature | Why It Matters |
|---|---|
| Interlocking design | Pieces don’t slide around when you open drawer |
| Clear or light color | You can see contents without removing trays |
| Various size options | Fits different drawer dimensions |
| Dishwasher-safe | Easy to clean when crumbs accumulate |
| Stackable vertically | Doubles storage in deeper drawers |
The mistake I made the first time around was buying a set without measuring my drawers first. Different studios have wildly different drawer depths and widths. Measure everything — height, width, depth — before you order anything. Write it on your phone. It sounds obvious but I genuinely forgot to do this and had to return my first set.
These organizers work in basically every drawer in your apartment — bathroom, bedside table, desk, kitchen. Once you start, you’ll want to organize every single drawer you own.
For anyone living in a studio where the desk situation is also a disaster, check out these 4 fast studio apartment space hacks for clean desk vibes — they pair really well with proper drawer organization.
2. An Over-Door Organizer That Actually Holds Weight
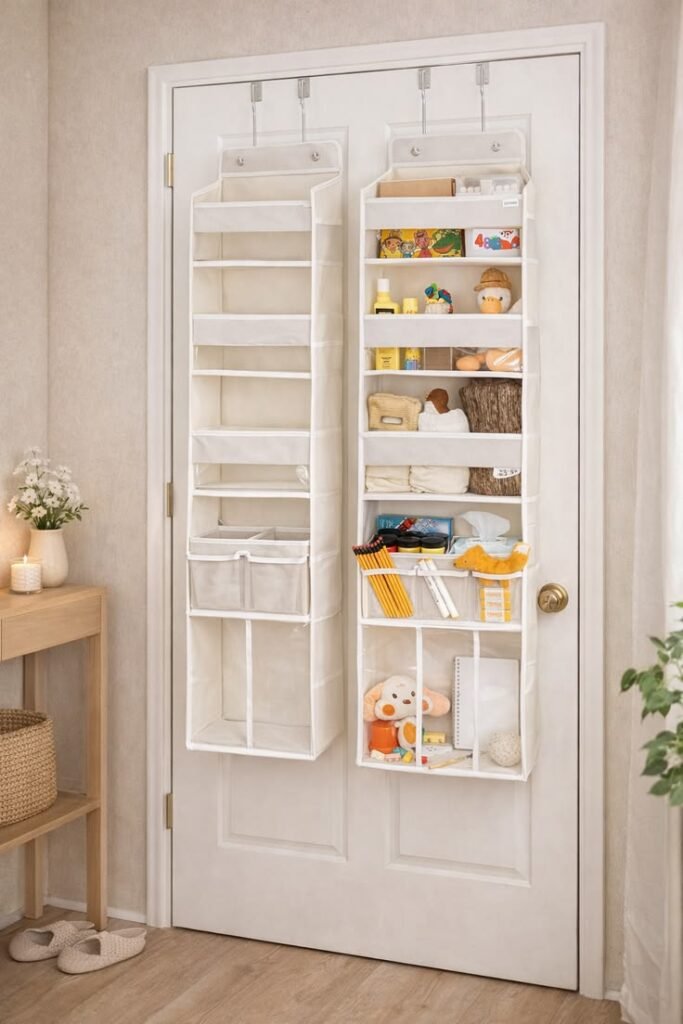
I resisted over-door organizers for a long time because every one I’d seen looked flimsy — the kind with little mesh pockets that stretch out after three weeks and sag sadly like deflated balloons.
Then I moved and my new studio had exactly zero linen closets. Zero. A bathroom, a bedroom closet, and a kitchen with four cabinets. That was it. I had nowhere to put cleaning supplies, extra toiletries, hair tools, medications — all the random stuff that doesn’t have an obvious home.
My solution: an over-door organizer on the back of the bathroom door, and a separate one on the inside of the bedroom closet door.
The one that converted me was the SimpleHouseware Over Door Organizer — it has deep pockets with clear fronts, metal reinforcements at the top so it doesn’t stretch, and it holds actual weight without warping. I’ve had it for about 14 months and it still looks the way it did when I opened the box.
What I store in the bathroom door organizer:
- Hair dryer and flat iron (use the bottom deep pockets)
- Skincare products by category
- Travel-size toiletries ready to grab
- Nail polish collection (this alone saved me so much drawer space)
- Cleaning sprays in the very bottom pockets
What I store in the closet door organizer:
- Folded scarves and belts
- Extra phone chargers and cables (coiled and labeled)
- Medicine and first aid items
- Batteries sorted by size (I never run out anymore)
The unexpected benefit? I stopped buying duplicates of things I already had. That alone probably saved me more than the organizer cost.
One honest downside: Most over-door organizers are designed for standard door thicknesses. If your doors have deep molding or unusual hardware, the hooks might not fit flush. Check the hook clearance before buying — most listings will list the maximum door thickness it fits.
3. A Pegboard System for Your Wall (Seriously, Don’t Skip This One)
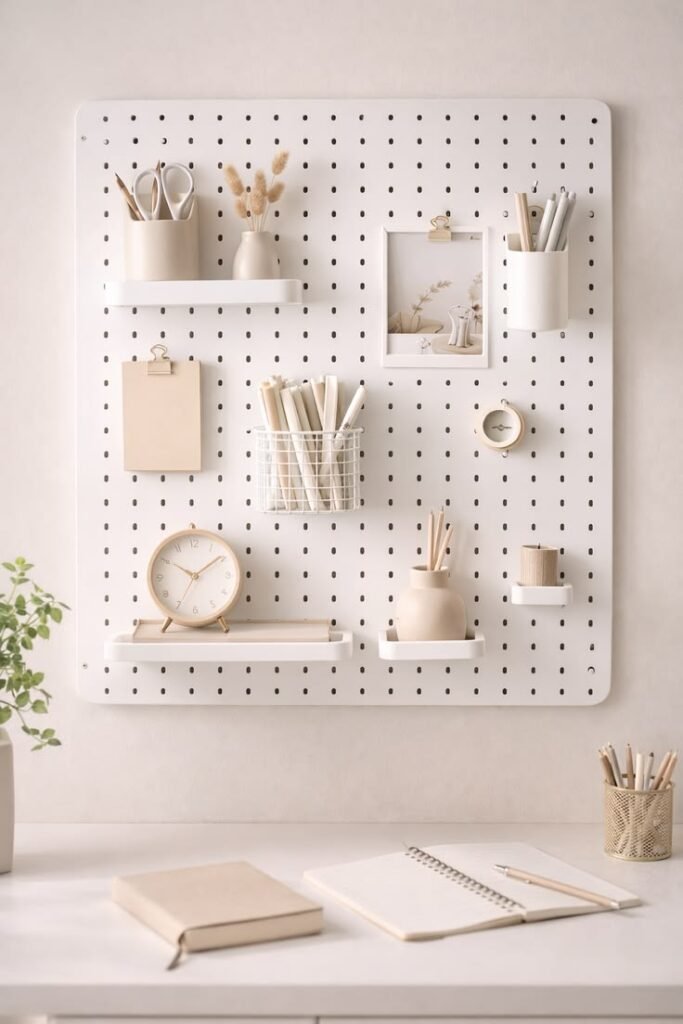
Okay, this one sounds more like a workshop thing than a studio apartment thing. I get it. When my friend first suggested I put up a pegboard, I pictured a dusty garage with tools hanging on it.
But hear me out.
A wall-mounted pegboard system is genuinely one of the most flexible organizing products you can buy for a studio. The whole point is that it’s modular — you add hooks, shelves, baskets, and holders wherever you need them, and you can completely reconfigure it as your needs change.
I put one up in my kitchen on an empty wall between the fridge and the window. It’s about 24″ x 32″ — not huge, but it completely transformed how that corner functions. Here’s what I hung on it:
- Pots and pans (using S-hooks)
- A small shelf for olive oil, salt, and spices I use daily
- A basket for onions and garlic
- Paper towel holder
- Magnetic strip for knives (attached to the board via a clip-on mount)
- A chalkboard panel where I write the grocery list
Everything I used to dig out of drawers or cabinets is now visible and within reach. My kitchen cabinets, which used to be overstuffed and chaotic, are now actually manageable.
IKEA’s SKÅDIS is probably the most popular option right now and it’s great for beginners — the accessories are affordable and widely available. But brands like Triton Products and Wall Control make heavier-duty versions if you want to hang anything with real weight.
Step-by-step: How to set up a basic pegboard for a studio kitchen
- Measure your wall space and pick a board size that fits without overwhelming the room
- Use a stud finder before drilling — you want this mounted securely
- Mount the board with spacers (usually included) so there’s a gap behind it for hooks to hang properly
- Start with just the things you grab most — don’t try to hang everything at once
- Live with it for a week, then adjust based on what you actually reach for
The reconfigurability is what makes it worth the investment. When my needs changed — I went through a phase of cooking a lot more — I just moved hooks around in ten minutes. No new furniture, no new holes in the wall.
This works brilliantly alongside other 9 secret studio apartment space hacks for vertical storage if you want to really maximize your walls.
4. Vacuum Storage Bags — But Not the Way Most People Use Them
Vacuum storage bags have been around forever and most people think of them as “the bulky bedding storage bags.” Which, yes, they work for that. But I want to talk about a more targeted use that made a much bigger difference in my studio: seasonal clothing rotation.
In a studio apartment, closet space is one of the most precious and most fought-over resources you have. The problem is that most of us keep 12 months of clothing crammed into a space designed for maybe six.
Vacuum bags let you compress off-season clothes down to almost nothing. I’m talking: a full winter wardrobe — thick sweaters, two coats, thermal layers — compressed into two bags that slide flat under the bed.
The ones worth buying are from Space Bags or Ziploc’s brand — they have a double-zip seal and a reinforced valve that doesn’t leak over time. I’ve had cheap knockoffs leak air and gradually puff back up over a week. Annoying.
My seasonal rotation system:
- End of winter → all heavy knits, coats, and flannel go into vacuum bags under the bed
- End of summer → shorts, tanks, and lightweight dresses get bagged
- The closet only holds the current season plus a transition layer
The result: my closet went from stuffed and stressful to actually usable. I can see every item. I can reach things without an avalanche. I don’t wear the same five things on rotation just because they’re the easiest to grab.
A mistake to avoid: Don’t vacuum-bag delicate fabrics like silk, cashmere, or anything structured (like blazers). The compression can damage fibers or permanently wrinkle structured garments. Use garment bags for those instead. Vacuum bags are best for cotton, denim, polyester, and thick knitwear.
Also — and this took me two seasons to figure out — label the bags before you seal them. When you’re pulling them out six months later, you will not remember exactly what’s in which bag without a label. A strip of masking tape and a marker does the job fine.
| Item Type | Vacuum Bag? | Why |
|---|---|---|
| Thick sweaters | ✅ Yes | Compresses well, no damage |
| Denim jeans/jackets | ✅ Yes | Durable fabric handles compression |
| T-shirts, tanks | ✅ Yes | Great for bulk reduction |
| Winter coats | ✅ Yes | Huge space saver |
| Silk blouses | ❌ No | Compression can damage delicate fibers |
| Structured blazers | ❌ No | Loses shape permanently |
| Cashmere knits | ❌ No | Fiber damage over time |
| Shoes | ❌ No | Use shoe boxes or hanging organizers |
This pairs really well with other storage strategies — if you haven’t thought about what’s going on under your bed yet, 6 best studio apartment space hacks for under-your-bed storage is a solid place to start.
The Real Mistake Most People Make With Studio Organizing Products
Here’s the thing nobody tells you: buying organizing products before you declutter is like mopping a dirty floor before sweeping it. You just rearrange the mess more neatly.
Every single time I’ve introduced a new organizing product that worked, I’d already gone through that category and gotten rid of what I didn’t need first. The drawer organizers work because I culled the drawer contents before installing them. The vacuum bags work because I edited my wardrobe before sealing things away.
The order matters:
- Purge first — get rid of anything broken, expired, unused for over a year, or genuinely forgotten
- Categorize — group similar items together before deciding how to store them
- Measure — know your space dimensions before buying any product
- Buy — now get the organizing product that fits the category and the space
- Maintain — schedule a quick 10-minute tidy weekly so it doesn’t slide back
If you skip step one and go straight to buying, you’ll just end up with better-looking clutter. That’s not the goal.
A Quick Comparison: Which Product for Which Problem
| Your Problem | Best Product to Solve It |
|---|---|
| Drawer chaos in kitchen or bathroom | Modular drawer organizers |
| No storage space in bathroom/closet | Over-door organizer |
| Dead wall space in kitchen or office | Pegboard system |
| Closet stuffed with off-season clothes | Vacuum storage bags |
| All of the above | All four, tackled one room at a time |
Final Thoughts
None of these products are magic. They don’t organize themselves and they won’t fix a space that needs a bigger declutter. But when you use them in the right context — after editing your stuff, with proper measurements, for a specific problem you’ve identified — they are absolutely worth the money.
The total cost for all four of these products, depending on brand and quantity, probably runs between $60 and $120. That’s less than one month of stress from living in a space that doesn’t work for you.
Start with the one that solves your most annoying daily frustration. For me it was the drawer organizers — finding my passport in four hours was a wake-up call. For you it might be the closet situation or the bathroom door. Pick the pain point and solve that first.