
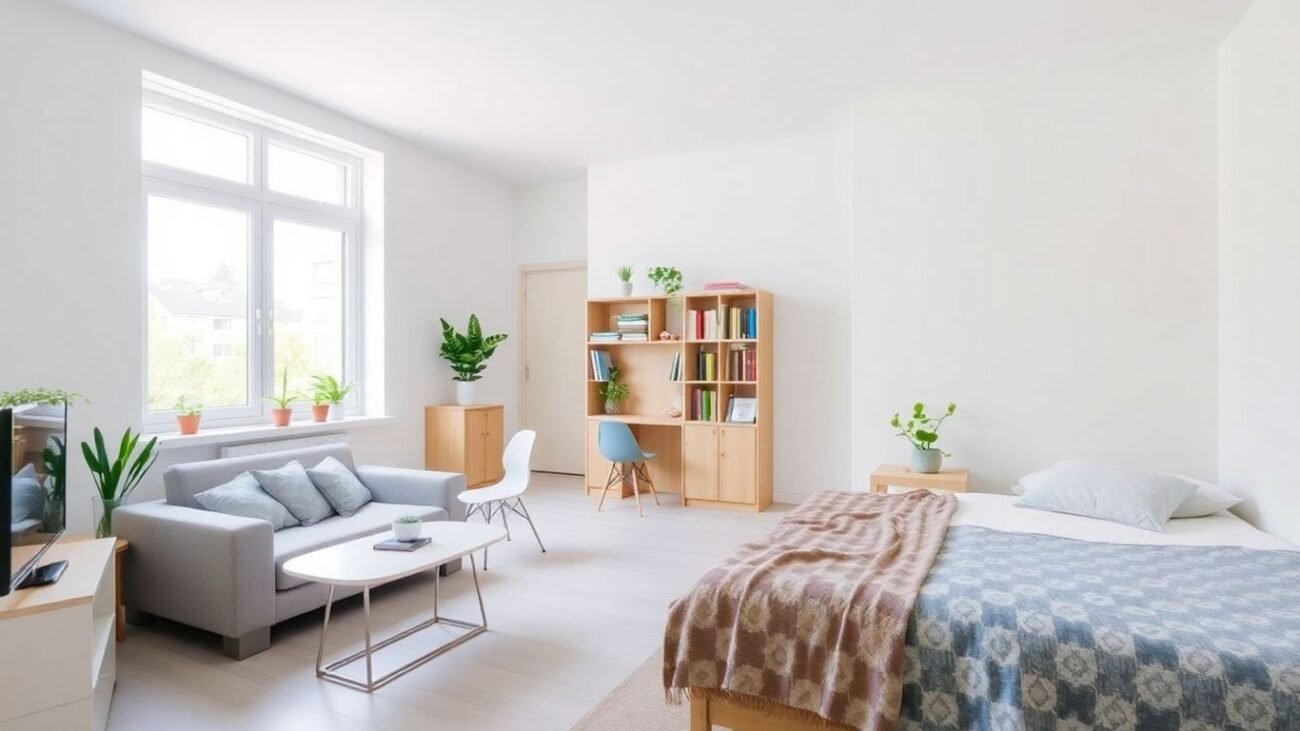
There was a point where I genuinely couldn’t find my keys for 20 minutes — in a 400 square foot apartment. Everything I owned was technically within 15 feet of me, and I still couldn’t locate a set of keys. That was the moment I realized my problem wasn’t space. It was habits.
I’d tried all the organizational products. The matching bins, the label maker, the fancy drawer dividers. And within two weeks, everything would slide back into chaos. Clothes on the chair. Dishes in the sink longer than I’d like to admit. Papers colonizing every flat surface.
The thing nobody told me early enough: organizing a studio isn’t about a one-time declutter session or buying the right baskets. It’s about the small, repeatable things you do every single day. Once I figured that out and started building actual habits — not just buying more stuff — my studio stayed clean almost effortlessly.
Here are the seven habits that genuinely changed things for me.
1. The “Don’t Put It Down, Put It Away” Rule
This one sounds so simple it almost feels insulting to write it down. But it was the single biggest shift in how my studio functioned.
Before I adopted this habit, I had a deeply ingrained pattern: I’d come home, drop my bag on the chair, set my keys on the counter, toss my jacket over the sofa arm, and leave my shoes right inside the door. Each individual act took about three seconds. But those three-second decisions stacked up, and by Thursday my studio looked like it had been ransacked.
The rule is exactly what it sounds like: when you pick something up or take something off, it goes to its actual home — not to a temporary resting spot.
Jacket comes off? It goes on the hook by the door, not the sofa. Keys in your hand? They go in the little dish on the entryway shelf, not the kitchen counter. Finished with your charger? It goes back in the drawer, not left dangling off the nightstand.
The first week is genuinely hard. You’ll catch yourself mid-motion, about to set something down, and have to consciously redirect. But around day ten, it starts becoming automatic. Around day twenty, putting things in wrong places starts to feel uncomfortable — which is exactly where you want to be.
The reason this matters more in a studio than anywhere else: there’s no separate room to “deal with later.” In a house, you can close the spare bedroom door on the mess. In a studio, the mess is always in your eyeline. Always. So prevention beats cleanup every single time.
2. The Two-Minute Reset Before Bed
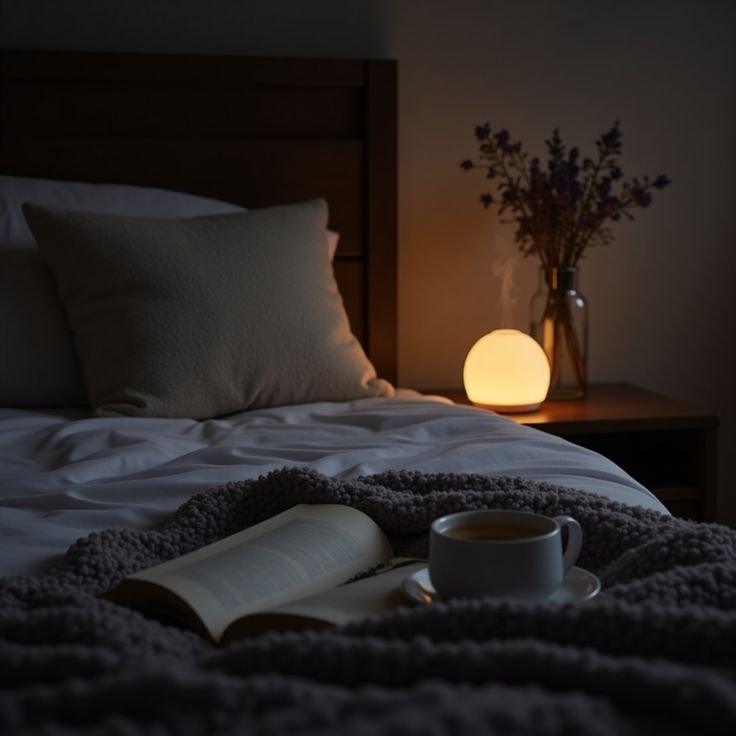
I picked this up from a productivity app (Todoist, actually — I was using it for work tasks) and adapted it for my space. The idea is simple: before you get into bed, spend exactly two minutes doing a visual reset of your studio.
Not a deep clean. Not a reorganization. Just a reset.
Put the remote back. Fold the throw blanket. Stack the books. Bring the dishes to the sink (I do actual washing in the morning — the sink reset is just consolidation). Put the day’s clothes either in the hamper or back where they belong.
Two minutes. Set a timer the first few times — you’ll be shocked how much you can do.
What this habit does psychologically: You wake up to a clean space. That sounds obvious, but the downstream effect is significant. Waking up to clutter creates a low-level background stress that you carry into your morning routine. Waking up to a tidy studio — even a small one — gives you a mental clean slate. I noticed the difference within a week.
The other benefit is that two-minute resets prevent the kind of buildup that requires a full Saturday to undo. Clutter compounds. One item out of place is easy to fix. Forty items out of place over two weeks is a whole project.
3. I Assigned a “Home” to Every Single Item I Own
This habit is what makes the first two habits actually work. If you don’t know where something lives, you can’t put it away — you can only set it somewhere and hope for the best.
I went through my studio one Saturday and did what I now call a “home audit.” I picked up every object that didn’t have a specific, defined spot and asked myself: where should this actually live? Not where it currently is. Where should it be, based on how and when I use it?
Things I use daily (keys, phone charger, wallet, sunglasses) got spots right by the door or on my nightstand. Things I use weekly (laptop, notebook, specific kitchen tools) got spots that were accessible but not front-and-center. Things I use monthly or less (spare batteries, seasonal stuff, extra towels) went into the hardest-to-reach storage — top shelves, under-bed bins, the back of the wardrobe.
Here’s a simple framework I still use:
| Frequency of Use | Storage Location |
|---|---|
| Daily | Within arm’s reach, easy access |
| A few times a week | Accessible shelf or drawer |
| Weekly | Cabinet or closed storage |
| Monthly or less | Top shelves, under-bed bins |
| Rarely/Seasonal | Deep storage, out of sight |
Once everything has a home, the “don’t put it down, put it away” rule becomes effortless — because you always know exactly where “away” is.
This also makes it easier to spot when something doesn’t belong. If you open a drawer and see something that has no business being there, it’s jarring. That friction is useful.
4. The One-In, One-Out Rule — Applied Ruthlessly
Studio apartments have a fixed amount of space. This is obvious. What’s less obvious is how easy it is to slowly fill that space without noticing, one small purchase at a time.
A new candle here. A kitchen gadget there. A throw pillow you couldn’t resist. Three books from that secondhand shop. None of these are big items. But they accumulate, and in a studio, accumulation shows up fast.
The one-in, one-out rule is the circuit breaker: every time something new comes into your space, something else has to leave. Bought a new pair of jeans? An old pair goes to the donation bag. Got a new kitchen tool? Something else gets donated or tossed. New book? One leaves.
I keep a canvas donation bag hanging on the inside of my wardrobe door. When something is out, it goes straight in the bag. When the bag is full, it goes to the donation center. No staging, no “I’ll deal with it later pile.”
Where I went wrong at first: I was doing one-in, one-out by category. New mug in, old mug out. But I had too many categories overflowing. The more honest version is doing it by space — if a shelf is full, something leaves before anything new arrives, regardless of category. That’s stricter, but it’s the version that actually keeps the space in check.
If you want to go deeper on keeping things clutter-free without spending a fortune, this article on 13 essential studio apartment space hacks to cut clutter cheaply has some great practical options.
5. I Stopped “Saving” Flat Surfaces for Decoration and Started Protecting Them
Every studio has a few flat surfaces: countertops, the coffee table, the top of the dresser, the desk. In my early studio days, I thought of these as display areas — a place for my little succulent, a candle, maybe a small tray.
What actually happened is they became dumping grounds. The tray that was supposed to organize my keys and coins became a catch-all for receipts, earbuds, hair ties, a USB cable, and three pens I’d never use again. The coffee table held whatever I was using that day — which meant it held everything.
The habit shift: I started treating flat surfaces as protected zones rather than available real estate. The rule is that nothing lives permanently on a flat surface unless it’s there for a functional reason or I made a conscious, deliberate choice to display it.
Everything else — the stuff that migrated there by habit or laziness — gets a drawer. A shelf. A bin. Somewhere that isn’t out in the open.
Practically, this means:
- My kitchen counter has exactly: a small dish rack (functional), my coffee maker (used daily), and one small plant. That’s it.
- My desk has my laptop, a small lamp, and a notebook. Nothing else lives there permanently.
- My coffee table has a tray with two coasters and a single candle. The remote goes in the tray when not in use.
It sounds minimal and maybe a little strict. But the visual payoff is enormous. Clear surfaces make a small space feel three times bigger. And honestly, once you get used to it, cluttered surfaces start to look genuinely uncomfortable.
For anyone looking at how to balance function and style in a small space, these 9 proven studio decor ideas that transform rooms are worth a look — especially the section on surface styling.
6. The Sunday 15-Minute Organizing Check-In
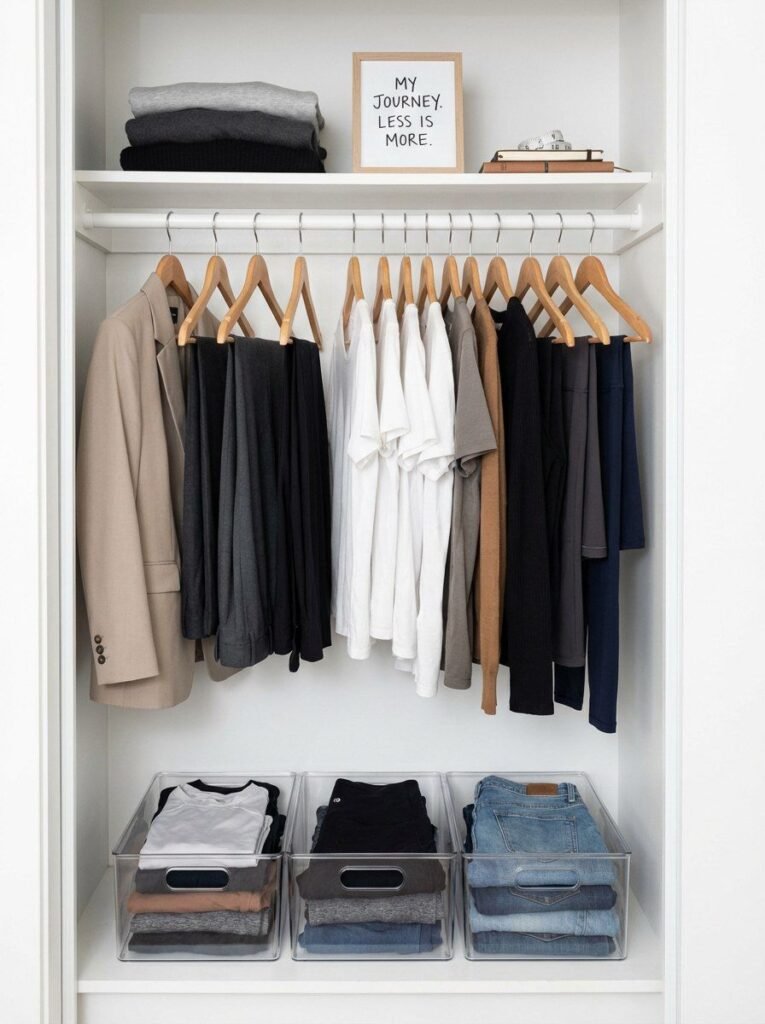
I do this every Sunday, usually while I’m having my morning coffee. I walk around my studio slowly and do a mental audit — not a cleaning session, just an assessment.
What’s drifted out of place this week? What’s building up somewhere it shouldn’t be? Is there a pile forming that I haven’t addressed? Is anything running low that I need to replace (cleaning supplies, trash bags) before it becomes an inconvenience?
I write three things down: what needs to be sorted, what needs to be restocked, and if anything needs a longer fix (a drawer that’s getting too full, something that needs a better home).
Why weekly and not daily? Daily check-ins feel exhausting and often unnecessary if you’re doing the bedtime reset. Weekly check-ins catch the slower drifts — the stuff that creeps in over a few days and that you stop noticing because you’re too close to it.
I started using the Google Keep app for my Sunday notes — quick, easy, syncs to my phone. Nothing complicated. Some people use Notion for this kind of thing, but honestly a notes app or even a sticky note on your fridge works fine.
The key insight from this habit: a studio that’s maintained is dramatically easier than a studio that’s recovered. Fifteen minutes every Sunday means I never have to spend a full weekend doing damage control.
7. I Built “Organizing Triggers” Into My Existing Routine
This is the habit that tied everything else together, and I learned it almost by accident.
I noticed that I was consistently good at one habit — making my bed every morning — because it was attached to something else I already did without thinking (getting up and going to make coffee). The habit had a trigger: getting out of bed → make the bed → then go to the kitchen.
I started applying the same logic to other organizing habits. Instead of trying to remember to do things, I attached them to moments that already happened automatically.
Here’s what my routine looks like now:
| Trigger (existing habit) | Attached organizing habit |
|---|---|
| Making morning coffee | Wipe down the kitchen counter |
| Brushing teeth at night | Two-minute room reset |
| Finishing a work session | Clear desk, put away chargers |
| Coming home through the door | Keys in dish, bag on hook, shoes away |
| Finishing a meal | Dishes to the sink, table wiped |
| Getting dressed | Yesterday’s clothes to hamper or back in wardrobe |
None of these take more than a minute or two individually. But because they’re attached to things I already do on autopilot, I don’t have to spend mental energy remembering them. They just happen.
James Clear writes about this concept in Atomic Habits — he calls it “habit stacking.” I’d read the book years before applying it to my studio, but it maps perfectly to small-space living. When your space is small, your habits need to be automatic, because there’s no room (literally or figuratively) for things to go sideways for long.
The Habits That Didn’t Work for Me (Honest Mistakes)
Not everything I tried stuck. A few organizing habits I see recommended everywhere that personally didn’t work for me:
Weekly decluttering sessions. The idea of setting aside a full hour each week to sort and purge sounded great. In reality, I’d either skip it entirely or turn it into a full-day project that exhausted me. The daily micro-habits replaced this more effectively.
Color-coded storage systems. I spent too much money on matching containers and color-coded bins. Within a month, I stopped caring which bin was which color and started just opening all of them to find things. Simple, labeled storage works better for me than visually matching storage.
Strict digital checklists for chores. I tried apps like Tody and OurHome to track cleaning schedules. Too much friction. A simple Sunday notebook works better than a detailed app I have to update.
The lesson: organizing habits have to fit your actual personality and lifestyle, not an idealized version of how you wish you lived. Start with the simplest version of each habit and only add complexity if you actually need it.
How These Habits Stack Up: A Quick Overview
| Habit | Time Required | Difficulty to Start | Impact on Space |
|---|---|---|---|
| Don’t put it down, put it away | 0 extra time | Medium (rewiring instinct) | Very High |
| Two-minute bedtime reset | 2 minutes/day | Low | High |
| Home audit for every item | 1–2 hours (once) | Medium | Very High |
| One-in, one-out rule | Minimal | High (requires discipline) | High |
| Protect flat surfaces | 0 extra time | Medium | Very High |
| Sunday 15-minute check-in | 15 min/week | Low | Medium-High |
| Habit stacking triggers | 0 extra time | Low | High |
One Last Thing
What I’ve noticed after a couple of years of living this way is that the habits stopped feeling like habits. They just became how I live. My studio isn’t perfectly pristine every day — life happens, busy weeks happen, and sometimes the dishes sit in the sink a bit longer than planned. But the baseline is so much higher now that a “messy” day looks nothing like what my apartment used to look like on a normal Tuesday.
The space didn’t change. I did.
And that’s the part nobody warns you about: once you live in a consistently organized small space, you genuinely can’t go back to the chaos. The clarity becomes something you actually need.