
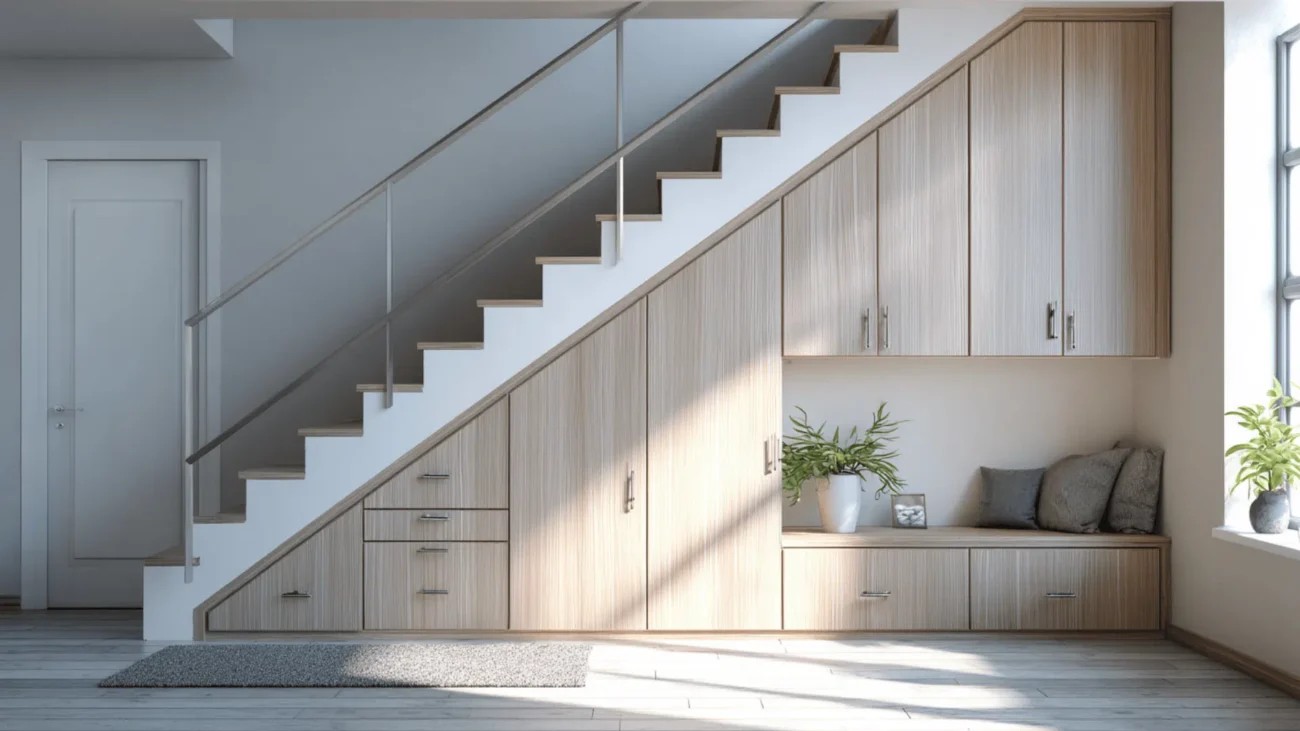
The moment I realized I had a serious storage problem in my studio wasn’t when I ran out of closet space. It was when I opened my kitchen cabinet to grab a mug and an avalanche of plastic containers, lids, and a rogue whisk came tumbling out onto the floor.
At 7 in the morning. Before coffee.
That was the day I decided something had to change — not eventually, not during the next “big clean,” but right now.
The frustrating thing about studio storage is that the problem isn’t always obvious until it’s embarrassing. Everything looks fine until a drawer won’t close, or a guest has to move three things off the sofa just to sit down, or you spend ten minutes hunting for something you know you own.
After a lot of experimenting, rearranging, and a few genuinely dumb purchases I’d rather forget, I found nine storage ideas that actually work — and more importantly, that work fast. You don’t need to gut your apartment or spend a fortune. You mostly need to look at the space you already have differently.
Here’s what made the real difference.
1. Treat Your Bed Like a Storage Unit — Because It Is One
The space under your bed is one of the most underused storage zones in any studio. In a room where floor space is everything, you’re essentially sitting on a storage unit every night and ignoring it.
I wasted my first year in my studio with absolutely nothing under my bed except a few dust bunnies and a pair of shoes I’d kicked under there accidentally.
When I finally switched to a platform bed with built-in drawers, it replaced my entire dresser. Those two deep drawers on each side now hold all my folded clothes, extra bedding, and seasonal items. My dresser is gone. That corner of the room opened up completely.
If you’re not ready to replace your bed frame, the next best option is under-bed storage bins. Flat, rolling bins from brands like IRIS USA or the IKEA SKUBB system slide in and out easily and can hold a surprising amount.
What works well under the bed:
- Off-season clothing (sweaters in summer, shorts in winter)
- Extra bedding and spare pillows
- Shoes you don’t wear daily (in clear boxes so you can see them)
- Exercise equipment like resistance bands, yoga blocks, a jump rope
One tip: get vacuum storage bags for bulky things like comforters. A king-size comforter compresses down to about the size of a throw pillow. You can fit two or three of these flat under a standard bed frame with no clearance issues.
The under-bed zone alone can eliminate the need for an entire piece of furniture. That’s the kind of trade-off a studio apartment rewards.
For even more ideas on making this zone work harder, these studio apartment space hacks for under-your-bed storage go into serious detail.
2. Put a Storage Ottoman in Your Living Zone (Not Just a Coffee Table)
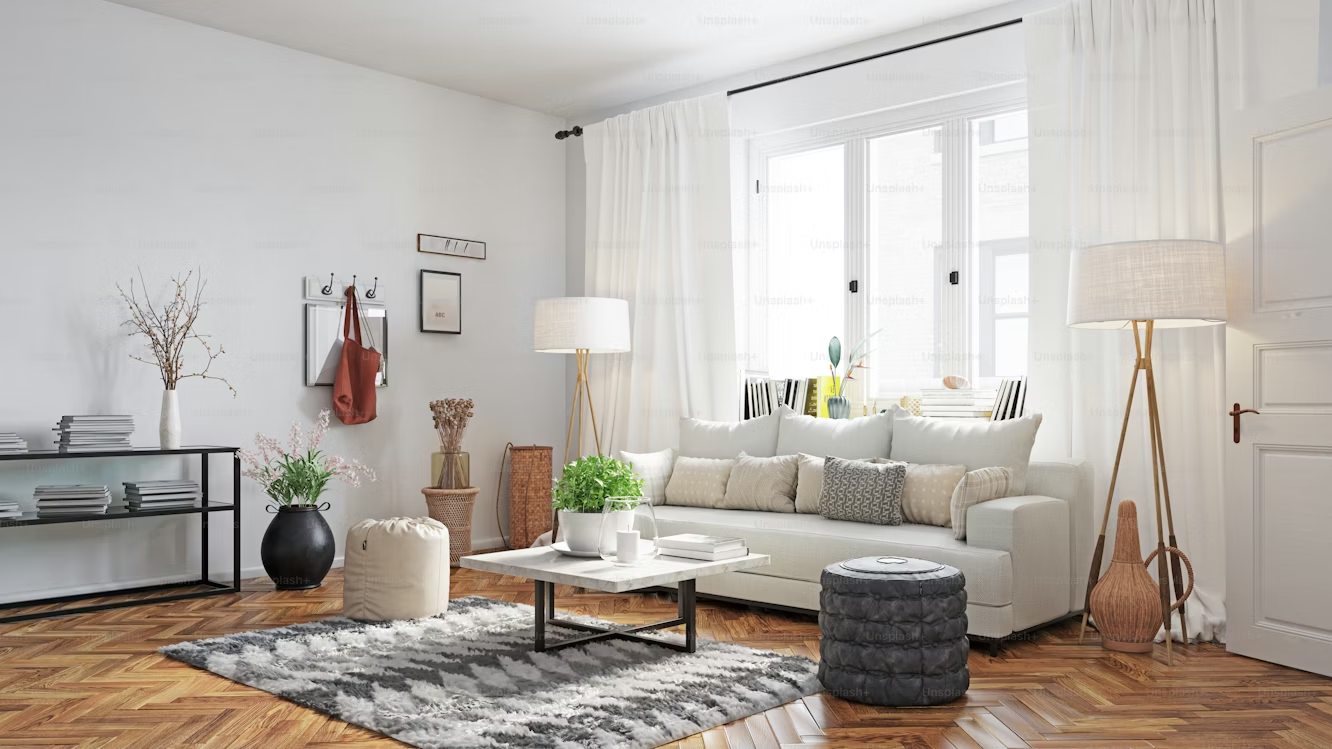
I had a standard round coffee table in my living area for months. It held a coaster, a remote, and occasionally a snack. That was it. It did one job and took up floor space doing it.
When I replaced it with a large storage ottoman — a 48-inch rectangular one with a removable tray lid — my entire living zone transformed.
Inside it: extra blankets, board games, a yoga mat, my laptop bag when I’m not working, and a small first-aid kit. The tray lid converts the top into a flat surface for drinks and remotes. When guests come over, it also serves as extra seating.
One piece of furniture doing five jobs in a 400-square-foot apartment is the goal.
Things to look for in a storage ottoman:
- Firm enough to sit on (weight capacity matters — check for at least 250 lbs)
- Removable or hinged lid that stays open on its own (you’ll be going into it regularly)
- A size that fits your living zone proportionally — don’t go so large it overwhelms the space
- Neutral color that works with your existing furniture
IKEA’s SOLLERÖN and the Threshold brand at Target both have solid options under $100. If you want something more premium, Wayfair has a huge range. I’ve seen beautiful tufted ottomans with storage that look like they belong in a designer apartment, not a budget studio.
3. Install Floating Shelves in Every Room — Including the Bathroom
Floating shelves are not a new idea. But most people either don’t install enough of them, or they install them in one room and forget the others.
My bathroom had zero shelving when I moved in. Just a tiny medicine cabinet above the sink that held about six items. Everything else was crammed under the sink or on the edge of the tub.
I added a three-tier floating shelf unit above the toilet (the kind specifically designed for that space — they’re called “over-toilet storage racks” and cost around $30-50). Suddenly I had a proper home for my toiletries, spare toilet rolls, a small plant, and a candle. The counter cleared up immediately.
In the kitchen, I added two long floating shelves above the counter between the upper cabinets and the window. They now hold my most-used items: cooking oils, a utensil holder, a small spice rack, and my coffee setup. I actually took the door off one lower cabinet because everything I needed daily was now within reach on the shelves.
A quick guide to floating shelf placement:
| Room | Placement | Best Use |
|---|---|---|
| Kitchen | Between upper cabinets and window | Daily-use items, cooking staples |
| Living area | Above sofa or TV unit | Books, plants, decorative storage |
| Bedroom | On either side of bed | Replaces nightstands, holds lamp + items |
| Bathroom | Above toilet, beside sink | Toiletries, towels, small items |
| Entry/hallway | Eye level near door | Keys tray, small basket, hooks below |
The rule I follow: any wall with more than 3 feet of blank space above furniture is a missed storage opportunity.
4. Use the Inside of Cabinet and Closet Doors
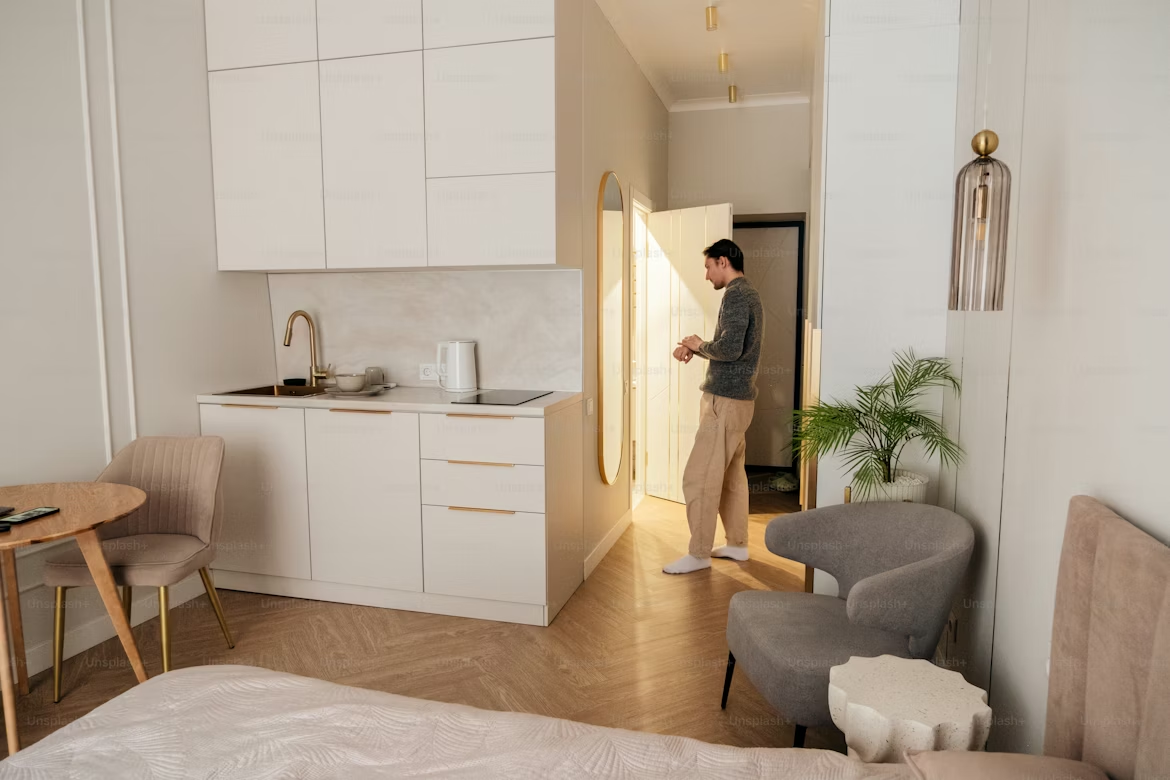
This one sounds almost too simple, but it took me over a year to actually do it — and I’m still annoyed at myself for waiting.
The inside of cabinet doors is flat, sturdy, and completely ignored by most people. It’s also attached to a door that swings open right where you’re standing anyway, which makes it incredibly convenient.
Here’s what I added to various door interiors:
- Kitchen cabinet doors: Over-door organizers with small bins for spice packets, foil, cling wrap, sandwich bags, and cleaning supplies. Cleared out an entire shelf in the process.
- Under-sink cabinet door: A tension rod across the width to hang spray bottles upside down. No more cluttered cabinet floor.
- Closet door inside: A full over-door shoe organizer (the clear pocket kind) — holds 24 pairs of shoes, or alternatively: scarves, belts, accessories, small bags. I use mine for accessories since I keep daily shoes on a small rack.
- Bathroom cabinet door: A small magnetic strip for bobby pins, nail clippers, tweezers. Sounds minor, sounds life-changing once you do it.
Most of these solutions cost between $5 and $25. The over-door organizers from Amazon Basics or SimpleHouseware are reliable and don’t require any drilling or tools.
The principle here is the same as vertical storage: you’re not creating new space, you’re using space that already exists and is currently empty.
5. Rethink Your Kitchen With a Rolling Cart
The kitchen in my studio was functional but always felt tight. Limited counter space, not enough cabinet room, and nowhere to prep food comfortably when I had groceries spread out.
A rolling kitchen cart solved all three problems at once.
I got a butcher-block top cart from IKEA (the RÅSKOG is smaller and more affordable, but I went with the FÖRHÖJA for more workspace). It rolls out when I’m cooking and tucks against the wall when I don’t need it. The shelf below holds my stand mixer, a few larger pots, and a basket of onions and garlic.
The top adds a full extra prep surface. When it’s against the wall, it takes up about 15 inches of depth — barely noticeable.
Other ways to use a rolling cart:
- As a bar cart in the living area (holds wine, glasses, a small cocktail kit)
- As a craft and hobby station that rolls into a closet when not in use
- As a mobile office supply hub next to your desk
- As a bathroom cart for hair tools, skincare, and beauty supplies
The “rolling” part is key in a studio. Furniture that can move and adapt to your current activity is worth far more than furniture locked in one spot doing one job.
If your kitchen is the main source of chaos, these studio apartment space hacks for tiny kitchens have some brilliant ideas specifically for cooking-focused storage problems.
6. Use a Tall Wardrobe or Armoire If Your Closet Is Small
A lot of studios have closets that are really just a shallow alcove with a bar and a shelf. Not exactly a walk-in. Usually not even enough space to fit a week’s worth of clothes comfortably.
My first attempt to solve this was buying a bunch of slim velvet hangers and doubling up on the hanging rod. That helped a little but didn’t fix the fundamental problem: not enough storage volume.
The real fix was adding a standalone wardrobe beside the closet. A tall, narrow one — about 20 inches deep and 35 inches wide — that gave me a full extra hanging section, two deep shelves, and a small drawer at the bottom.
Combined with my existing closet, I now have more than enough clothing storage without a dresser anywhere in the apartment.
If a full wardrobe feels too large, consider a Z-shaped double hanging rod insert for your existing closet. This simple metal frame drops into your existing rod and creates a second hanging tier below, effectively doubling your hanging space for about $20.
Pair that with proper shelf dividers and a few stacking bins on the upper shelf, and a small closet starts functioning like a proper one.
7. Make Your Entryway Do Serious Work
Most studio entryways are neglected. They become the dumping ground — shoes pile up, bags get dropped, coats drape over chairs that were never meant to hold coats.
I had that problem. My entry was about 4 feet wide and served as both a coat closet (I didn’t have one) and an overflow zone for everything I carried in the door.
The fix was treating the entryway as its own organized zone rather than a transition space.
Here’s what I installed in that 4-foot entry:
- A wall-mounted coat rack with five hooks at different heights (coats, bags, umbrella, hats)
- A narrow floating shelf above the hooks with a small tray for keys, wallet, and AirPods
- A slim bench below with two open cubbies underneath for everyday shoes
- A small basket on the bench for mail that needs attention
Total floor space used: about 12 inches of depth. Zero furniture on the floor except the slim bench.
The transformation was immediate. The rest of the studio stopped being the drop zone because the entry finally had systems that made it easy to put things away automatically.
Here’s something most people don’t realize: a good entryway system doesn’t just organize the entry — it protects the rest of your apartment from clutter spreading inward. It’s the first line of defense.
8. Add a Pegboard — In the Kitchen, Office, or Craft Area
I was skeptical about pegboards for a long time. They felt very “DIY blogger” and I wasn’t sure they’d look good in a real living space.
Then I installed one in my kitchen and immediately wished I’d done it two years earlier.
A pegboard is essentially a wall-mounted grid of holes that accepts hooks, shelves, bins, and accessories in any configuration you want. You can rearrange it as your needs change. It can hold a surprising amount of weight.
My kitchen pegboard (24×36 inches, painted white to match the wall) holds: all my pots and pans, a knife strip, a small shelf for my olive oil and salt, a hook for my oven mitts, and a magnetic bin for small utensils. My counter cleared completely. My utensil drawer, which used to be a jumbled disaster, now just holds rarely used tools.
Where pegboards work beyond the kitchen:
- Home office wall: holds headphones, cables, a small shelf for pens and notebooks, a calendar
- Craft area: hooks for scissors, bins for supplies by category, a small shelf for reference books
- Bathroom: a small pegboard (12×12 inches) for hair tools, hooks for accessories
- Entry: a simple pegboard with hooks replaces a bulky coat rack
IKEA’s SKÅDIS pegboard system is affordable and comes with great accessories. Amazon also has plenty of options with starter accessory kits if you want to get everything in one order.
Installation requires a drill and wall anchors if you’re going into drywall. Takes about 30 minutes. Completely worth it.
9. Use Vertical Space in Your Closet, Not Just Horizontal
Most closets are used horizontally — clothes hang across a rod, shoes sit in a row on the floor, and the shelf above the rod holds a few folded items. Everything sits at the same height, and a huge amount of vertical space inside the closet is wasted.
I reorganized my entire closet by thinking about it vertically instead.
Here’s what changed:
- Added a second rod below the first for shorter hanging items (jackets, shirts, blazers). Instantly doubled my hanging capacity.
- Added clear stackable bins on the upper shelf, going all the way to the ceiling. Previously I had one shelf with random stuff sitting loosely. Now I have five organized bins stacked vertically.
- Moved folded items to the under-bed storage and freed up the floor of the closet entirely.
- Used the now-empty closet floor for a small 3-drawer unit from IKEA — this became my “home office supply” storage (printer paper, envelopes, spare notebooks).
The same volume of closet space now holds roughly three times what it did before — just by using more of the height.
It helps to actually measure your closet before buying any inserts or organizers. A lot of people buy closet systems that don’t fit their specific dimensions. Measure twice, buy once.
For a comprehensive look at how to approach closet storage in a studio from scratch, how to maximize small closets with space hacks for studio apartments covers it really thoroughly.
Storage Mistakes I Made Along the Way
Since I’ve lived through most of these the hard way, here’s what I’d skip if I were starting over:
Buying matching storage sets. They look nice in photos but rarely fit your actual shelves, drawers, or cabinet dimensions. Always measure first and buy storage that fits, not storage that matches.
Storing things I should have gotten rid of. I spent real money organizing things I didn’t need. A good declutter before setting up storage systems saves money, time, and space. Clear out first, then organize what remains.
Ignoring small spaces. The inside of doors, the top of the fridge, the space above kitchen cabinets, the corners of counters — these small zones add up to significant storage. Don’t overlook them.
Over-organizing to the point of inconvenience. I once organized my desk area so meticulously that actually using my desk became annoying because I had to “undo” the organization to work. Storage should make things easier to access, not harder.
Where to Go From Here
Nine ideas sounds like a lot. And it is — you don’t need to do all of them at once.
Start with wherever your biggest frustration is right now. If it’s the kitchen, start there. If clothes are overflowing, tackle the closet first. If your living area never looks clear, the storage ottoman will make an immediate difference.
Storage improvements in a studio compound quickly. When one zone gets organized, it creates breathing room that naturally makes the surrounding zones easier to manage. It builds on itself.
The goal isn’t a picture-perfect apartment. It’s a space where you can find what you need, move around comfortably, and actually relax without background noise of visual clutter.
That’s completely doable — even in the smallest studio — with the right storage decisions made in the right places.