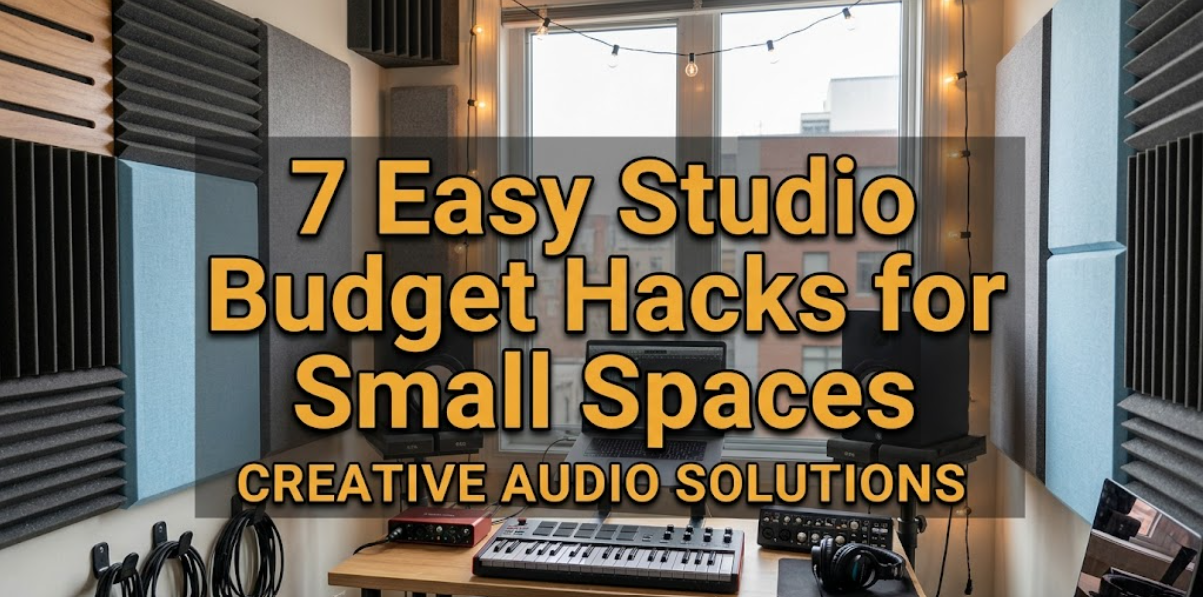
Living in a small studio often feels like a constant negotiation between comfort, functionality, and budget. You want your space to feel open but not empty, stylish but not expensive, and practical without looking cluttered. The good news is that making a studio apartment feel bigger and better doesn’t require a huge investment. In fact, some of the most effective improvements come from simple, thoughtful changes that cost very little.
This article walks through seven easy, budget-friendly hacks that can transform a compact studio into a space that feels organized, welcoming, and efficient. Along the way, you’ll find practical examples, tables, and simple frameworks to help you apply these ideas in real life.
hack 1: use vertical space like a pro
When floor space is limited, the walls become your best asset. Many people underutilize vertical space, leaving large empty areas above furniture while struggling with clutter below.
Start by identifying unused wall zones. These often include areas above the bed, sofa, desk, and even doors. Installing shelves or wall-mounted organizers allows you to store items without consuming precious floor space.
A key trick here is layering. Instead of one shelf, consider stacking two or three at different heights. This creates both storage and visual interest.
Here’s a simple comparison of storage impact:
| Storage Type | Floor Space Used | Storage Capacity | Visual Impact |
|---|---|---|---|
| Floor cabinet | High | Medium | Bulky |
| Single wall shelf | None | Low | Minimal |
| Multi-tier wall system | None | High | Structured |
Another overlooked idea is vertical hooks. Hooks can hold bags, hats, kitchen utensils, or even foldable chairs. They’re cheap, easy to install, and incredibly versatile.
If you want to push this further, think about vertical zoning. Dedicate different wall sections to different purposes—work, cooking, relaxing. This creates a sense of order in a small environment.
hack 2: choose multi-functional furniture
In a studio, every piece of furniture should earn its place. If something only serves one purpose, it’s worth reconsidering.
Multi-functional furniture allows you to reduce clutter while increasing usability. Think of a bed with storage drawers underneath, a fold-out desk, or an ottoman that doubles as a storage box.
Here’s a breakdown of common dual-purpose furniture options:
| Item | Primary Use | Secondary Use | Budget Range |
|---|---|---|---|
| Storage bed | Sleeping | Hidden storage | Low–Medium |
| Sofa bed | Seating | Guest bed | Medium |
| Foldable table | Dining/work | Space-saving | Low |
| Storage ottoman | Seating | Storage | Low |
One of the smartest budget moves is buying second-hand multifunctional furniture. Many people sell barely used items at a fraction of the original cost.
Another approach is DIY modification. For example, adding wheels to a small table instantly turns it into a movable workstation or dining unit.
hack 3: use light and mirrors to expand space
Small spaces often feel cramped not because they are small, but because they are poorly lit. Light plays a huge role in how spacious a room feels.
Natural light is ideal, so avoid blocking windows with heavy curtains. Instead, use sheer or light-colored fabrics that allow sunlight to pass through.
Mirrors are another powerful tool. When placed strategically, they reflect light and create the illusion of depth.
Here’s a simple placement guide:
| Mirror Placement | Effect Created |
|---|---|
| Opposite window | Doubles natural light |
| Behind furniture | Adds depth |
| Narrow hallway wall | Expands perceived width |
You don’t need expensive mirrors either. Even a few smaller mirrors arranged in a grid can have a similar effect as one large piece.
Artificial lighting also matters. Instead of relying on a single overhead light, use multiple light sources—floor lamps, desk lamps, and wall lights—to create layers.
hack 4: declutter with smart systems, not just effort
Decluttering isn’t just about throwing things away. It’s about creating systems that prevent clutter from building up again.
A useful method is the “zone system.” Divide your studio into functional zones such as sleeping, working, cooking, and storage. Each item should belong to a specific zone.
Another practical approach is the “one in, one out” rule. Whenever you bring in something new, remove something old. This keeps your possessions balanced.
Here’s a simple decluttering framework:
| Step | Action | Result |
|---|---|---|
| Sort | Group similar items | Clarity |
| Evaluate | Keep, donate, discard | Reduced clutter |
| Assign | Give items a fixed place | Organization |
| Maintain | Weekly quick resets | Long-term order |
Storage boxes, baskets, and drawer dividers are small investments that make a big difference. Labeling them can save time and reduce stress when searching for items.
hack 5: use color strategically
Color has a subtle but powerful impact on how a space feels. Light, neutral tones tend to make a room feel larger, while dark colors can make it feel more enclosed.
However, this doesn’t mean your studio has to look boring. The trick is balance.
Use light colors for walls and large furniture, and add pops of color through smaller items like cushions, rugs, or artwork.
Here’s a quick guide:
| Element | Recommended Color Strategy |
|---|---|
| Walls | Light neutrals |
| Large furniture | Soft tones |
| Accessories | Bold accents |
| Flooring | Medium or light shades |
Another useful trick is color continuity. Keeping a consistent palette throughout the space creates visual flow, making the studio feel less fragmented.
hack 6: create hidden storage wherever possible
Hidden storage is one of the most underrated hacks for small spaces. It allows you to keep things organized without making the room look crowded.
Look for opportunities in unexpected places:
- Under the bed
- Inside seating furniture
- Behind doors
- Under sinks
- Above cabinets
Here’s a comparison of visible vs hidden storage:
| Storage Type | Visual Clutter | Accessibility | Aesthetic Impact |
|---|---|---|---|
| Open shelves | Medium | High | Decorative |
| Closed cabinets | Low | Medium | Clean |
| Hidden storage | Very low | Medium | Minimalist |
Vacuum storage bags are another budget-friendly solution for seasonal clothing or bedding. They reduce volume significantly and are easy to store.
hack 7: define spaces without walls
One of the biggest challenges in a studio is the lack of separate rooms. But you don’t need walls to create distinct areas.
Use visual dividers instead. Rugs, curtains, bookshelves, or even furniture placement can define different zones.
For example:
- A rug can separate the living area from the sleeping area
- A bookshelf can act as a divider while providing storage
- Curtains can create privacy when needed
Here’s a simple zoning example:
| Area | Divider Type | Purpose |
|---|---|---|
| Bed zone | Curtain | Privacy |
| Work zone | Desk placement | Focus |
| Living zone | Rug | Comfort and identity |
This approach makes your studio feel more like a one-bedroom apartment without any construction costs.
practical budget breakdown
To give you a clearer idea of how affordable these hacks can be, here’s a sample budget allocation:
| Item/Upgrade | Estimated Cost | Priority Level |
|---|---|---|
| Wall shelves | Low | High |
| Storage boxes | Low | High |
| Mirror | Low–Medium | Medium |
| Multi-functional furniture | Medium | High |
| Lighting improvements | Low–Medium | Medium |
| Curtains/dividers | Low | Medium |
Even with a limited budget, you can gradually implement these changes over time.
real-life application example
Imagine a 300-square-foot studio. Initially, it feels cramped due to clutter, poor lighting, and lack of organization.
After applying these hacks:
- Vertical shelves free up floor space
- A storage bed eliminates bulky cabinets
- Mirrors and better lighting make the room feel brighter
- Defined zones create structure
The result is not just a cleaner space, but a more livable and enjoyable one.
common mistakes to avoid
While these hacks are simple, there are a few pitfalls to watch out for:
- Overloading walls with too many shelves
- Buying furniture without measuring space
- Ignoring lighting balance
- Using too many colors
- Keeping items “just in case”
Avoiding these mistakes ensures your efforts actually improve your space rather than complicate it.
frequently asked questions
- how can i make my studio look bigger without spending much?
Focus on lighting, mirrors, and decluttering. These three changes alone can significantly improve how spacious your studio feels. - what is the best furniture for a small studio?
Multi-functional furniture is the best choice. Items that serve more than one purpose save both space and money. - how do i keep my studio organized long-term?
Create simple systems like designated zones and the “one in, one out” rule. Consistency matters more than effort. - are dark colors always bad for small spaces?
Not necessarily. Dark colors can work as accents, but using them too much can make the space feel smaller. - how can i create privacy in a studio apartment?
Use curtains, room dividers, or strategic furniture placement to separate areas without building walls. - what is the cheapest way to add storage?
Wall hooks, shelves, and storage boxes are some of the most affordable and effective options.
final thoughts
Improving a small studio on a budget isn’t about spending more—it’s about thinking smarter. By using vertical space, choosing the right furniture, improving lighting, and staying organized, you can completely transform your living environment.
These seven hacks are simple, practical, and adaptable to almost any space. Whether you implement all of them or just a few, the impact can be surprisingly significant. Over time, small changes add up, turning even the tiniest studio into a place that feels comfortable, functional, and uniquely yours.