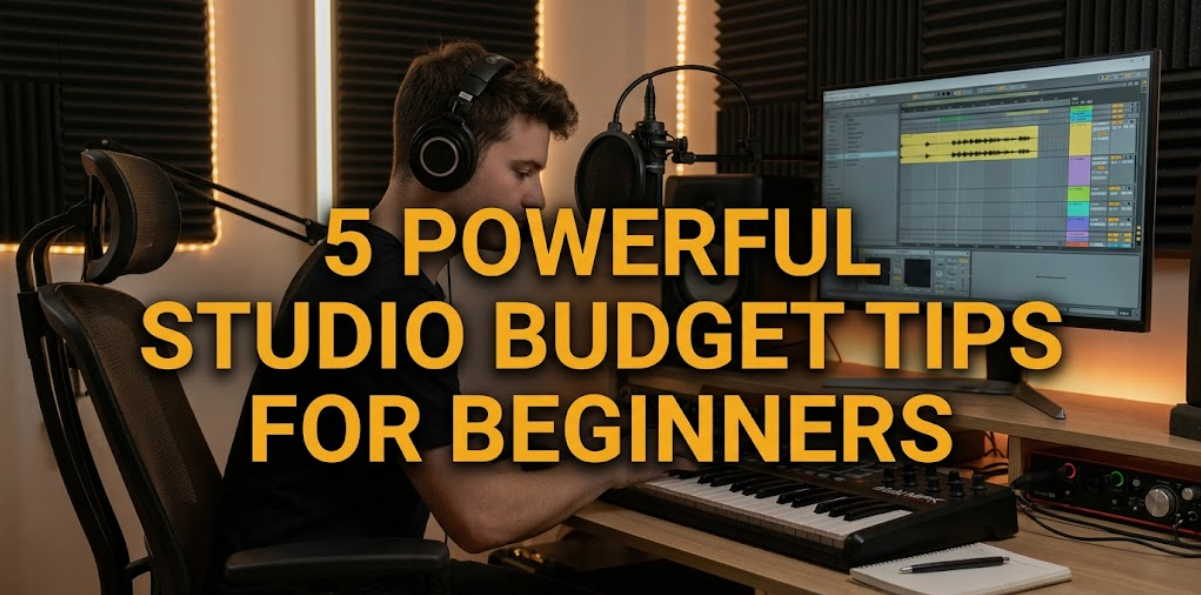
Starting a studio—whether it’s for music, photography, content creation, or design—often begins with a mix of excitement and financial anxiety. You picture the ideal setup: clean acoustics, professional lighting, sleek furniture, and reliable equipment. Then reality shows up in the form of a limited budget.
Here’s the truth most beginners discover a little too late: building a great studio is less about how much you spend and more about how intelligently you spend it.
This article explores five deeply practical and powerful budget strategies that go beyond surface-level advice. These are not just tips; they are frameworks that help you make smarter decisions, avoid common traps, and stretch every dollar further than you thought possible.
understanding the beginner’s budget trap
Before diving into solutions, it helps to understand where most beginners go wrong.
Many new studio owners fall into one (or more) of these patterns:
- Spending too much upfront on gear they don’t fully understand
- Copying setups from professionals with entirely different needs
- Ignoring workflow and focusing only on aesthetics
- Buying everything at once instead of growing gradually
The result? A half-functional space, empty pockets, and frustration.
The goal isn’t to build a perfect studio immediately. The goal is to build a working studio that evolves.
tip 1: prioritize function over aesthetics
A beginner studio doesn’t need to look impressive—it needs to work efficiently. This mindset shift alone can save you a significant amount of money.
Aesthetic upgrades often come at a premium. Fancy LED panels, designer desks, and stylish wall décor may look appealing, but they rarely improve output quality in the early stages.
Instead, focus on functionality:
- Does your workspace allow you to work comfortably for long hours?
- Is your equipment positioned for efficiency?
- Are your essentials within reach?
Here’s a comparison that illustrates the difference:
table: functional vs aesthetic spending
| Category | Functional Choice | Aesthetic Choice | Budget Impact |
|---|---|---|---|
| Desk | Simple sturdy table | Designer studio desk | High savings |
| Lighting | Basic softbox or natural light | RGB lighting kits | Medium savings |
| Walls | DIY foam panels | Decorative acoustic panels | High savings |
| Chair | Ergonomic office chair | Stylish but uncomfortable seat | Medium savings |
Notice how the functional options still achieve the core purpose—without draining your budget.
A useful approach is the “upgrade later rule.” If something doesn’t directly improve your work quality, delay it.
tip 2: adopt the “core gear first” strategy
One of the biggest mistakes beginners make is buying too many tools too soon. The smarter approach is to identify your core gear—the absolute minimum you need to produce quality work.
For example:
music studio core setup
- Audio interface
- Studio headphones
- Microphone
- DAW software
photography studio core setup
- Camera
- Lens (versatile one)
- Tripod
- Basic lighting
content creation core setup
- Camera or smartphone
- Microphone
- Basic lighting
- Editing software
Everything else is secondary.
chart: gear prioritization model
| Priority Level | Description | Action |
|---|---|---|
| Level 1 | Essential for producing output | Buy immediately |
| Level 2 | Improves efficiency or quality | Buy after income starts |
| Level 3 | Enhances comfort or aesthetics | Delay indefinitely |
By sticking to this structure, you avoid clutter and overspending.
A helpful mental test: “Can I still produce content without this item?”
If the answer is yes, it’s not core gear.
tip 3: leverage second-hand and refurbished equipment
There’s a quiet truth in the creative world: a large portion of professional gear was once second-hand.
Beginners often hesitate to buy used equipment due to fear of defects. But with careful selection, second-hand gear can cut costs by 30–70%.
What to buy used safely:
- Microphones
- Lenses
- Tripods
- Furniture
- Audio interfaces (from trusted sellers)
What to avoid buying used (if possible):
- Batteries (reduced lifespan)
- Storage devices
- Heavily worn cables
table: average savings on used gear
| Equipment Type | New Price Range | Used Price Range | Savings (%) |
|---|---|---|---|
| Microphone | $100–$300 | $60–$180 | 40% |
| Camera Lens | $200–$800 | $120–$500 | 35% |
| Tripod | $50–$200 | $25–$120 | 45% |
| Studio Desk | $150–$500 | $70–$250 | 50% |
Tips for safe buying:
- Test before purchasing (if possible)
- Check seller ratings
- Ask for original receipts or history
- Inspect for physical damage
Buying used isn’t a compromise—it’s a strategy.
tip 4: build a modular studio setup
A modular approach means building your studio in stages rather than all at once. This reduces financial pressure and allows you to learn what you actually need.
Instead of spending your entire budget upfront, break it into phases.
example modular budget plan
| Phase | Focus Area | Budget Allocation |
|---|---|---|
| Phase 1 | Core gear | 50% |
| Phase 2 | Workflow improvements | 25% |
| Phase 3 | Comfort & upgrades | 15% |
| Phase 4 | Aesthetics | 10% |
This structure ensures that your money goes where it matters first.
The modular approach also allows for flexibility. As you gain experience, your priorities may shift. You might realize you need better audio instead of more lighting—or vice versa.
This prevents regret purchases.
tip 5: maximize what you already have
Before buying anything new, take inventory of what you already own. You’d be surprised how much of your existing setup can be repurposed.
common overlooked resources:
- Smartphones (excellent cameras for beginners)
- Natural lighting (windows are powerful tools)
- Household furniture (tables, shelves)
- Blankets (can act as sound dampeners)
example: zero-cost studio hacks
| Need | Budget Solution |
|---|---|
| Soundproofing | Thick curtains or blankets |
| Lighting | Window light + white reflector |
| Camera stand | Stack of books or DIY mount |
| Background | Plain wall or bedsheet |
These solutions may not be perfect, but they work—and that’s what matters at the beginning.
A useful rule: exhaust free options before paid ones.
bonus insight: track every expense
Budgeting isn’t just about spending less—it’s about knowing where your money goes.
Keeping a simple expense tracker can prevent overspending and reveal patterns.
basic expense tracking table
| Date | Item Purchased | Cost | Category | Necessary (Y/N) |
|---|---|---|---|---|
| Jan 10 | Microphone | $120 | Core Gear | Y |
| Jan 12 | LED lights | $80 | Aesthetic | N |
| Jan 15 | Desk | $100 | Furniture | Y |
After a month, review your spending. You’ll quickly see where adjustments are needed.
common budgeting mistakes to avoid
Even with the best intentions, beginners often slip into these traps:
- buying “just in case” gear
- chasing trends instead of needs
- ignoring maintenance costs
- prioritizing brand names over functionality
Avoiding these mistakes is just as important as following good strategies.
how these tips work together
Individually, each tip saves money. Together, they create a system.
Here’s how they connect:
- prioritizing function prevents unnecessary purchases
- focusing on core gear ensures essential spending
- buying used stretches your budget further
- modular building reduces risk
- maximizing existing resources eliminates waste
This layered approach is what makes your budget truly powerful.
realistic beginner budget breakdown
Let’s look at a practical example of how a beginner might allocate $500.
table: sample studio budget allocation
| Category | Budget | Notes |
|---|---|---|
| Core Gear | $250 | Microphone, basic camera, etc. |
| Lighting | $80 | Simple setup or DIY |
| Furniture | $70 | Used desk/chair |
| Accessories | $50 | Cables, mounts |
| Emergency Reserve | $50 | Repairs or unexpected costs |
This kind of planning keeps you grounded and prepared.
final thoughts
Building a studio on a budget isn’t about cutting corners—it’s about making intentional decisions. The difference between a struggling beginner and a confident one often comes down to how they approach spending.
You don’t need the best gear. You need the right gear.
You don’t need everything. You need what works.
Start small, stay focused, and let your studio grow with you.
frequently asked questions
- how much should a beginner spend on a studio setup?
There’s no fixed number, but many beginners start effectively with $300–$1000. The key is to prioritize essential gear and avoid unnecessary purchases. - is it okay to use a smartphone instead of a professional camera?
Yes. Modern smartphones are capable of producing high-quality content, especially when paired with good lighting and audio. - how can i improve sound quality on a low budget?
Use soft materials like curtains, carpets, and cushions to reduce echo. Positioning your microphone correctly also makes a big difference. - should i buy cheap or save for expensive equipment?
Focus on value rather than price. A mid-range, reliable product is often better than the cheapest or most expensive option. - when should i upgrade my studio gear?
Upgrade when your current equipment limits your output or quality—not when you simply want something new. - what is the biggest mistake beginners make when budgeting?
Trying to build a “perfect” studio too quickly. This often leads to overspending and underutilized equipment.