
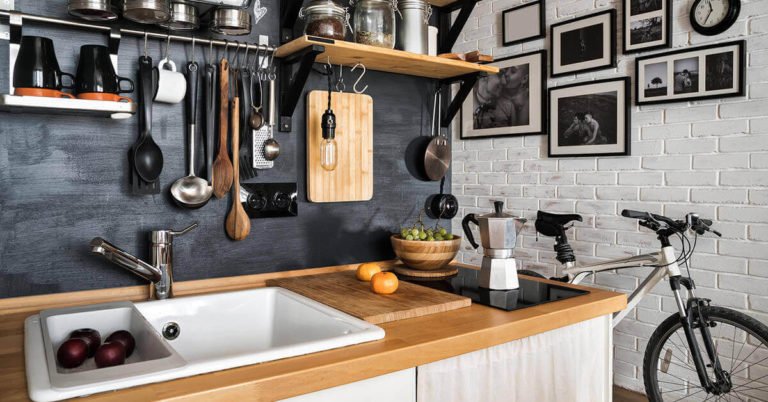
My breaking point came on a Tuesday night when I opened my only closet to grab a hoodie and an avalanche of miscellaneous stuff came tumbling out. A yoga mat, two shoeboxes, a printer I hadn’t used in eight months, and a bag of “I’ll deal with this later” items I’d apparently been accumulating since I moved in.
I stood there in the middle of my 400-square-foot studio, surrounded by my own stuff, and genuinely thought — where is all of this supposed to go?
The problem wasn’t that I owned too much (okay, maybe a little). The real problem was that I was only using the obvious storage spots. The closet. The one shelf in the kitchen. The single drawer by my bed. I was completely ignoring all this hidden, usable storage that was sitting right in front of me — or technically, right under me, above me, and behind me.
Once I started actually hunting for hidden storage instead of just buying more furniture to pile stuff on, everything changed. My apartment feels calmer, bigger, and I can actually find things when I need them.
Here are the five hidden storage hacks that made the biggest real difference for me.
1. The Space Under Your Bed Is a Second Closet — Start Treating It That Way
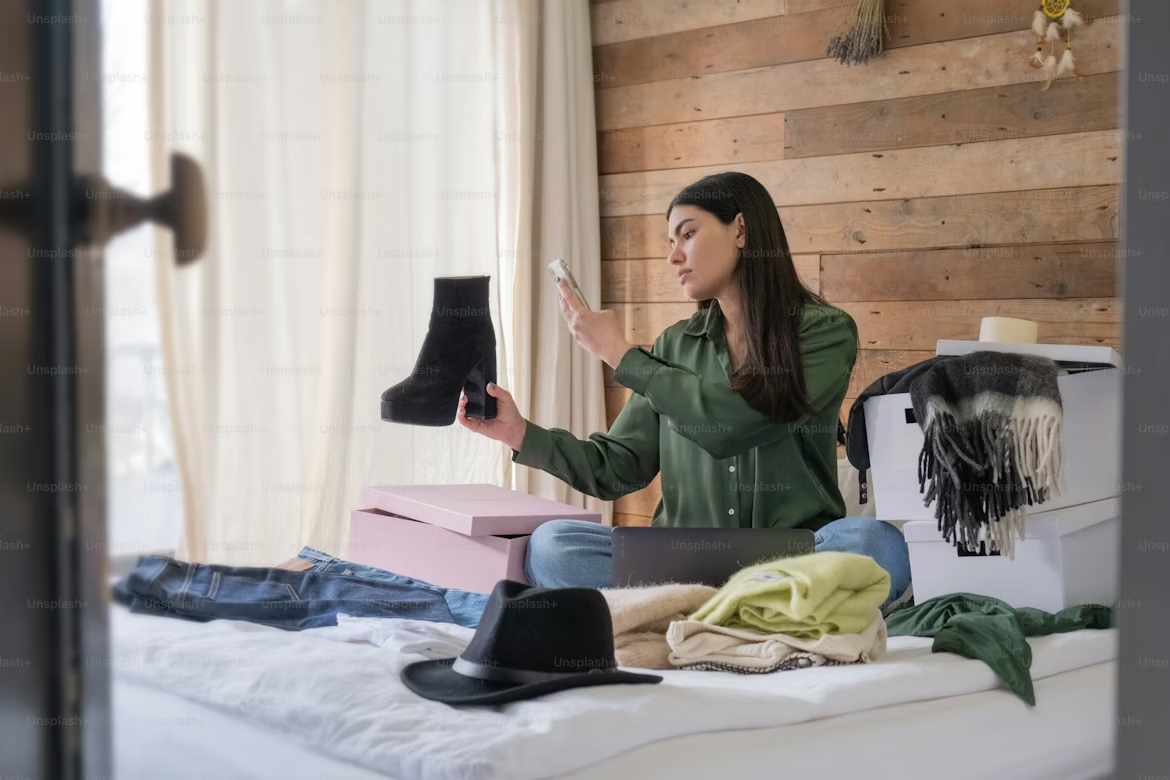
I know, I know. “Under the bed storage” sounds like something everyone’s already doing. But hear me out — because most people are doing it wrong, and the difference between doing it right and doing it poorly is massive.
When I first used under-bed storage, I just shoved flat storage bins under there without any system. Within three months it was a graveyard of forgotten items that I stopped mentally counting as storage because digging anything out required moving the whole bed.
The right way to do it comes down to three things: accessible bins, categorized contents, and the right clearance.
Step 1: Measure your bed clearance first. Most bed frames give you 7–12 inches of clearance. If yours is on the lower end, you may need to add risers (basic ones from Amazon run about $10–15 and can add 3–5 inches of height).
Step 2: Use rolling bins, not just flat ones. The rolling part is non-negotiable — being able to slide a bin out without kneeling and reaching is the difference between actually using this storage and forgetting it exists.
Step 3: Categorize by season or frequency. I have two bins under my bed. One has off-season clothes in vacuum-sealed bags (these compress down to almost nothing — a pack of SpaceSaver bags is around $20 and genuinely impressive). The other has extra bedding and towels.
What I got wrong the first time: I stored random mixed stuff under there — some clothes, some papers, some cables, some things I couldn’t even identify. When you mix categories, the whole thing becomes mentally inaccessible. You know stuff is under there but you never know quite what, so you stop thinking of it as usable storage.
Here’s a rough idea of how much you can store with proper under-bed organization:
| Item Category | Storage Method | Approximate Capacity |
|---|---|---|
| Off-season clothing | Vacuum seal bags in flat bin | 2–3 seasons of clothes |
| Extra bedding/pillows | Large rolling bin | 2 full sets |
| Shoes | Shoe-specific flat organizer | 6–10 pairs |
| Extra towels/linens | Lidded flat bin | 4–6 sets |
For even more ideas on maximizing this space, 6 best studio apartment space hacks for under-your-bed storage goes really deep on configurations that work for different types of beds and floor plans.
2. The Gap Between Your Fridge and Wall (or Cabinets) Is Wasted Gold
This one took me embarrassingly long to notice.
There’s almost always a narrow gap — sometimes 4 inches, sometimes 8 — between your refrigerator and the adjacent wall or cabinet. In my apartment it was about 6 inches wide. For two years I looked at that gap and thought “useless dead space.”
Then I discovered pull-out pantry organizers — essentially slim rolling shelves designed specifically for these gaps. You can find them on Amazon or at Container Store for anywhere between $30–$80 depending on height and quality.
Mine holds: canned goods, oils and vinegars, spice jars, dish soap refills, and a few miscellaneous kitchen items that used to crowd my one cabinet.
The whole thing slides out on wheels, you grab what you need, you slide it back. From the front, it’s nearly invisible — just a slim panel flush with the cabinet face.
The thing nobody mentions: measure the gap carefully before buying. The width varies and some organizers are slightly wider than their listed dimensions. Measure twice, order once. I had to return my first one because it was a half-inch too wide to actually slide in smoothly.
Also check the height. If your gap runs under upper cabinets, a too-tall organizer obviously won’t work. Most come in adjustable heights, but verify before purchasing.
This is one of my favorite examples of storage that’s completely hidden in plain sight — no one walking into your kitchen knows it’s there, but it holds probably 25% of my pantry.
3. Inside Cabinet Doors — the Storage Real Estate Nobody Uses
Open any cabinet in a typical studio apartment and you’ll see shelving inside. What you probably won’t see is the door itself being used for anything.
That flat interior surface of every cabinet door is free, accessible storage that most people completely ignore.
Here’s what I’ve mounted on the inside of cabinet doors across my apartment:
Kitchen cabinet doors:
- An over-door organizer for spices (magnetic tins on a magnetic strip — this looks really clean and holds about 20 spices)
- A small plastic rack for pot lids (pot lids are the worst for taking up shelf space; moving them to a door rack freed up an entire shelf)
- Adhesive hooks for measuring cups and spoons
Under-sink cabinet door:
- A tension rod fitted inside to hang spray bottles by their triggers (this is such a simple hack but it doubles the usable space under the sink instantly)
- Adhesive hooks for dish gloves and scrubbers
Bathroom cabinet door:
- An over-door organizer for hair tools, accessories, and small products
The key for renters: most of these solutions use tension rods, adhesive hooks (Command strips in particular), or over-door hangers that require zero drilling and leave zero damage. I’ve moved twice with all of these and none of them left so much as a scuff.
One mistake I made: I overloaded an adhesive hook with a heavy cast iron pan lid. The hook eventually gave way and the lid fell, chipping the cabinet interior. Adhesive solutions work great for light items; anything heavy needs a proper over-door rack or a tension rod system that doesn’t rely on adhesive.
If you want to pair this with some smart clutter-cutting strategies, 13 essential studio apartment space hacks to cut clutter cheaply has some really practical overlap with this approach — especially the kitchen and bathroom sections.
4. The Space Above Your Cabinets and Door Frames
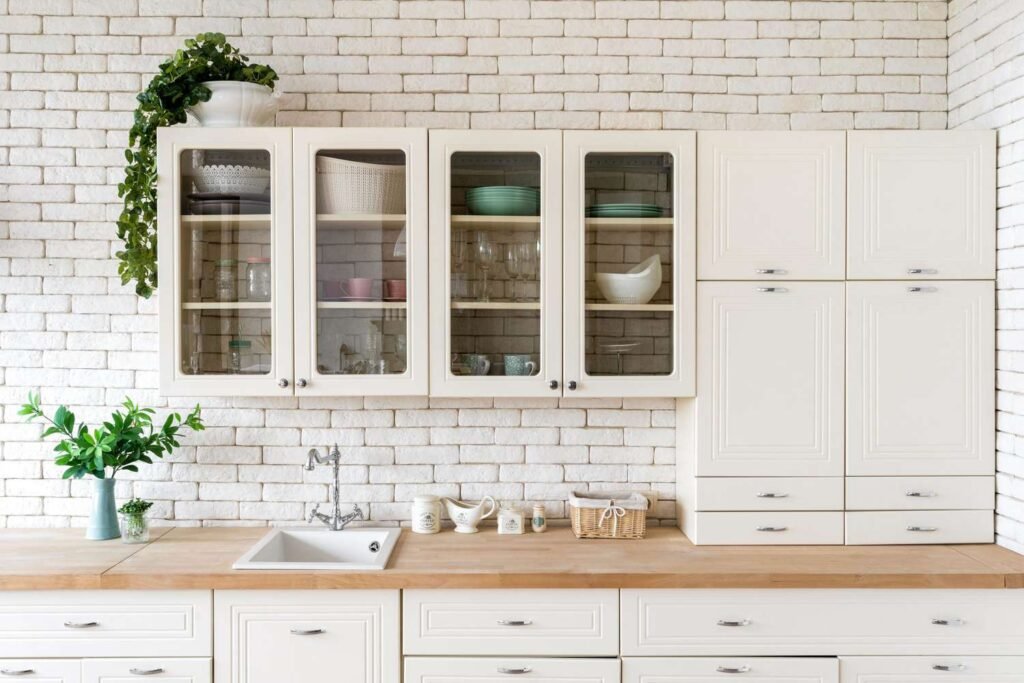
Look up right now. In most studios and small apartments, there’s a gap of anywhere from 6 inches to 2 feet between the top of your cabinets and the ceiling. There’s also the space above door frames that’s almost always completely empty.
This dead zone above the cabinets is genuinely useful — just not for things you need every day.
What I store above my kitchen cabinets:
- Large appliances I rarely use (slow cooker, extra blender jar)
- A set of nice dishes I only bring out for guests
- Decorative items that would otherwise clutter surfaces
- Extra paper goods (bulk napkins, paper plates for moving day)
The trick to making this look intentional rather than chaotic: use matching baskets or bins. If you just pile stuff up there uncontained, it looks messy from below even when it’s technically organized. Uniform baskets give it a styled, deliberate look.
I use four identical woven baskets above my kitchen cabinets — two for rarely used appliances, one for extra serving ware, one for random bulk items. From below it looks like a decorative shelf situation. Nobody knows there’s a slow cooker in basket number two.
Above door frames work well for books, decorative objects, or rolled items like extra blankets in a basket. IKEA makes a simple ledge shelf (the RIBBA picture ledge, actually) that mounts flat against the wall and sits just above a door frame beautifully. It’s primarily sold for art display but works brilliantly as a narrow shelf.
The height makes this space genuinely “hidden” in daily life — you barely register it visually, which means it also keeps the room feeling visually clean even when it’s storing things.
5. Furniture with Secret Storage — Choosing Pieces That Work Double Duty
This is less of a single hack and more of a buying philosophy that changed how I furnished my studio — and once you start thinking this way, you can’t stop.
Every piece of furniture in a small apartment should ideally serve at least two purposes. One of those purposes, wherever possible, should be storage.
But I’m not just talking about the obvious stuff like ottomans with lids (though those are great). I mean really hunting for pieces where the storage is built in and invisible — not just a box with a lid.
Here are the specific pieces that gave me the most hidden storage:
Bed frame with drawers: The IKEA BRIMNES or MALM with built-in drawers is the gold standard here. The drawers are flush with the frame, they look completely intentional, and they hold an enormous amount. Mine has two large drawers on each side — I’ve fit my entire off-season wardrobe plus spare linens in them.
Hollow ottoman with interior storage: I replaced my coffee table with a large upholstered ottoman that opens at the top. Blankets, extra cushions, board games, chargers — all of it lives inside. Closed, it looks like a regular stylish ottoman.
Bench at the foot of the bed: Mine has a hinged lid and holds shoes, bags, and seasonal accessories. It also serves as a seat when I’m putting shoes on and a surface for laying out clothes the night before. Three jobs, zero extra footprint.
Desk with built-in storage: I switched from a plain flat desk to one with a hutch and drawers. All my work stuff (notebooks, cables, stationery, paperwork) now lives in the desk itself instead of spreading across the surface.
| Furniture Piece | Hidden Storage | What I Store Inside |
|---|---|---|
| Bed frame with drawers | Large built-in drawers | Off-season clothes, spare linens |
| Storage ottoman | Interior compartment | Blankets, games, chargers |
| Storage bench | Hinged lid | Shoes, bags, accessories |
| Desk with hutch | Drawers and shelves | All work supplies |
| Sofa with chaise | Under-chaise storage | Extra pillows, yoga mat |
The key is to make these buying decisions before you furnish, not after. When I first moved in, I bought a basic platform bed with no storage because it was cheaper. I later replaced it with a storage bed and the difference in available space was significant — but I’d already spent money on the first bed. Buy smart the first time.
For a wider look at how furniture choices affect your whole setup, 8 effective space hacks for a clutter-free studio apartment lifestyle covers the furniture-meets-storage intersection really well.
The Hidden Storage Mistakes That Undo All Your Progress
Even with all five of these hacks in place, a few common mistakes can quietly sabotage the whole system:
Storing things you don’t actually use. Hidden storage is not permission to keep everything you own. If something hasn’t been touched in a year and it’s not seasonal, it probably doesn’t need a home in your apartment at all. Hidden storage should hold things you use — just not every day. Not things you’re avoiding making a decision about.
No labeling system. The moment you can’t remember what’s in a bin, that bin becomes mentally inaccessible. A label maker (the Brother P-touch is like $25 and 100% worth it) or even masking tape and a marker keeps everything findable.
Over-packing hidden spots. The temptation when you find hidden storage is to fill it completely. Resist. A bin that’s 80% full is functional — you can see and access everything. A bin that’s 100% full means you’re digging every time.
Ignoring the bathroom. The bathroom in a studio is almost always the most neglected storage zone. Under the sink, the back of the door, the wall above the toilet — all viable hidden storage that most people don’t tap into.
Mixing categories across hidden zones. Try to keep similar things together in hidden storage, same as visible storage. When you need your winter clothes, you shouldn’t have to check three different locations to find them all.
Where to Start This Weekend
If you’re staring at your studio right now wondering where to begin, here’s the honest order I’d approach it:
First, look under your bed and figure out what’s already there versus what you could properly store there with the right bins. This gives you the most capacity for the least money.
Second, check every cabinet door in your kitchen and bathroom — both are almost certainly untapped.
Third, look up. The space above your cabinets is probably already there, just unorganized.
The fridge gap and furniture upgrades can come later as budget allows — both involve spending some money, while the first three can be started with things you might already have or for under $30.
Hidden storage rewards patience. You start noticing pockets of space everywhere once you train your eye to look for them — above doors, inside furniture, behind things, underneath everything. Your apartment didn’t get bigger, but your usable space absolutely did.