
I still remember the moment I realized I’d been living wrong in my studio for almost eight months.
I was standing in the middle of my 380-square-foot apartment, surrounded by stuff that had nowhere to go, feeling like the walls were slowly closing in. I had shelves. I had bins. I had those little over-the-door organizers everyone recommends. And yet — chaos.
It wasn’t until a friend visited and casually said, “Why is your vacuum cleaner just… living next to your couch?” that it hit me. I wasn’t short on space. I was short on smart storage habits.
If you’re in a studio and constantly feel like no matter what you do, the clutter wins — you’re probably making at least one of these six storage mistakes. I’ve made all of them. Let me save you the eight months of frustration.
1. Ignoring Vertical Space Completely
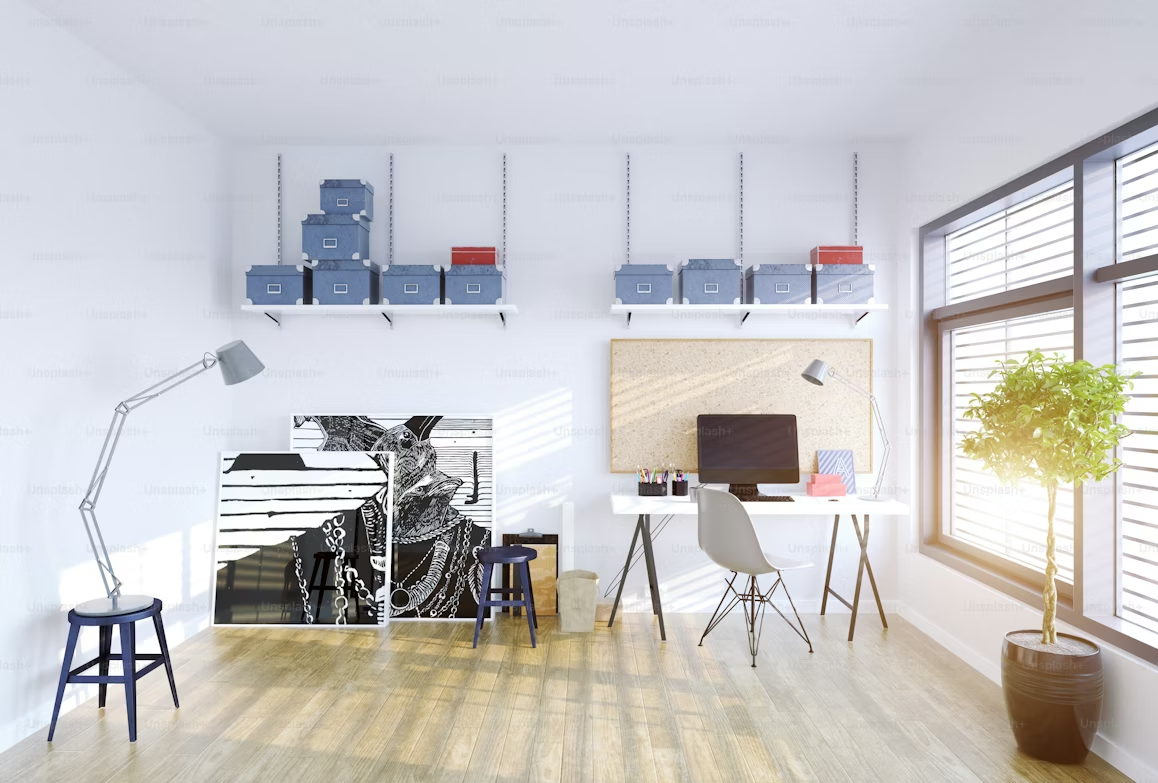
This one is so common it almost hurts. Most people in studio apartments think about storage horizontally — the floor, the countertops, the table surfaces. But look up. Seriously, right now, look up at your walls.
That space between the top of your furniture and the ceiling? That’s prime real estate you’re leaving completely empty.
When I finally installed floating shelves that went all the way up to the ceiling in my kitchen corner, I suddenly had room for my cookbooks, rarely-used appliances, and a ridiculous collection of mugs I refuse to get rid of. None of it was taking up counter space anymore.
The mistake most people make is stopping shelves at eye level because “that’s where it’s comfortable to reach.” Fair. But the stuff you don’t need every single day — seasonal items, backup supplies, extra linens — those can live up high where you rarely need to grab them.
What to do instead:
- Install floating shelves in a vertical column rather than just one or two at mid-height
- Use the top of wardrobes and cabinets with lidded storage boxes
- Try stackable clear bins so you can actually see what’s on those high shelves
- Get a small step stool that stores flat — it’ll become your best friend
For more ideas on going vertical, check out these 9 Secret Studio Apartment Space Hacks for Vertical Storage that honestly changed how I think about wall space entirely.
2. Buying Storage That Doesn’t Fit Your Actual Life
Here’s a mistake I see constantly: someone buys a gorgeous set of matching wicker baskets, lines them up on a shelf, and fills them with… random stuff they can’t find later.
Storage only works if it matches how you actually live, not how you wish you lived.
I bought a beautiful divided tray for my desk once because it looked great in a YouTube video. In reality, I’m the kind of person who dumps everything in one pile when I’m busy. The tray sat empty while my actual clutter lived on top of it.
Before buying any storage product, ask yourself these three questions:
- Will I actually put things away using this system, or am I buying it for the aesthetic?
- Does this fit the size and shape of what I’m storing?
- Can I access what’s inside quickly, or is it buried behind other things?
A tension rod under your sink costs almost nothing and suddenly gives you a second “shelf” for spray bottles. A shoe rack on the back of your front door can hold way more than just shoes — scarves, bags, dog leashes, umbrellas. These aren’t glamorous solutions, but they work because they fit real behavior.
Quick Storage Fit Checklist:
| Storage Item | Good For | Bad For |
|---|---|---|
| Open bins | Frequently used items | Small loose things |
| Lidded boxes | Seasonal/rarely used items | Daily essentials |
| Clear organizers | Junk drawers, kitchen tools | Aesthetic-sensitive spots |
| Over-door racks | Bathroom, pantry, entry | Heavy items |
| Vacuum storage bags | Off-season clothes, bedding | Anything you need often |
3. Treating Your Bed Like Just a Bed
If you’re not using the space under your bed, you’re wasting what might be the single biggest storage opportunity in your entire studio.
A standard bed frame gives you somewhere between 7 and 13 inches of clearance underneath. That’s enough space to store an entire wardrobe of off-season clothes, extra bedding, shoes, luggage — you name it.
The mistake people make is either throwing stuff under there randomly (creating a black hole of forgotten items) or not using it at all because it “looks messy.”
Both are fixable.
Flat rolling bins with lids are a game-changer here. They slide in and out easily, keep things dust-free, and because they’re organized, you actually know what’s inside. Label them. Seriously, just label them — it takes 30 seconds and saves you 10 minutes of digging later.
If your bed frame doesn’t have enough clearance, bed risers are cheap (usually under $15) and can lift your bed an extra 3 to 6 inches without affecting how the bed looks or feels to sleep in.
For even more ideas on this, 6 Best Studio Apartment Space Hacks: Under Your Bed Storage is worth a read — it goes deeper into specific products and setups that actually work in tight spaces.
4. Keeping Things You Don’t Actually Use
Okay, this one is less about furniture and more about habit — but it might be the most impactful mistake on this list.
Storage problems in studio apartments are often not really storage problems. They’re stuff problems.
I had two boxes of cables in my studio for two years. Two full boxes. I didn’t know what half of them were for. I kept them because “you never know.” When I finally sorted through them, I found cables for devices I hadn’t owned since 2017.
The brutal truth is that in a small space, every item needs to earn its place. If you’re constantly running out of storage, the first question should be “what can I let go of?” before “where can I cram more stuff?”
A practical approach:
- Do a “one year rule” pass: if you haven’t used it in 12 months, it goes
- Digitize where you can — old photos, documents, CDs, even books (libraries and Libby are free)
- Be ruthless about duplicates — four spatulas in a studio kitchen is not serving you
Once you stop keeping things out of guilt or “just in case” thinking, you’ll be genuinely shocked at how much space you suddenly have without buying a single storage bin.
5. Ignoring the Walls in Specialized Rooms
The bathroom and kitchen in studio apartments are usually tiny — and they’re also the places where most people completely give up on creative storage.
In the bathroom, if the only storage you’re using is under the sink and maybe a small cabinet, you’re missing a lot. The walls are completely open territory.
A simple pegboard above the toilet, a magnetic strip for bobby pins and metal accessories, small floating shelves in whatever gap exists between the sink and the mirror — these things take almost no effort to install and dramatically increase usable space.
In the kitchen, the inside of cabinet doors is wasted almost universally. Stick-on hooks or small tension rod systems on the inside of cabinet doors can hold everything from pot lids to plastic wrap and aluminum foil rolls, cleaning gloves to cutting boards.
The back wall behind your stove (if it’s accessible) is another ignored zone. A simple rail with hooks can hold your most-used pots, pans, and utensils — which also means they’re off your counter and off your precious cabinet shelf space.
Common Ignored Wall Spaces and What to Do With Them:
| Ignored Space | Simple Fix |
|---|---|
| Above the toilet | Floating shelf or leaning ladder rack |
| Inside cabinet doors | Adhesive hooks or tension rod |
| Between fridge and wall | Slim rolling cart |
| Space above kitchen cabinets | Decorative baskets for bulk storage |
| Bathroom mirror sides | Small magnetic strips |
For a full breakdown of bathroom-specific storage ideas, Transform Your Tiny Bathroom with These Studio Apartment Space Hacks covers a lot of ground on how to squeeze more function out of a cramped bathroom without any major renovations.
6. Buying Furniture That Only Does One Thing
This is probably the most expensive mistake on the list, and it’s one I made when I first moved into my studio.
I bought a regular dining table. A regular coffee table. A regular bed frame. All perfectly functional, all completely single-purpose.
In a studio, single-purpose furniture is a luxury you mostly can’t afford — not because of money, but because of space.
An ottoman with storage inside can be a coffee table, extra seating, a footrest, AND a place to store blankets and board games. A dining table that folds against the wall gives you a full dining area when you need it and open floor space when you don’t. A bed frame with built-in drawers means you don’t need a separate dresser.
Every piece of furniture in a studio apartment should ideally do at least two jobs. It’s not about buying expensive things — IKEA, Wayfair, and even Facebook Marketplace have tons of multi-functional pieces at every budget level.
When you’re shopping for furniture, run this quick mental check:
- What is the primary function of this piece?
- What secondary function could it serve?
- Does it have any built-in storage?
- When it’s not in use, can it collapse, fold, or tuck away?
If the answer to all four is basically “no,” keep looking.
A Quick Recap Before You Start Making Changes
Here’s a simple one-page summary of the six mistakes and what to do instead:
| Mistake | The Fix |
|---|---|
| Ignoring vertical space | Add shelves all the way to the ceiling |
| Buying storage that doesn’t fit your habits | Choose systems that match how you actually live |
| Treating your bed as just a bed | Use rolling bins, bed risers, and under-bed storage |
| Keeping things you don’t use | Declutter before organizing |
| Ignoring walls in kitchens and bathrooms | Use door backs, pegboards, rails, and strips |
| Single-purpose furniture | Prioritize multi-functional pieces |
One Last Thing
The biggest shift for me wasn’t buying anything. It was changing how I thought about the space.
A studio isn’t a “small apartment.” It’s a deliberately efficient one. Once you start looking at every surface, every corner, every door back, and every leg of furniture as potential storage — the whole place starts to feel different.
You don’t need more square footage. You just need to use what you have better.
Start with one mistake from this list. Fix that. Then move to the next. You’ll be surprised how quickly a few small changes can completely transform how your studio feels to live in.