
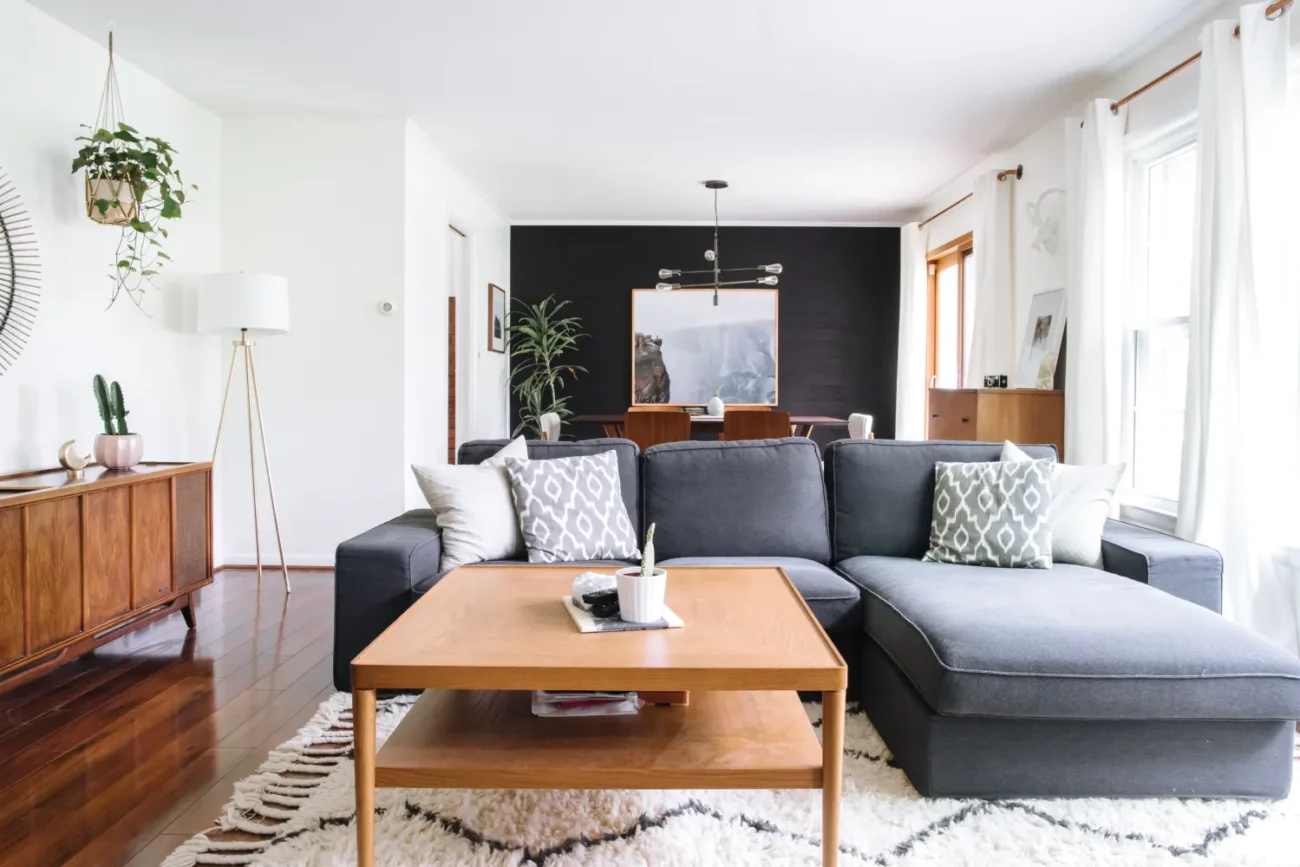
When I moved into my first studio apartment, I had exactly $400 left after paying rent and deposit. Not $400 for decor. $400 total — for groceries, utilities, and somehow making a 380-square-foot box feel like a place I actually wanted to come home to.
I remember standing in the middle of that empty room thinking, “This is either going to break me or make me really creative.” Spoiler: it did both.
Over the next few months, I tested, failed, googled at midnight, and slowly figured out what actually works when you’re broke but refuse to live in a space that looks like a storage unit. These aren’t “just buy an IKEA shelf” tips. These are real things I did, things that surprised me, and a few mistakes I made so you don’t have to.
1. I Stopped Buying Furniture and Started Thrifting Strategically
The biggest money trap in studio living? Buying everything new. I did this with my first bed frame — a $200 particle board situation from a big box store that looked cheap the moment I assembled it.
Then a friend dragged me to a Facebook Marketplace pickup and I watched her buy a solid wood dresser with brass handles for $35. It looked like something from a boutique hotel.
That was my turning point.
Here’s the strategy I developed after dozens of thrift runs:
- Look for solid wood pieces only. They photograph well, last forever, and clean up beautifully.
- Ignore the color. Everything can be spray painted or stained.
- Search for “moving sale,” “relocation,” and “staging furniture” on Marketplace. These sellers want things gone fast and often have high-quality pieces.
- Go early on Saturdays. Serious sellers post Thursday night. The good stuff disappears by Saturday morning.
One of my best finds: a pair of matching nightstands for $20 total. I spray-painted them matte black, added gold knobs from Amazon ($8 for 10), and people genuinely thought I bought them from West Elm.
2. The Paint Trick Nobody Talks About Enough

I wasn’t allowed to paint my walls — classic rental situation. But here’s what I could do: paint everything else.
I bought a single can of chalk paint (about $15 at Walmart) and used it on:
- An old wooden tray I found at Goodwill
- The legs of a plastic side table
- A ceramic lamp base
- Picture frames from the dollar store
Chalk paint is forgiving, dries fast, and doesn’t need primer. The transformation was embarrassing — in a good way. Things that looked like garbage suddenly looked intentional.
If you can paint an accent wall, do one in a deep, moody color. Terracotta, forest green, navy. A single bold wall makes a studio feel designed rather than default. I’ve seen this done even on a rental with removable wall paint (yes, that’s a thing — brands like Backdrop and Clare make peel-off rental-friendly options).
3. Lighting Changed Everything — and Cost Me Almost Nothing
This is the hack I wish someone had told me on day one.
Overhead lighting in apartments is almost always terrible. That single harsh bulb in the center of the ceiling is doing your space zero favors. The fix isn’t buying an expensive fixture — it’s layering.
Here’s exactly what I did:
Step 1: Bought two floor lamps from IKEA (HEKTAR series, about $30 each) and placed them in opposite corners.
Step 2: Added a string of warm LED Edison bulbs along the top of my bookshelf — $12 on Amazon, plugged straight into the wall.
Step 3: Replaced every single overhead bulb in the apartment with warm-toned LEDs (2700K temperature). This cost me $14 for a pack of 6 at Home Depot.
Step 4: Bought two plug-in sconces (no electrician needed) and mounted them on either side of my bed using the Command strip mounting method. Total cost: $40 for both.
The result? My apartment went from looking like a college dorm to something you’d see on an interior design Instagram page. Multiple people asked if I’d hired someone.
| Lighting Element | Cost | Impact Level |
|---|---|---|
| Warm LED bulb swap | $14 | High |
| String lights on shelf | $12 | Medium-High |
| Two floor lamps | $60 | Very High |
| Plug-in wall sconces | $40 | High |
| Total | $126 | Transformative |
Lighting is the single highest ROI change you can make in a studio. Period.
4. I Used Rugs to Define Zones (and Fool the Eye)
One of the strangest things about studios is that everything bleeds into everything else. Your bed is basically in your living room, which is also your office. Without visual separation, the whole space feels chaotic.
Rugs fix this — but not any rug. The right rug.
My mistake early on: I bought a 4×6 rug because it was cheap. It made the space look smaller and weirdly disconnected, like a floating island in the middle of nowhere.
What actually works:
- Go bigger than you think. In a living area, your sofa legs should sit on the rug, not float next to it. A 8×10 rug in a studio sounds wild, but it anchors the space and makes the room feel intentional.
- Layer rugs for texture. A flat-woven base rug with a smaller, textured rug on top looks incredibly layered and high-end. I got a jute rug from IKEA for $49 and layered a vintage-style runner on top (thrifted for $18).
- Use rugs as zone dividers. A rug under your desk area and a different one under your bed creates two distinct “rooms” without a single wall.
If you want to explore how zones can transform an open floor plan, this article on 8 Mighty Studio Apartment Hacks for Open Floor Plans breaks it down really well.
5. Dollar Store + DIY = Decor That Looks Custom
I know. The dollar store sounds like the opposite of “expensive looking.” But hear me out.
There’s a specific way to use dollar store finds that completely disguises their origin. The key is grouping, finishing, and framing.
What I bought:
- Plain white ceramic pots (3 for $3)
- Small picture frames in matching sizes
- Candle holders
- Baskets and trays
What I did with them:
The pot trick: Bought six small white pots, planted propagated cuttings from my existing plants (free), and arranged them on a wooden board I found on the curb. Guests thought it was a styled plant installation.
The gallery wall: Bought 12 matching black frames from the dollar section at Target. Printed black-and-white photos at CVS for $0.29 each. Arranged them in a grid. Total cost: about $15. It looks like a designer touch.
Tray styling: A plain wooden tray from the dollar store becomes a “styled vignette” when you put a candle, a small plant, and a stack of books on it. It’s ridiculous how well this works.
The trick with budget finds is to always commit to a consistent color palette. If everything is black and white, or all-neutral, even cheap things read as curated.
6. Vertical Space: The Free Square Footage You’re Ignoring

Here’s a math problem nobody told me about when I moved in: if your apartment is 380 square feet and your ceilings are 9 feet tall, you actually have access to a lot more usable space — you’re just not using it.
I spent months organizing horizontally, shoving things into corners, buying more flat storage. Nothing worked until I went vertical.
What changed everything:
Floating shelves above the sofa. I installed three IKEA LACK shelves (about $10 each) in a staggered pattern above my couch. Suddenly I had space for books, plants, and decor without taking up a single inch of floor space.
A pegboard in the kitchen. This sounds extremely Pinterest and it is, but it’s also genuinely functional. Moved pots, utensils, and even a small plant onto the wall. Freed up two entire cabinet shelves.
Over-door organizers in every doorway. Behind my front door, bathroom door, and closet door. These hold shoes, cleaning supplies, toiletries, and snacks. Invisible when the door is open. Game changing when the door is closed.
Tall, narrow bookshelf instead of a wide, short one. A bookshelf that goes to the ceiling draws the eye upward and makes the room feel taller. I found a tall BILLY bookcase at a used furniture shop for $25.
If vertical storage is something you’re working on, this guide to 9 Secret Studio Apartment Space Hacks for Vertical Storage is actually really solid and goes deeper on the specifics.
7. Plants: The Cheapest Luxury Item You Can Add
This sounds soft as a tip, but I’m serious — nothing made my apartment look more expensive than adding plants.
And I’m not talking about spending $60 on a fiddle leaf fig that dies in three weeks (I’ve done this, it’s painful). I’m talking about being strategic.
The propagation hack: I asked neighbors with plants if I could take cuttings. Got pothos, snake plant, and philodendron starts for free. These are the easiest plants in existence — they survive in low light and general neglect. I now have 14 plants in my studio and I think I’ve spent maybe $30 total on all of them over two years.
Where to put them for maximum effect:
- A tall plant (snake plant, rubber tree) in an empty corner instantly fills dead space
- Small plants on floating shelves add life to book displays
- A trailing plant on top of a cabinet or fridge looks incredibly intentional
- A cluster of three plants in different sizes always looks better than one lone plant
The pot upgrade move: Dollar store white pots, or cheap nursery pots, look instantly elevated when you swap them for a terracotta pot (thrift stores have tons) or even a simple woven basket as a cover pot. No repotting needed — just drop the plastic pot inside.
I’ve genuinely had people ask me if I hired a plant stylist. There is no such thing that I’m aware of. It’s just propagated pothos in a thrifted pot.
A Few Mistakes I Made (So You Don’t Have To)
Buying too much, too fast. I panic-bought a bunch of cheap decor in my first week because the empty space made me anxious. Half of it got donated within two months. Now I sit with an empty space for at least a week before buying anything. You’ll figure out what you actually need.
Matching everything. I thought a “matching set” looked put-together. It actually looks flat and catalog-boring. The best spaces mix textures, eras, and materials. A vintage lamp with a modern sofa. A rustic wood shelf with clean white walls. Mix on purpose.
Ignoring the entryway. My front door opened directly onto chaos for months. A small hook rail ($12 at Amazon) and a little rug changed everything. The entry sets the tone for the whole apartment — even if it’s two square feet.
Buying storage bins before decluttering. I did this backwards. Bought a bunch of pretty baskets to organize my stuff, then realized I just had too much stuff. Declutter first, then organize. Always.
The Real Cost Breakdown
| Hack | What I Spent | Estimated “Look Value” |
|---|---|---|
| Thrifted furniture | ~$80 total | $800+ |
| Paint & supplies | ~$30 | $200+ |
| Lighting overhaul | ~$126 | $400+ |
| Rugs (layered) | ~$67 | $300+ |
| Dollar store DIY | ~$20 | $150+ |
| Vertical shelving | ~$55 | $250+ |
| Plants & pots | ~$30 | Priceless, honestly |
| Total | ~$408 | $2,100+ |
That’s real math from a real apartment. Not a sponsored blog post. Not a Pinterest fantasy. An actual 380-square-foot box that now gets compliments every time someone visits.
The truth about making a studio look expensive isn’t spending more money. It’s being specific, intentional, and a little patient. Every single thing I listed here, I did on a tight budget with basic tools and a lot of YouTube tutorials.
If you’re working within a budget and want to go even deeper on storage that doesn’t look like storage, check out 10 Studio Apartment Space Hacks for Storage You Can’t See — it pairs really well with everything I’ve shared here.
Your studio doesn’t need a renovation. It needs a plan, some patience, and the willingness to see potential in what you’ve already got. Start with lighting. I promise it’ll change everything.