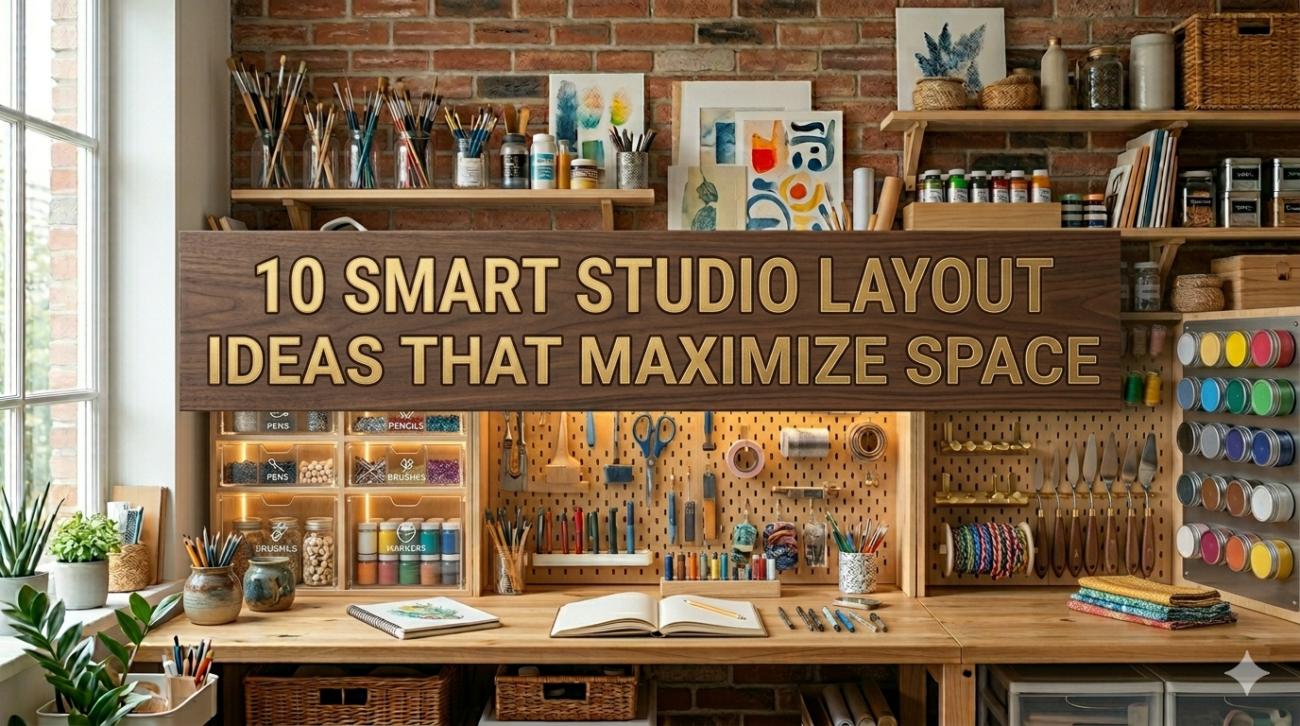
Living in a studio apartment often feels like solving a daily puzzle. You’re working with a single open space that must function as a bedroom, living room, kitchen, office, and sometimes even a dining area. The challenge isn’t just fitting everything in—it’s making it feel comfortable, organized, and visually spacious.
The good news is that smart layout design can completely transform even the smallest studio into a highly functional and stylish home. Below are 10 practical layout ideas that help you maximize space without sacrificing comfort.
- Open-Flow Minimal Layout
An open-flow layout keeps the entire studio visually connected while still organizing it into subtle zones. Instead of using walls, you rely on spacing and minimal furniture placement.
The idea is simple: fewer barriers, more breathing room.
Key principles:
- Keep large furniture against walls
- Avoid blocking natural walking paths
- Use lightweight furniture instead of bulky pieces
Table: Open-Flow Layout Characteristics
| Element | Recommendation | Effect |
|---|---|---|
| Furniture size | Compact or modular | More open space |
| Wall usage | Maximize perimeter | Central openness |
| Decor | Minimal | Less visual clutter |
This layout works especially well for modern, minimalist lifestyles.
- Zoned Layout Using Rugs
One of the easiest ways to define space in a studio is through rugs. Each rug acts like a visual “room marker,” separating sleeping, living, and dining zones.
For example:
- A soft rug under the bed defines the sleeping area
- A patterned rug under the sofa creates a living room feel
- A small rug under a table creates a dining zone
Chart: Visual Zone Separation Impact
| Method | Strength of Separation | Cost |
|---|---|---|
| Rugs | High | Low–Medium |
| Curtains | Medium | Low |
| Walls | Very High | High |
Rugs are especially useful because they add comfort and style while organizing space visually.
- Vertical Layered Layout
When floor space is limited, the only direction left is upward. A vertical layered layout focuses on stacking functionality.
This includes loft beds, tall shelves, and wall-mounted storage systems.
Layout structure:
- Ground level: seating and movement
- Mid level: work or storage
- Upper level: sleeping or additional storage
Table: Vertical Layer Distribution
| Level | Use Case | Benefit |
|---|---|---|
| Top | Sleeping/storage | Saves floor space |
| Middle | Work/TV/storage | Easy access |
| Bottom | Movement/living | Open circulation |
This layout is ideal for ultra-small studios.
- Corner Optimization Layout
Corners are often wasted space in studios, but they can be transformed into highly functional zones.
Examples include:
- Corner desks
- Corner shelving units
- Reading nooks
- Compact dining setups
Even awkward corners can become valuable storage or seating areas.
Chart: Corner Utilization Efficiency
| Corner Use | Efficiency Level |
|---|---|
| Empty corner | 0% |
| Decor only | 20% |
| Storage unit | 70% |
| Workstation | 90% |
Corners are hidden opportunities in small spaces.
- Furniture Wall Layout
In this layout, all major furniture is pushed along the walls, leaving the center open for movement.
This creates a “perimeter living” effect that makes the room feel larger.
Best arrangement:
- Bed against one wall
- Sofa along another wall
- Storage units on remaining walls
Table: Wall-Based Layout Benefits
| Benefit | Explanation |
|---|---|
| More walking space | Center remains open |
| Cleaner visual flow | Walls define structure |
| Flexible rearrangement | Easy to adjust setup |
This is one of the most practical layouts for beginners.
- Floating Furniture Layout
Floating furniture means placing key pieces slightly away from walls to create depth and flow.
Instead of pushing everything flat against walls, you allow breathing space around items.
Examples:
- Floating sofa in center
- Bed slightly offset from wall
- Desk positioned as divider
Chart: Wall vs Floating Layout
| Layout Type | Space Perception | Flexibility |
|---|---|---|
| Wall-hugging | Compact but flat | Low |
| Floating | Spacious & layered | High |
This layout adds a modern, interior-designed feel.
- Dual-Purpose Zone Layout
This layout focuses on combining functions into shared spaces. Instead of separating everything, you layer uses in one zone.
For example:
- Bed + sofa combination
- Dining table + work desk
- Storage + seating bench
Table: Dual-Zone Examples
| Combined Function | Usage |
|---|---|
| Bed + Sofa | Sleep + relaxation |
| Desk + Dining | Work + meals |
| Storage + Seating | Utility + comfort |
This is ideal for extremely small studios where separation is not possible.
- Linear Flow Layout
A linear layout arranges everything in a straight or guided flow from entrance to back wall.
It works especially well in rectangular studios.
Typical flow:
Entrance → Kitchen → Living area → Sleeping zone
Chart: Linear Flow Movement Efficiency
| Layout Type | Movement Ease |
|---|---|
| Random layout | Low |
| Clustered layout | Medium |
| Linear layout | High |
This design makes navigation feel intuitive and structured.
- Hidden Storage Layout
This layout prioritizes integrating storage into every possible surface without making it visually obvious.
Examples:
- Beds with drawers
- Wall panels with compartments
- Stair storage (for loft beds)
- Foldable wall desks
Table: Hidden Storage Types
| Storage Type | Visibility | Efficiency |
|---|---|---|
| Under-bed | Hidden | High |
| Wall panels | Hidden | Medium |
| Furniture-integrated | Hidden | Very High |
The goal is to reduce visible clutter entirely.
- Minimal Central Space Layout
This layout keeps the center of the room completely open, while all furniture is pushed to the edges.
It creates a spacious, gallery-like feeling even in small studios.
Key features:
- Empty central zone
- Edge-based furniture placement
- Light décor only
Chart: Space Distribution Model
| Area | Usage |
|---|---|
| Center | Movement & openness |
| Walls | Storage & furniture |
| Corners | Utility zones |
This layout is perfect for people who value openness and calm environments.
Final Thoughts
Maximizing a studio layout is less about size and more about strategy. With the right combination of zoning, vertical storage, and multifunctional design, even the smallest space can feel open, efficient, and comfortable.
The key is not to overcrowd your space but to let each item serve a purpose and each zone support a lifestyle.
FAQs
- What is the best layout for a very small studio?
A vertical layered layout or minimal central space layout works best because they maximize floor efficiency. - How do I make my studio look bigger without renovation?
Use light colors, open flow layouts, mirrors, and keep the center of the room open. - Should I push all furniture against the walls?
Not always. Floating furniture can create depth and make the space feel larger. - How do I separate bedroom and living space in a studio?
Use rugs, shelving units, curtains, or lighting differences to define zones. - What is the most common studio layout mistake?
Overcrowding the center space instead of using perimeter or vertical storage. - Is multifunctional furniture necessary for studios?
Yes, it significantly improves space efficiency and reduces clutter.