
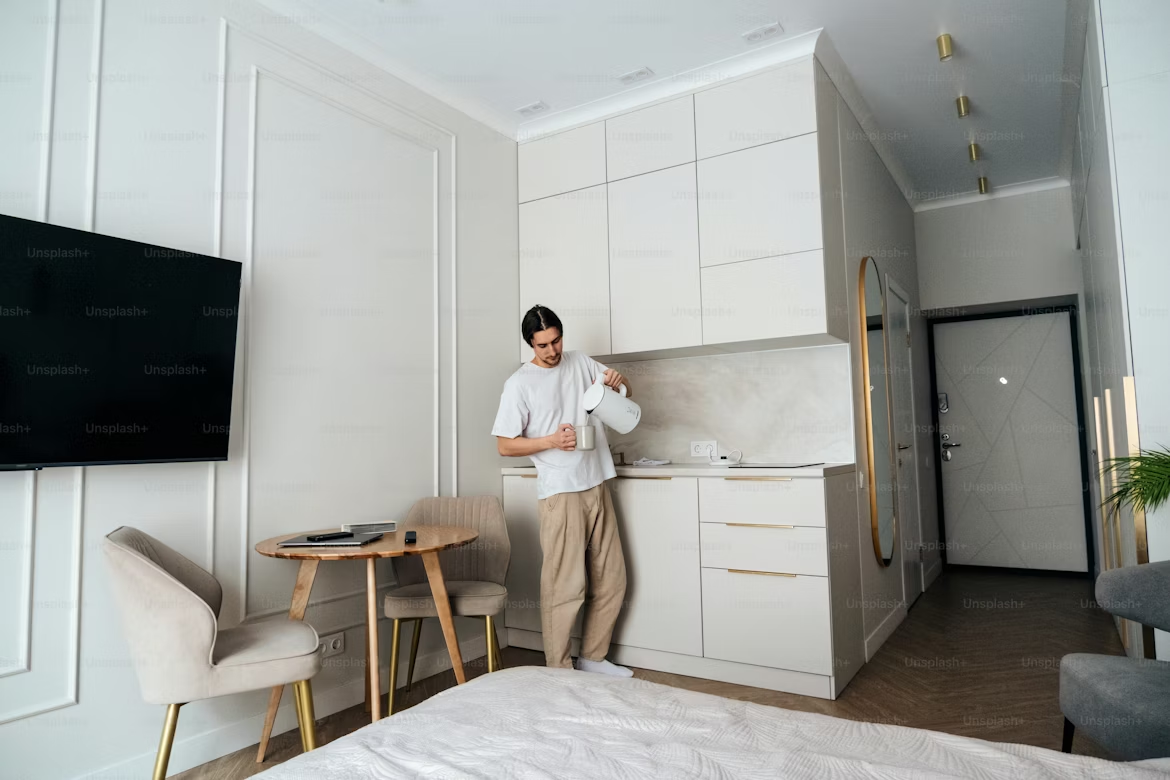
I remember the first month after moving into my studio. I was so proud of myself — I had a budget spreadsheet, a Pinterest board full of inspo, and a firm “I will not overspend” promise to myself. By week three, I’d blown $400 on things I didn’t need, my space looked worse than before, and I was eating instant noodles to compensate.
Turns out, I wasn’t alone. Most people who move into a studio apartment make the same budget mistakes — not because they’re careless, but because nobody actually tells them what not to do before they start spending.
So let me save you some noodle dinners. Here are the four studio budget mistakes that quietly ruin small apartments — and how to fix them before they fix you.
1. Buying Furniture Before Understanding Your Layout
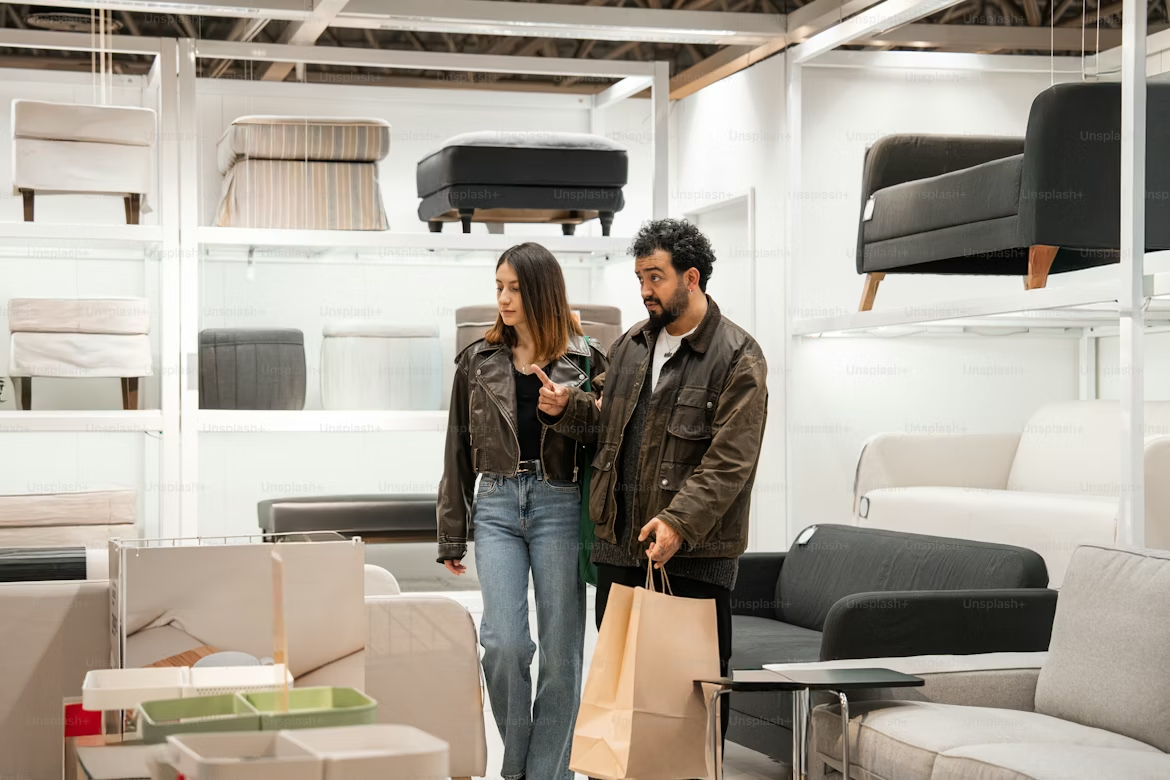
This one got me bad. I bought a beautiful sectional sofa — on sale, too, so I felt smart about it — before I’d actually measured my studio properly. When it arrived, it ate up literally half the room. I couldn’t open the bathroom door all the way. I ended up reselling it at a loss on Facebook Marketplace two weeks later.
The mistake isn’t buying furniture. The mistake is buying furniture blind.
In a studio, every square foot is spoken for. A piece that looks perfect online or in a showroom can completely destroy the flow of your space once it’s actually inside your four walls.
What to do instead:
- Measure your entire floor plan first. Use a free app like Magicplan or RoomSketcher to create a digital layout before you spend a single rupee or dollar.
- Mark out furniture dimensions on the floor with painter’s tape. Sounds old school, but it works incredibly well.
- Only buy multi-functional pieces — a bed with storage drawers, an ottoman that opens up, a dining table that folds against the wall.
| Furniture Type | Average Cost (Single-Use) | Multi-Function Alternative | Savings |
|---|---|---|---|
| Regular bed frame | $200–$400 | Storage bed frame | Saves separate storage cost ($80–$150) |
| Coffee table | $80–$200 | Storage ottoman | Same price range, double function |
| Dedicated desk | $100–$300 | Wall-mounted fold-down desk | Saves 4–6 sq ft of floor space |
| Shoe rack | $25–$60 | Over-door organizer | Saves floor space entirely |
When you plan first and shop second, you stop wasting money on returns, resales, and replacements. One trip to IKEA with a measured list beats three impulsive trips every time.
If you’re figuring out how to place things without making your room feel cramped, these 6 smart studio apartment space hacks for perfect furniture placement are genuinely worth a look before you start moving anything around.
2. Spending Big on Décor Before Solving the Storage Problem
Okay, this is the one that hurts the most to admit. I spent about $150 on aesthetic shelves, candles, fairy lights, and little decorative trays during my first month. The apartment looked cute in photos. In real life though? It was chaos. Because I hadn’t dealt with storage yet, all my actual stuff — cables, documents, cleaning supplies, extra bedding — was either shoved under the bed in a disorganized pile or sitting in plastic bags in the corner.
Decorating before organizing is like painting a wall that has cracks in it. It just doesn’t hold.
The thing about studio apartments is that clutter hits harder than in a bigger space. There’s nowhere to hide it. One pile of miscellaneous stuff on your counter makes the whole apartment feel messy, no matter how nice your fairy lights look.
The smarter order of operations:
- Fix storage first. Identify your problem zones — is it the entryway? Under the bed? The kitchen counter?
- Buy functional storage that also looks decent. You don’t need ugly plastic bins. Stores like IKEA, Daiso, and even dollar stores have clean-looking baskets and drawer organizers that double as décor.
- Then layer in actual décor — once surfaces are clear and things have homes, even a single plant and a good lamp will make a huge difference.
There’s a reason interior designers always sort storage before styling. It’s not about being boring — it’s about giving the decorative stuff room to breathe.
For budget-friendly ways to tackle the storage issue without renovating anything, check out these 5 powerful studio apartment space hacks without renovation — some of them cost next to nothing.
3. Ignoring Lighting (And Then Paying to Fix It Later)
Nobody talks about this one enough. Lighting is probably the single most impactful thing you can do for a studio apartment, and it’s almost always treated as an afterthought.
Here’s what usually happens: you move in, use the one overhead light that came with the apartment, decide it feels harsh and depressing, and then either live with it or go buy a bunch of lamps in a panic. Both options cost you — either in quality of life or in unplanned spending.
The problem with bad lighting in a studio isn’t just that it looks bad. It actually makes the space feel smaller. A cold, single overhead light flattens everything and highlights every corner that’s even slightly messy. Layered warm lighting, on the other hand, creates depth and makes the same apartment feel cozy and intentional.
Budget lighting strategy that actually works:
- Start with one good floor lamp in a corner you spend time in — near your reading chair or sofa area. Something with a warm bulb (2700K–3000K range). You can find decent ones for $30–$60.
- Add under-cabinet or LED strip lights in the kitchen. These are cheap (some go for under $15 on Amazon or AliExpress) and completely transform how the kitchen area looks and functions.
- Replace any harsh white bulbs with warm ones. This alone costs under $10 and makes an immediate difference.
- Avoid buying five cheap lamps impulsively. Pick two or three strategic light sources instead of scattering little lights everywhere with no plan.
| Lighting Type | Approx. Cost | Impact on Space |
|---|---|---|
| Warm floor lamp | $30–$60 | High — creates cozy zones |
| LED strip lights (kitchen/shelves) | $10–$20 | High — adds depth and warmth |
| Smart bulbs (like Philips Hue) | $15–$25/bulb | Medium-High — adjustable ambiance |
| Decorative fairy lights | $8–$15 | Low-Medium — aesthetic only |
| Replacing overhead bulb with warm tone | $5–$10 | Medium — quick win |
The lesson I learned: budget for lighting in your first week, not as an afterthought month three. It’s one of the cheapest changes with the biggest visible return.
4. Trying to Do Everything at Once (The “All or Nothing” Budget Trap)
This is the most common mistake, and honestly the most financially dangerous one.
You move into a studio and you want it to look like a finished, styled space immediately. So you try to buy everything — furniture, storage, décor, kitchen stuff, bathroom organizers — in the first two weeks. You either blow your entire budget in one go, or you put it all on a credit card, or you buy the cheapest version of everything and end up replacing half of it within six months anyway.
I’ve seen friends do this and I’ve done it myself. The apartment looks “done” on Instagram, but it’s held together with cheap shelf brackets and regret.
The smarter approach is phased spending:
Week 1–2 (Essentials only): Your bed/sleeping setup, basic kitchen items, one seating option, bathroom basics. That’s it. Live in the space before you decide what else it needs.
Week 3–4 (Problem-solving): By now you know what’s annoying you. Maybe it’s the lack of counter space. Maybe it’s having nowhere to put your shoes. Buy storage solutions for specific problems, not general “organization” stuff that might not even apply to your space.
Month 2 (Comfort and personalization): This is when you add the things that make it feel like yours — a rug, some plants, wall art, better lighting if you haven’t already.
Month 3+ (Upgrades): Replace the things you bought cheaply in Month 1 with better versions if needed, now that you know what actually gets used and what you actually like.
This phased approach means you never blow your budget all at once, you only buy what you actually need, and you end up with a more intentional space in the long run.
Here’s a rough budget breakdown that works for most studios in the under-$1000 setup range:
| Phase | Category | Suggested Budget |
|---|---|---|
| Week 1–2 | Bed, basic seating, kitchen essentials | $300–$450 |
| Week 3–4 | Storage solutions for identified problems | $80–$150 |
| Month 2 | Décor, lighting, comfort items | $100–$150 |
| Month 3+ | Upgrades and replacements | $100–$200 |
| Total | $580–$950 |
If you’re working with an even tighter budget, the good news is that a lot of the storage and organization phase can be done with dollar store finds — and not the sad, falling-apart kind. For ideas on making that work, these 12 proven studio apartment space hacks using dollar store finds are surprisingly solid.
The Mindset Shift That Actually Fixes All of This
Every single one of these four mistakes comes from the same place: trying to turn a studio into a finished home too fast, without a plan.
The apartments that look genuinely great on a small budget aren’t the ones where someone spent the most money in the shortest time. They’re the ones where someone took their time, made deliberate choices, and only bought things with a specific purpose.
A studio apartment is a puzzle, not a shopping cart. You don’t solve a puzzle by throwing pieces at it.
Start with your layout. Fix storage before décor. Budget for lighting from day one. And give yourself permission to do it in phases — your space (and your wallet) will both thank you for it.