
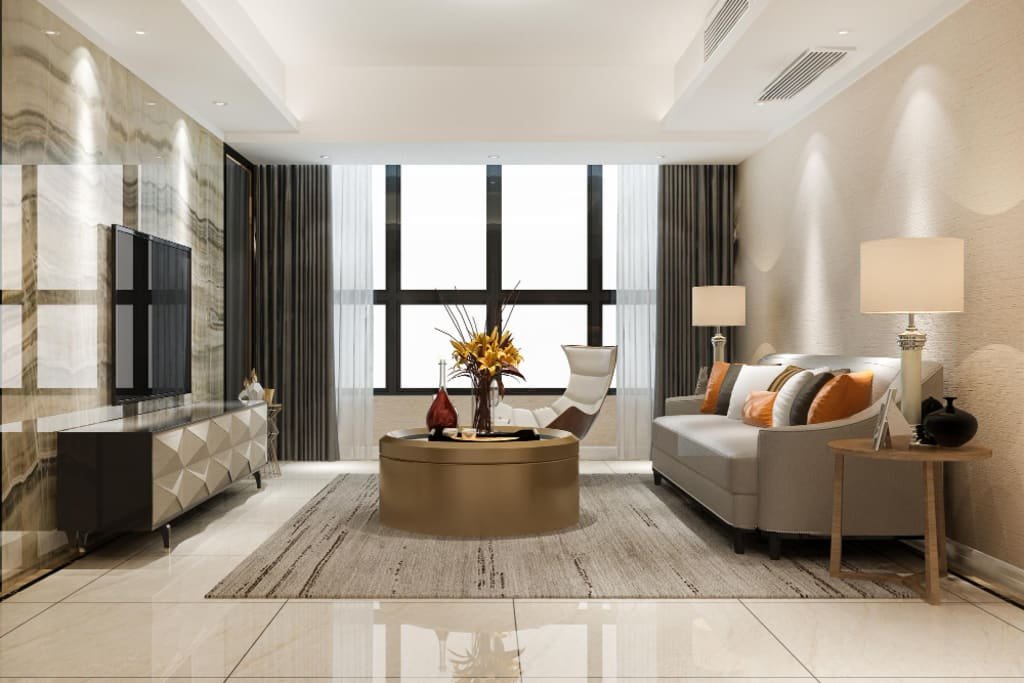
When I first moved into my studio apartment, I thought “budget” automatically meant “ugly.” I had this tiny 400-square-foot space, mismatched furniture I’d dragged from three different apartments, and zero design skills. My living area looked like a college dorm had a baby with a storage unit.
But here’s the thing — after about two years of trial, error, and honestly some embarrassing Amazon purchases I never talk about — I figured out that making a studio feel expensive has almost nothing to do with how much you spend. It has everything to do with where you spend it.
These nine upgrades? Most of them cost me under $30. A couple hit around $50. And every single one made guests walk in and say, “Wait, did you renovate?”
1. Swap Every Lightbulb for Warm LED Bulbs
This sounds so basic that people skip it. Don’t.
I lived under harsh, cool-white overhead lighting for eight months before a friend visited and literally said, “Why does it feel like a dentist’s office in here?” That sentence haunted me.
Warm LED bulbs (look for 2700K on the packaging) cost around $8–$12 for a pack of six on Amazon. I replaced every single bulb in my apartment — overhead, bathroom, the sad little lamp in the corner — in about 15 minutes.
The difference was immediate. Same furniture. Same layout. Completely different feeling. Warm lighting makes everything look intentional, cozy, and — this is the word people keep using — curated.
What to buy: Philips or GE warm white LEDs, 2700K, 60W equivalent. That’s it. Don’t overthink it.
Mistake I made: Buying “soft white” and “warm white” from different brands and ending up with two slightly different tones in the same room. Buy one brand, one batch.
2. Add a Large Area Rug (Even a Budget One)
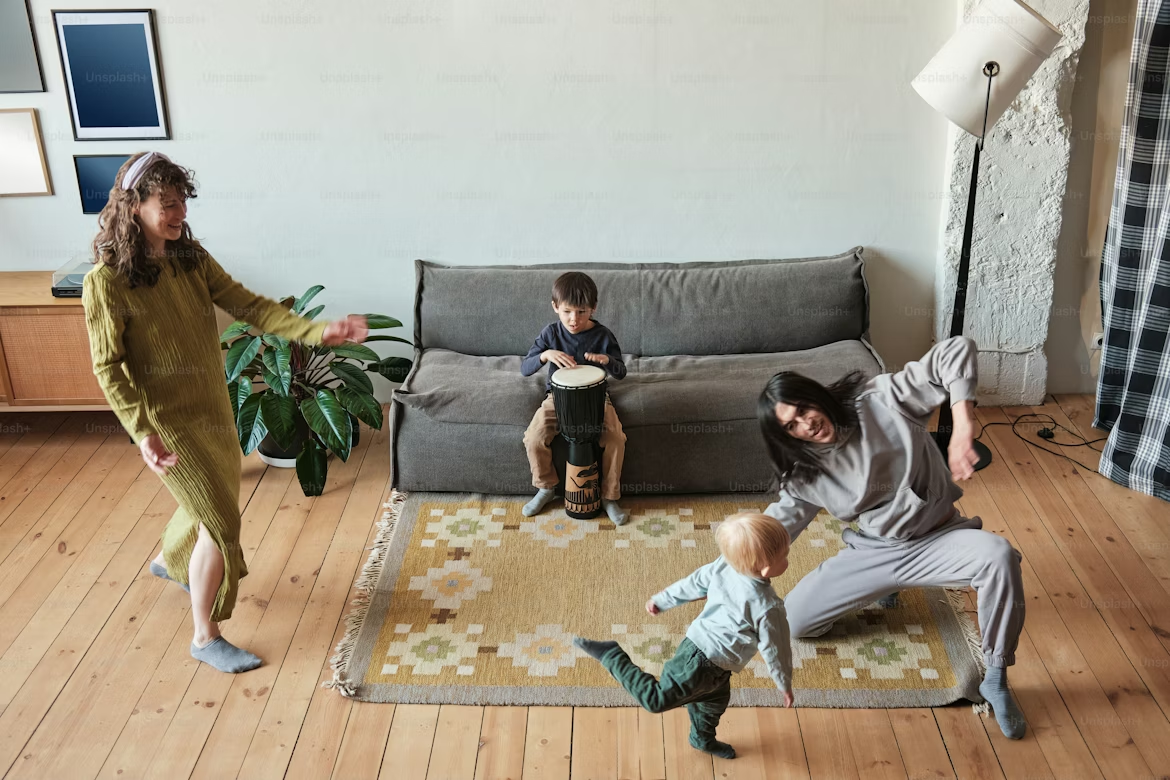
A rug is the single fastest way to make a studio look designed rather than assembled.
My studio had generic beige wall-to-wall carpet when I moved in. I thought, why put a rug on carpet? But that’s actually the move. A large area rug (at least 5×8, ideally 8×10) defines zones in an open-plan space, adds visual warmth, and makes the whole room feel like someone planned it.
I found a jute rug on Wayfair for $67. It was on sale, and honestly it looked like something from a $300 boutique. Natural fiber rugs — jute, seagrass, sisal — always photograph expensive and feel casual-luxe in real life.
The size rule: Go bigger than you think. The most common mistake is buying a rug that’s too small. It floats in the middle of the room like an island nobody wants to visit.
| Room Zone | Minimum Rug Size | Ideal Rug Size |
|---|---|---|
| Living/Sitting Area | 5×8 ft | 8×10 ft |
| Dining Nook | 5×8 ft | 6×9 ft |
| Bedroom Zone | 5×7 ft | 8×10 ft |
3. Replace Plastic Hangers with Velvet Ones
Okay, hear me out. This one lives in your closet, so it’s invisible — but the effect is psychological and completely real.
When I finally switched from a jumbled mess of wire dry-cleaning hangers and old plastic ones to a full set of matching slim velvet hangers, something shifted. Getting dressed became less stressful. My closet looked like a boutique. I started seeing my clothes differently.
A set of 50 velvet hangers runs about $12–$16. The slim profile also creates more physical space in the closet, which is a bonus in a studio where every inch counts. If you want more ideas for closet space, check out how to maximize small closets: 7 space hacks for studio apartments.
Pro tip: Go all one color. I chose black. It looks intentional and calm versus the rainbow chaos of mismatched hangers.
4. Install Peel-and-Stick Removable Wallpaper on One Wall
This was the upgrade I was most scared to try and most glad I did.
I chose a subtle cream linen-texture peel-and-stick wallpaper from Tempaper (around $35–$45 for a roll) and covered the wall behind my bed. No drilling. No landlord drama. No commitment.
The result looked like a designer had come in and added an accent wall. Suddenly my bed area had definition — it wasn’t just a mattress floating in an open room. It was a bedroom zone with a backdrop.
Brands worth trying:
- Tempaper (premium, cleaner removal)
- NuWallpaper (budget-friendly, wide variety)
- RoomMates (best for textured patterns)
Lesson learned: Measure your wall twice. I ordered one roll short and had to wait a week for restock while half my wall was done. Very stressful. Very avoidable.
5. Upgrade Your Throw Pillows and Ditch the Decorative Blanket You’ve Had Since College
I had a fleece blanket from a university event draped over my couch for two years. I didn’t even notice it anymore. A friend pointed it out and I genuinely couldn’t believe I’d been living like that.
Throw pillows are the jewelry of your furniture. A couch that cost $200 can look like it cost $600 with the right pillow combination. You don’t need many — three to five is plenty for a studio-sized sofa.
The formula that works:
- 2 larger neutral pillows (cream, beige, grey)
- 1–2 textured pillows (boucle, velvet, knit)
- 1 bold or patterned accent pillow
Total spend: $25–$60 depending on where you shop. H&M Home, Target’s Studio McGee line, and TJ Maxx are genuinely excellent sources.
6. Mount Your TV to the Wall
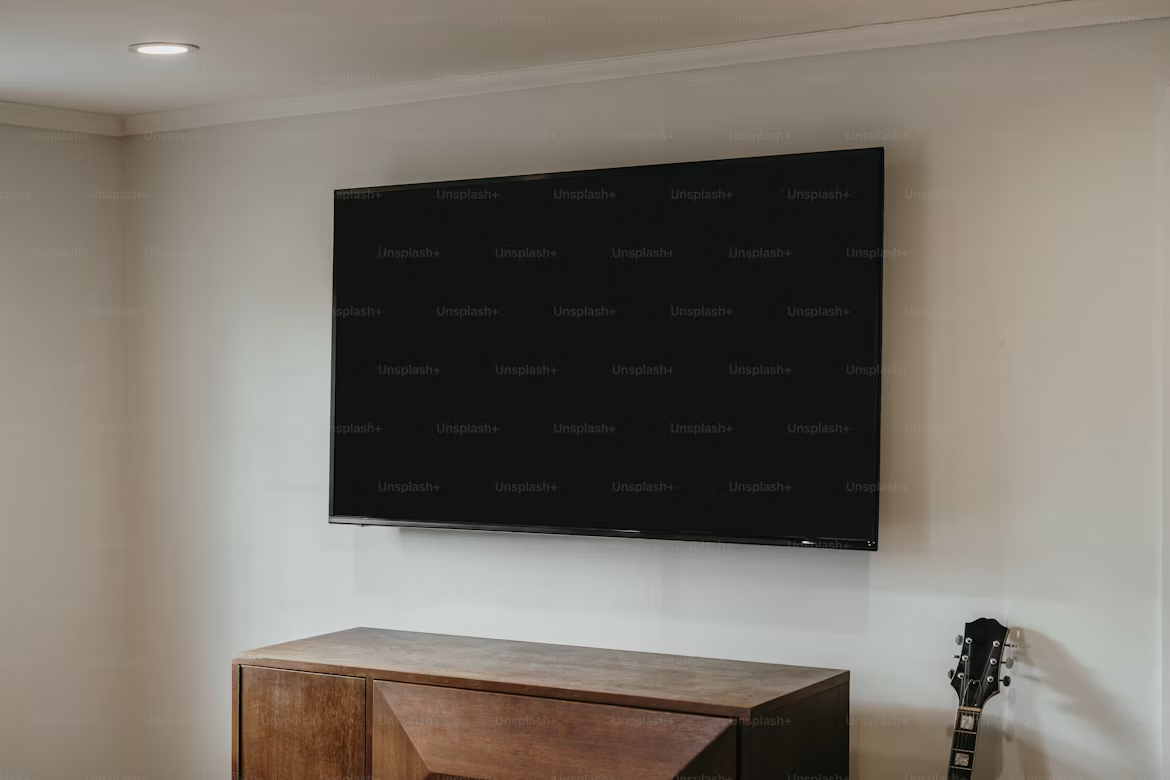
This one requires a bit more effort but pays off massively in how “finished” your studio looks.
A TV sitting on a stand with cords dangling is the visual equivalent of moving boxes you never unpacked. Mounting it to the wall clears up surface space, looks intentional, and makes the whole living area feel cleaner.
A basic fixed-mount TV bracket costs $15–$25. If your walls are drywall, you’ll need to hit a stud (free stud finder apps exist, or buy a cheap $10 one). The actual mounting takes about 30–45 minutes with a drill.
If you rent: Most landlords allow TV mounting — just fill the holes with spackle when you move out. It’s a standard rental repair and costs pennies.
Combine this with a cable management kit (about $8 on Amazon) to hide the cords in a raceway along the wall. That detail alone makes the setup look professional.
7. Add Plants — Real or High-Quality Faux
This is not negotiable. Plants do three things in a studio:
- Add life and color without clutter
- Draw the eye vertically (making the space feel taller)
- Signal that someone lives here, not just exists here
Real plants are ideal. A pothos costs $5 at a garden center and is nearly impossible to kill. A snake plant is another $8–$15 and thrives on neglect. One large fiddle leaf fig in a corner can completely anchor a room.
If you genuinely cannot keep plants alive (I see you, I was you), invest in high-quality faux. The key word is high-quality. Cheap faux plants look cheap. Look for realistic stems, varied leaf sizes, and natural color variation. IKEA’s faux range is surprisingly decent. So is The Sill’s dried botanicals section.
For layout inspiration on where plants fit best in a studio, these 26 minimalist studio apartment space hacks have some genuinely clever placement ideas.
8. Upgrade Your Bathroom with Small Luxe Details
People underestimate the bathroom in a studio. But guests use your bathroom. And you use your bathroom every single morning and night.
Here’s what I changed for under $40 total:
- New hand soap dispenser (ceramic or brushed gold, not the plastic pump): $8–$12 at TJ Maxx
- Matching toothbrush holder and soap dish: $10–$15 for a set
- One good candle: $6–$12 (makes it smell intentional)
- A small towel hook or ring instead of the plastic builder-grade bar: $10–$20, screws into the wall in minutes
These swaps make the bathroom feel like a boutique hotel rather than a gas station restroom. The key is matching. Pick a finish — brass, matte black, chrome — and stick to it across all accessories. Consistency reads as luxury.
9. Hang Curtains High and Wide
This is maybe the most underrated design trick in existence, and it costs almost nothing extra.
Most people hang curtains right above the window frame. This makes the window look small and the ceiling look low. Instead, hang the rod as close to the ceiling as possible, and extend it 6–12 inches wider than the window on each side.
When the curtains are open, they stack on the wall — not the window — making the window appear enormous. When closed, the whole wall looks like it’s covered in fabric, which reads as opulent.
Curtains that look expensive on a budget:
- IKEA RITVA (classic white, always looks clean)
- Amazon linen-look curtains under $30/pair
- H&M Home sheer panels layered over blackout liners
The rod itself: a tension rod won’t work here — get a proper curtain rod from Amazon or IKEA for $15–$25. Matte black or brushed gold finishes look far more expensive than chrome or white.
I did this in my studio and the ceiling appeared to jump by about a foot. No renovation. No paint. Just curtains hung in the right place.
The Real Budget Breakdown
Here’s what all nine upgrades realistically cost, because I know you’re doing the math:
| Upgrade | Estimated Cost |
|---|---|
| Warm LED bulbs | $8–$12 |
| Large area rug | $45–$90 |
| Velvet hangers (50-pack) | $12–$16 |
| Peel-and-stick wallpaper (1 wall) | $35–$60 |
| Throw pillows (3–5 pieces) | $25–$60 |
| TV wall mount + cable kit | $25–$35 |
| Plants (real or faux) | $10–$40 |
| Bathroom accessories set | $30–$45 |
| Curtains + rod | $40–$65 |
| Total Range | $230–$423 |
That’s it. Under $425 for the full transformation — and you don’t have to do them all at once. I spread these out over about four months, doing one or two per paycheck. The order I’d recommend: start with lighting, then curtains, then the rug. Those three alone will change how the entire space feels before you’ve touched anything else.
Mistakes I Made So You Don’t Have To
Buying too small, too fast. I ordered a rug, hated how small it looked, returned it, waited two weeks, ordered a bigger one. Just go big from the start.
Mixing metal finishes everywhere. I had chrome in the bathroom, brass in the kitchen, and matte black curtain rods. It looked chaotic. Pick one or two finishes and commit.
Ignoring the ceiling. I still haven’t done anything with my ceiling, honestly. But a can of white ceiling paint, or even hanging a pendant light, completely changes the vertical dimension of a studio. It’s on my list.
Overbuying decor. There was a phase where I bought every small decorative object I thought looked nice and my shelves became a crowded mess. Restraint is a skill. Leave space.
Final Thoughts
The honest version of this is: your studio doesn’t need more stuff. It needs better decisions about a few key things. Lighting, textiles, scale, and height — those four factors affect how a space feels more than almost anything else.
None of this is complicated. None of it requires a design degree or a Pinterest obsession (though I admit I have both). It’s just paying attention to the details that most people skip.
Start with one thing this weekend. Light the space differently, hang the curtains higher, or throw a rug down. See how it changes how you feel walking through the door. Then go from there.