
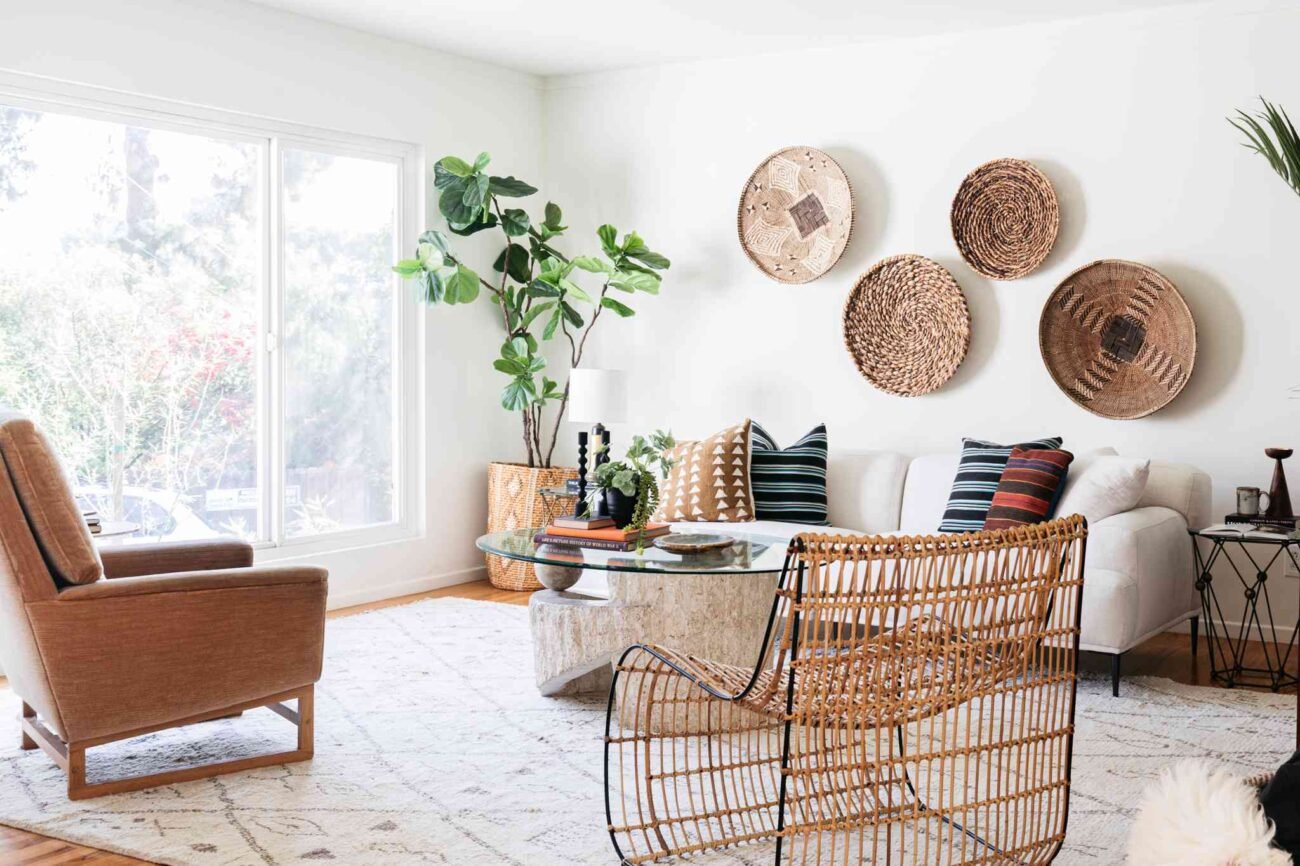
When I first moved into my studio apartment, I had exactly $400 left after paying the deposit. Not $400 for “extra stuff” — $400 for everything. Furniture, kitchen basics, storage, decor. The whole thing.
I remember standing in the middle of that empty room, doing the math in my head and realizing I had to be really, really smart about every single dollar. No impulse buys. No “I’ll figure it out later.” Every purchase had to pull double or triple duty.
That experience taught me more about intentional spending than any finance article ever could. And honestly? My studio ended up looking better on a shoestring budget than some fully-funded apartments I’ve visited.
So if you’re staring down a tight budget and a tiny space right now, here’s exactly what I’d do — and what I wish someone had told me before I made a few expensive mistakes.
1. Map Your Space Before You Spend a Single Dollar

I cannot stress this enough. The biggest budget mistake I made early on was buying storage bins before I knew where anything was going. Sounds obvious, right? But when you’re excited about setting up a new place, you just want to start buying things.
I ended up with four large storage bins that didn’t fit under my bed, three floating shelves that I bought in the wrong size, and a shoe rack that blocked my only natural light. That was about $80 wasted in the first two weeks.
What to do instead:
Spend the first week just living in the space. Figure out where the morning light hits. Notice where you naturally drop your keys, your bag, your shoes. See which corners feel cramped and which ones have breathing room.
Then grab a free app like Magicplan or even just draw it out on graph paper. Measure everything — ceiling height included, because vertical space is underused gold in a studio.
Once you have a real picture of your layout, you’ll know exactly what to buy and in what dimensions. This one habit alone probably saved me $200+ in return trips and wrong-sized purchases.
| Before Mapping | After Mapping |
|---|---|
| Bought items impulsively | Bought with exact measurements |
| Multiple return trips | Fewer returns, less wasted time |
| Overlapping/redundant purchases | Only functional, multi-use buys |
| $80–$150 in avoidable waste | Savings redirected to quality items |
2. Build a “Needs vs. Wants” Tier List — And Actually Use It
Here’s a framework that genuinely changed how I set up my studio without blowing the budget.
I split everything into three tiers:
Tier 1 — Can’t live without it. Bed/sleeping setup, one seating option, basic kitchen tools, lighting. These get the biggest budget share.
Tier 2 — Makes life noticeably better. A small desk, extra storage, a decent mirror, a rug. These come after Tier 1 is sorted.
Tier 3 — Would be nice someday. Decorative items, an extra chair, aesthetic upgrades. These come last, and only if money is left.
Most people buy from all three tiers at once and then realize they blew their budget on throw pillows before buying a proper desk lamp. I’ve done it. It’s frustrating.
The trick is committing to completing Tier 1 fully before spending anything on Tier 2. It sounds rigid, but it gives you a clear spending path instead of a chaotic shopping spree.
Pro tip: I kept this list in a Google Keep note and checked it every time I was about to buy something. It sounds fussy but it worked.
If you’re also thinking about how your layout affects your spending (because buying the wrong furniture for your layout is a hidden budget killer), check out these 10 Smart Studio Layout Ideas That Maximize Space — it helped me figure out my furniture arrangement before I bought anything.
3. The Second-Hand Strategy That Paid Off Big
Let me be honest — I was a little snobby about used furniture at first. I had this vague worry about cleanliness or things looking “second-hand.” Then I found a solid wood bookshelf on Facebook Marketplace for $15 that looked brand new, and I completely changed my mind.
Here’s the thing about studio apartments specifically: you don’t need massive furniture. You need small, functional pieces — and those are everywhere in the second-hand market because people constantly downsize or redecorate.
My go-to sources:
- Facebook Marketplace — best for local pickup, lots of studio-sized furniture
- OfferUp — similar to Marketplace, good app interface
- ThredUp / Poshmark — for soft goods like curtains, cushions, small decor
- Nextdoor — neighbors giving stuff away for free more often than you’d think
- Craigslist Free section — still exists, still worth checking
The items worth buying used: bookshelves, side tables, storage ottomans, mirrors, lamps, curtain rods, rugs (steam clean them — it’s cheap).
The items I’d buy new: mattresses (always), pillows, towels, anything with foam or upholstery that’s deeply embedded.
One underrated tip — go to thrift stores on weekdays. Weekend crowds pick over everything. I’ve found genuinely great pieces on Tuesday afternoons when nobody else is there.
| Item | Retail Price | What I Paid (Used) | Savings |
|---|---|---|---|
| Wooden Bookshelf | $85 | $15 | $70 |
| Storage Ottoman | $60 | $12 | $48 |
| Full-Length Mirror | $45 | $8 | $37 |
| Floor Lamp | $40 | $10 | $30 |
| Total | $230 | $45 | $185 |
That $185 went toward a good quality mattress topper — which I absolutely did not regret.
4. Invest in Multi-Use Items, Not Single-Purpose Ones
This is the core principle of studio living on a budget, and it sounds simple until you’re standing in IKEA trying to decide between a coffee table and a storage bench.
Every. Single. piece of furniture in a small studio should do at least two jobs. Ideally three.
A storage ottoman serves as a coffee table, extra seating, and hidden storage. A folding wall-mounted desk is a desk when you need it and disappears when you don’t. A daybed functions as your sofa during the day and your bed at night.
When I was setting up my studio, I made a rule: if something only does one thing, it has to be exceptional at that one thing to earn its floor space. Otherwise, it’s out.
Multi-use items worth investing in:
- Storage bed frames — under-bed storage is some of the most valuable real estate in a studio. Speaking of which, 6 Best Studio Apartment Space Hacks for Under-Your-Bed Storage has some really clever ideas if you want to go deep on this.
- Nesting tables — two or three tables that stack together, expand when guests come, disappear when they leave.
- Pegboards — kitchen tool organizer, desk organizer, jewelry display. One board, endless uses.
- Over-door organizers — works on bathroom doors, closet doors, even the back of your front door.
- Tension rod shelves — no drilling, adjustable, works under sinks and inside cabinets.
The mindset shift here is subtle but important. You’re not being cheap — you’re being precise. You’re curating a space where nothing is wasted and everything earns its keep.
Common mistake: People spend their multi-use budget on a “convertible sofa bed” and then realize the mattress is terrible and the sofa is uncomfortable. If you go this route, test it in person first. A bad sleeper-sofa is worse than just having a daybed and a couch separately.
5. Track Every Spend — Even the $3 Ones
This one might sound excessive, but it made a huge difference for me. When I was setting up my studio, I tracked every single purchase in a simple spreadsheet. Every cable tie, every Command strip, every tension rod.
Not because I’m obsessive, but because those small purchases are where budget leaks happen invisibly.
I didn’t notice I’d spent $60 on “small organizational stuff” over two weeks until I added it up. That could’ve been a decent rug. Or a better lamp. Or nothing, if I’d planned better.
How to track without it being a chore:
Use Google Sheets with three columns: Item, Cost, Category. Takes 30 seconds per entry. Once a week, look at your category totals. You’ll immediately see where money is drifting.
Alternatively, apps like Spendee or YNAB (You Need A Budget) do this automatically if you link your bank account. YNAB has a learning curve but it’s the most powerful for intentional budgeting.
My category breakdown when setting up (approximate):
| Category | Budget Allocated | Actual Spent |
|---|---|---|
| Sleeping setup | $120 | $110 |
| Storage solutions | $80 | $95 |
| Kitchen basics | $60 | $58 |
| Lighting | $40 | $35 |
| Decor & soft goods | $50 | $42 |
| Miscellaneous | $50 | $60 |
| Total | $400 | $400 |
Notice the storage category went over — that’s where I didn’t plan well enough upfront (see Idea #1). But because I was tracking, I pulled back in other areas to compensate. Without tracking, I would’ve just… kept spending.
A Few Mistakes I Made So You Don’t Have To
Buying furniture before measuring. Already mentioned it, but seriously — measure twice, buy once.
Skipping the rug because it “wasn’t essential.” A rug defines zones in a studio and makes it feel like a real home instead of a storage unit. It’s more essential than it seems.
Buying cheap light bulbs. Spent $8 on a pack of cool white LED bulbs and my whole apartment felt like a hospital. Swapped them for warm white and the whole vibe changed. Worth spending an extra $5.
Not checking return policies. Especially for second-hand items from Facebook Marketplace — once it’s yours, it’s yours. Inspect everything carefully before you take it home.
Thinking I’d “add decor later” indefinitely. Later never comes. Set a small decor budget upfront, even if it’s just $20 for some plants and a candle. Living in a bare, purely functional space is rough on your mental state over time.
The Real Point of All This
Setting up a studio on a tight budget isn’t really about being frugal — it’s about being intentional. Every dollar you spend in a small space has a bigger impact (positive or negative) than in a larger home, because there’s nowhere to hide a mistake and no extra room to compensate for a bad purchase.
The studios I’ve visited that look incredible on a budget all share one thing: the person living there thought before they bought. They didn’t just react to sales or Pinterest inspiration boards. They knew their space, knew their needs, and spent accordingly.
You don’t need a lot of money to have a great studio. You need a clear head and a decent plan.