
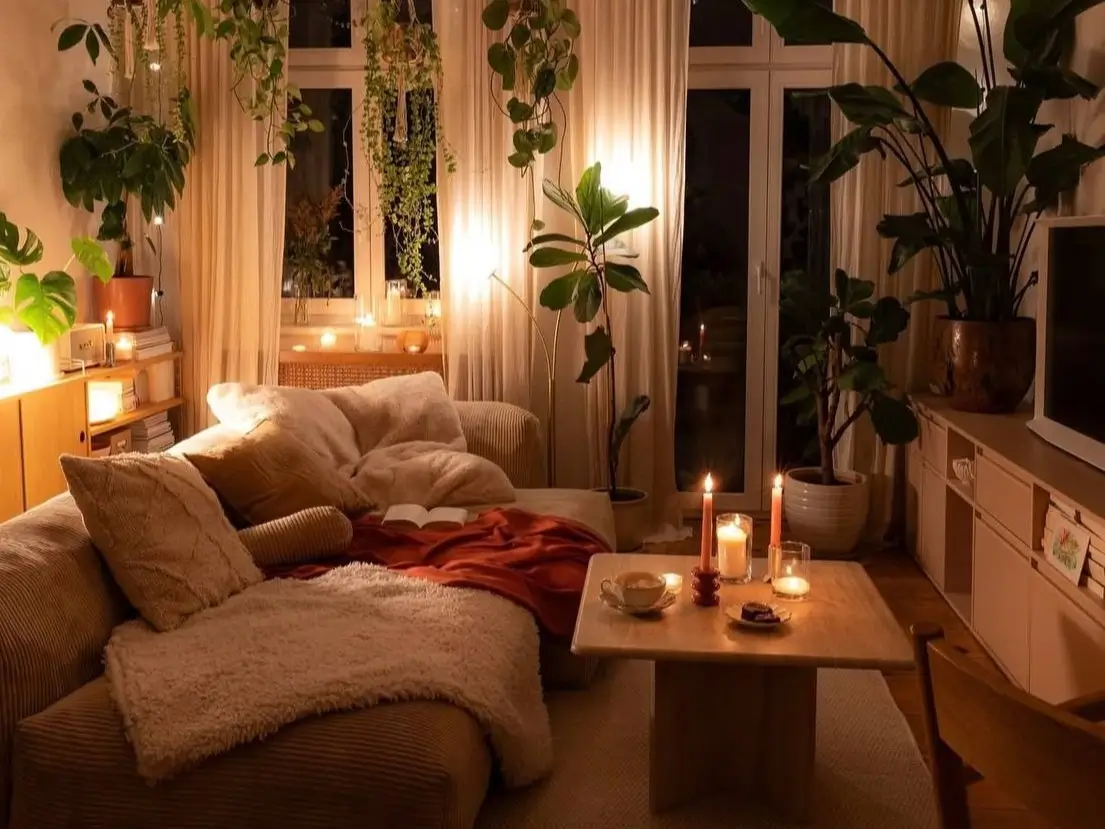
There’s a specific kind of frustration that hits when you walk into your studio apartment after a long day and feel absolutely nothing. Not relaxed. Not happy. Just… neutral. Like you’re checking into a budget motel that you happen to pay rent for every month.
That was me about eight months into living in my first studio. Everything was functional. Bed in the corner, small couch, a TV stand I’d hauled up three flights of stairs. But the place had zero personality. It didn’t feel cozy. It didn’t feel like me. It just felt like a room where I slept and occasionally ate cereal standing over the sink.
I didn’t have a big renovation budget. I didn’t have a design background. What I had was a genuine desire to stop dreading coming home — and a weekend with nothing else to do.
What followed was a lot of trial and error, some surprisingly cheap wins, and a few ideas I wish I’d tried sooner. Here’s what actually worked.
1. Layered Textiles Did More Than Any Furniture Ever Could
I used to think cozy meant buying more stuff — a new sofa, a bigger rug, fancier curtains. Turns out, cozy is mostly about texture, and texture is almost entirely about layering fabrics.
The shift happened when I tossed a chunky knit throw blanket over the arm of my plain gray sofa. That single thing — a $22 blanket from TJ Maxx — made the whole couch look intentional. Suddenly it wasn’t just a gray sofa, it was a styled gray sofa.
I kept going from there.
What I layered and where:
- Bed: Started with a plain white duvet, then added a linen quilt folded at the foot, two Euro pillows behind the regular ones, and a lumbar pillow in front. The bed went from “made” to “hotel-level” without spending more than $40 total (linen quilt from a thrift store, pillowcases from IKEA).
- Sofa: Throw blanket draped over the arm, two textured cushions in earthy tones, and a small tray on the cushion beside me holding a candle and a book. Looks like a catalog. Costs almost nothing.
- Floor: Layered a smaller vintage-style rug on top of a larger neutral jute rug. The combination of textures — rough jute underneath, softer pattern on top — added so much visual warmth to what was just bare laminate flooring before.
The rule I keep coming back to: mix at least three different textures in any one area. Smooth, rough, and soft. Linen, knit, and velvet. Cotton, jute, and faux fur. Once you start noticing this in spaces that feel luxurious, you can’t unsee it.
Quick Textile Layering Guide:
| Area | Base Layer | Middle Layer | Top Layer |
|---|---|---|---|
| Bed | Fitted sheet + duvet | Linen or cotton quilt | Throw + decorative pillows |
| Sofa | Plain upholstery | Textured cushions | Chunky throw blanket |
| Floor | Large neutral rug | Smaller patterned rug | Optional floor cushion |
| Desk/shelf | Bare surface | Woven tray or mat | Small folded cloth or runner |
Don’t overthink it. Just keep adding layers until it feels warm.
2. Warm Lighting is Basically Free Therapy
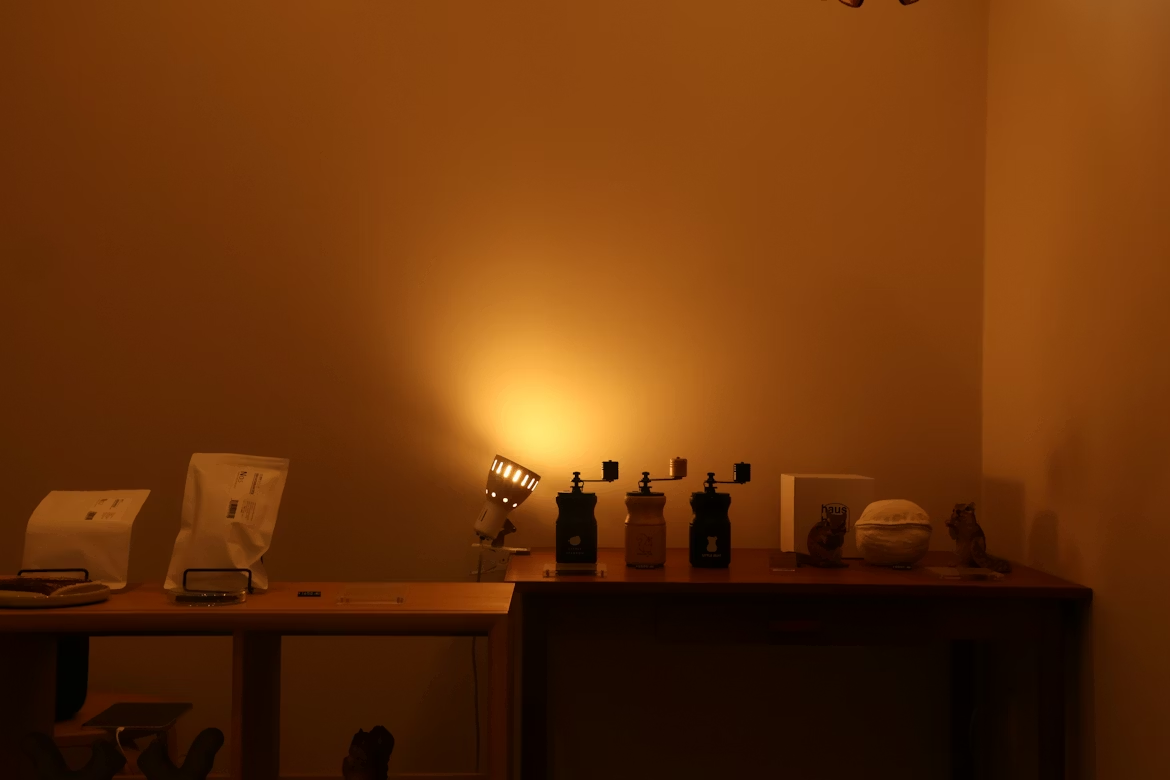
I cannot stress this enough. Lighting is the cheat code of interior design, and most people completely ignore it.
When I first moved in, I was using the overhead light exclusively. That single flat bulb in the center of the ceiling was doing my apartment no favors. Everything looked washed out, slightly clinical, and oddly depressing after 6 PM.
The fix was embarrassingly simple.
Step 1: Swap every bulb to warm white. I’m talking 2700K color temperature — the soft amber-ish glow that makes everything look like a cozy evening. I replaced four bulbs in the apartment for about $12 total. Immediate difference.
Step 2: Add a floor lamp. I found an arc lamp at a secondhand store for $18. It now stands behind my sofa and creates this beautiful pool of warm light that makes the reading corner feel like an actual reading corner and not just a couch near a wall.
Step 3: String lights, but tastefully. I know string lights have a dorm room reputation, but copper wire LED lights draped along the top of a bookshelf or behind a headboard look genuinely elegant. I use the warm-toned ones from Amazon ($11 for two packs) and they run on a small remote-controlled timer. The glow is soft, not festive.
Step 4: Candles everywhere reasonable. Real candles, not fake ones. The flicker alone changes the energy of a room. I buy unscented pillars from IKEA in bulk and put them on trays throughout the apartment. For scented ones, I wait for Bath & Body Works sales and stock up.
The difference between my apartment at 7 PM now versus a year ago is shocking. Same furniture. Same layout. Just better light.
If you want to pair your lighting upgrades with better layout decisions that actually improve how your space feels, this piece on 10 Tips for Improving the Flow of a Studio Apartment Layout is genuinely worth a read.
3. One Statement Plant (and How I Stopped Killing Everything)
Plants were my nemesis for a long time. I’d buy something beautiful, forget to water it, and find a crispy brown skeleton three weeks later. I killed a cactus once. A cactus.
But I kept seeing how much life a good plant added to spaces I admired online, so I tried a different approach: instead of buying lots of small plants, I invested in one large, dramatic plant and actually learned how to keep it alive.
I went with a Monstera deliciosa — the big split-leaf one. Bought it for $28 at a local nursery when it was still small. It now sits in a wicker basket in the corner of my living area and is easily the most-commented-on thing in my apartment. People walk in and immediately notice it.
Why one big plant works better than ten small ones:
- It creates a focal point, which every small room desperately needs
- It fills vertical space without taking up floor space (once it climbs a bit)
- It’s genuinely easier to care for one plant well than many plants badly
- In photos and on video calls, it makes the background look styled and intentional
The care system that actually worked for me:
I set a recurring reminder on my phone every Sunday that just says “check plants.” I don’t commit to watering — just checking. Stick my finger an inch into the soil. Dry? Water it. Still moist? Leave it. This removed all the guesswork and I haven’t killed anything in over a year.
For low-light studios, pothos, snake plants, and ZZ plants are genuinely bulletproof. They survive neglect in a way that’s almost impressive.
One more thing: the pot matters enormously. A beautiful plant in a sad plastic nursery pot looks cheap. Transfer it to a terracotta pot or drop it inside a woven basket cover pot, and suddenly it looks like a design choice.
4. A Gallery Wall That Actually Looks Curated (Not Chaotic)
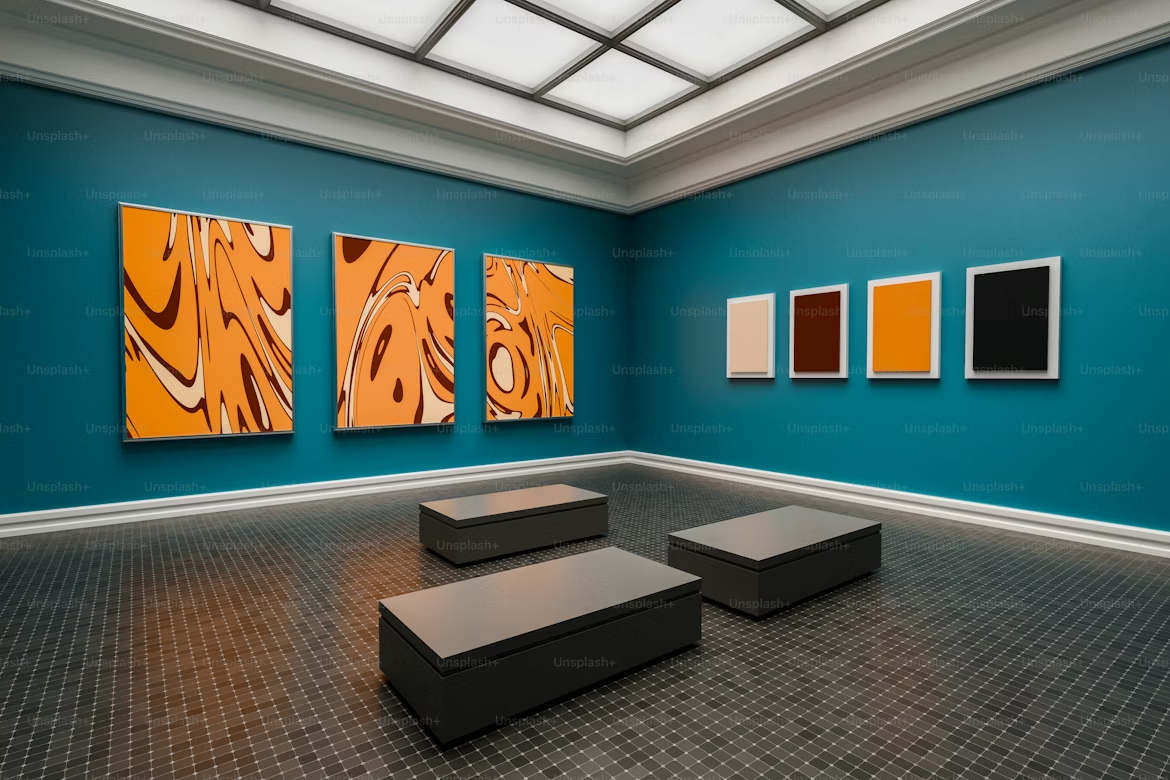
Gallery walls have gotten a bad reputation because most DIY versions end up looking like a yard sale exploded on someone’s wall. Too many different frame sizes, too many competing colors, no coherent feel. I made this mistake too, the first time.
The second attempt, I followed a few rules that changed everything.
Rule 1: Commit to one frame finish. All black, all white, all gold, all natural wood — pick one and stick to it. This alone makes a collection of random prints look intentional. I went all-black, which gave a clean, editorial feel.
Rule 2: Print in black and white. Black-and-white photography or illustrations work with any color palette and never feel dated. I printed 12 photos at CVS for $0.29 each — a mix of travel shots, close-up textures, and one or two quotes in simple typography.
Rule 3: Plan on the floor first. Lay all your frames out on the floor before touching the wall. Rearrange until it looks good. Take a photo with your phone. Then transfer to the wall. I used the Command Picture Hanging Strips (the removable kind) because my landlord would not be thrilled about nail holes everywhere.
Rule 4: Include at least one piece of white space. Don’t pack frames edge to edge. Breathing room between frames makes it look gallery-quality rather than covered wall.
Step-by-step for a beginner gallery wall:
- Choose a wall with enough space (above a sofa or bed works great)
- Pick a frame finish and stick to it
- Collect 8–12 prints in a mix of sizes (5×7 and 8×10 work well together)
- Lay them on the floor and play with the arrangement
- Start hanging from the center piece and work outward
- Step back every few pieces and adjust as you go
My gallery wall cost me about $28 total: $16 for frames (mix of dollar store and Target’s $1 section), $4 for printing, and $8 for Command strips. It’s the first thing people notice when they walk in.
For more ideas on making your walls work harder without doing anything permanent, check out 5 Wall Shelving Space Hacks for a Quick Studio Apartment — lots of crossover with the gallery wall approach.
5. Scent: The Cozy Element Nobody Talks About
This one sounds odd in an article about decor, but stay with me.
Cozy isn’t just visual. It’s sensory. And the fastest way to make a space feel warm and inviting is to make it smell warm and inviting. This is something hotels and high-end retail stores have known for decades.
I figured this out accidentally when I burned a vanilla and sandalwood candle while cleaning one Saturday and my friend walked in later and said, “Whoa, your place smells amazing. Did you redecorate?” I hadn’t moved a single thing. Just lit a candle.
What I do now:
- A reed diffuser near the front door. The scent hits you the moment you walk in, which sets the whole tone. I use a cedar and bergamot one from TJ Maxx ($9). Refills are cheap online.
- A candle on the coffee table during evenings. Not always lit — even the presence of a nice candle in a good holder adds visual texture and signals “this space is cared for.”
- Linen spray on my throw blankets and pillows. A lavender linen spray ($8 at Trader Joe’s or DIY with water and a few drops of essential oil) makes the whole sofa area smell like a spa. Takes two seconds.
Quick Scent Layering Table:
| Location | Product | Scent Vibe | Approx. Cost |
|---|---|---|---|
| Entryway | Reed diffuser | Warm/woody | $8–$15 |
| Living area | Pillar candle | Vanilla/amber | $5–$12 |
| Bedroom | Linen spray | Lavender/clean | $6–$10 |
| Bathroom | Small wax melt warmer | Fresh/citrus | $10 + $4 melts |
I know this feels like a stretch for a decor article, but genuinely — if your apartment smells cozy, it feels cozy, even before anyone looks at a single piece of furniture.
Mistakes I Made That You Should Absolutely Skip
Buying everything in one color. I went through a phase where everything was beige. Beige rug, beige throw, beige curtains. It was safe and completely soulless. Cozy comes from contrast — warm neutrals with a pop of rust or mustard or deep green. Don’t be afraid of one bold color.
Treating the ceiling as dead space. I ignored my ceiling for two full years. Then I hung a simple macramé piece up high in one corner and suddenly the room felt taller and more layered. Even just painting the ceiling a soft warm white (if yours is that flat builder-grade bright white) makes a huge difference.
Over-accessorizing every surface. There’s a version of cozy that tips into cluttered. Once I started grouping items in odd numbers (threes and fives) and leaving deliberate empty space, everything looked more styled and intentional. Less is genuinely more — but curated less, not empty less.
Buying all new. Almost everything I described above was thrifted, printed cheaply, or bought from discount stores. The most expensive single thing I bought for my cozy makeover was the Monstera, and that was $28. The entire transformation cost me under $150.
The Real Numbers Behind My Cozy Makeover
| Idea | What I Spent | Visual Impact |
|---|---|---|
| Textile layering (throws, pillows, rugs) | ~$45 | Very High |
| Lighting overhaul (bulbs, floor lamp, string lights) | ~$41 | Transformative |
| Statement plant + pot | ~$33 | High |
| Gallery wall (frames + printing) | ~$28 | High |
| Scent (diffuser, candle, linen spray) | ~$27 | Medium-High (but mood-changing) |
| Total | ~$174 | Complete vibe shift |
That’s it. Under $200 and my apartment went from “a place I sleep” to “a place I actually want to spend time.”
The biggest thing I learned through all of this? Cozy isn’t a style — it’s a feeling. And you can engineer that feeling with small, intentional choices layered on top of each other. Textiles, light, a living thing, something personal on the wall, and a scent that makes you exhale when you walk in.
You don’t need to renovate. You don’t need to move. You just need to start noticing what makes you feel at home — and add more of that.
If you’re also looking to stretch every dollar while pulling off a polished look, you’ll love 6 Budget Studio Decor Ideas That Look Premium — it pairs perfectly with everything covered here.