
There was a point last year where I couldn’t find my keys for 20 minutes — and my apartment is 430 square feet. They were on the kitchen counter the whole time, buried under a jacket, two Amazon packages, and a water bottle I kept meaning to put away.
That was my wake-up call.
When you’re busy — actually busy, not just “I watched Netflix instead” busy — organizing your studio feels like the lowest priority thing on the list. You come home tired, you drop stuff wherever, and you tell yourself you’ll deal with it on the weekend. Then the weekend comes and the mess has somehow multiplied.
The thing is, a disorganized studio doesn’t just look bad. It actively drains you. Every time you walk in and see the chaos, your brain registers it as a problem to solve. It’s low-grade stress that runs in the background constantly.
I’ve tried every organizing system under the sun over the past few years — the color-coded bins, the elaborate drawer inserts, the “one in, one out” rule I gave up on after two weeks. What I’m sharing here are the five ideas that actually stuck for someone with a full schedule, a small space, and zero patience for complicated systems.
1. Build a “Drop Zone” and Commit to It
This single change fixed about 60% of my clutter problem overnight.
The concept is simple: designate one specific spot near your front door where everything gets dropped when you come home. Keys, bag, mail, earbuds, whatever’s in your pockets — it all goes there, and only there.
Before I did this, stuff just landed wherever I happened to be standing when I got home. Keys on the kitchen counter. Bag on the floor by the couch. Jacket on the desk chair. The result was that nothing had a home, so everything was technically lost all the time.
My drop zone setup is pretty minimal:
- A small wall-mounted shelf just inside the door (I got one from IKEA for around $15)
- Two hooks below it — one for my bag, one for my jacket
- A small tray on the shelf for keys, coins, and lip balm
That’s it. Total cost: under $30. Time to set up: maybe 45 minutes including the drilling.
The key (no pun intended) is that you have to commit to using it. For the first week, I’d catch myself about to put my keys on the counter and physically redirect myself. After about 10 days it was automatic.
One thing I got wrong: I made my first drop zone too small. I used a tiny decorative dish that could only hold two or three things. The second anything extra landed there, it overflowed and the habit broke. Go slightly bigger than you think you need.
If you want to go further with your entryway setup, 13 smart studio apartment space hacks for entryway storage has some really clever configurations — especially if your entryway is barely a foot wide.
2. Use the “One-Minute Rule” to Stop Clutter Before It Starts
I picked this up from a productivity book and it genuinely changed how I handle my apartment day-to-day.
The rule: if a task takes less than one minute, do it immediately instead of putting it off.
Sounds stupidly simple. But here’s the thing — most clutter isn’t created by big messes. It’s created by tiny delayed decisions. The glass you left on the counter instead of putting in the dishwasher. The shirt you draped over the chair instead of hanging up. The empty box you left on the floor instead of breaking down.
Each one takes maybe 30–45 seconds to deal with. But when you stack 15 of them together, suddenly you have a “cleaning day” that takes two hours and ruins your Sunday.
I started applying this rule strictly and the maintenance level of my studio dropped dramatically. The place never gets truly chaotic anymore because the micro-messes never accumulate.
The adjustment period is real though. The first couple of weeks, you’ll catch yourself doing the old habit (put it down, deal with it later) constantly. The trick is not to beat yourself up about it — just course-correct in the moment when you notice.
Here’s a rough look at how much time these “one-minute tasks” actually take:
| Task | Actual Time |
|---|---|
| Putting a glass in the dishwasher | 15 seconds |
| Hanging up a jacket | 20 seconds |
| Wiping down the kitchen counter | 45 seconds |
| Folding and putting away one item | 30 seconds |
| Throwing away packaging/trash | 20 seconds |
| Making the bed (roughly) | 60 seconds |
When you see it written out like this, it’s kind of embarrassing how manageable it is. The resistance isn’t about time — it’s just about habit.
3. Organize by Frequency of Use, Not by Category
This one took me a while to figure out, and it made a bigger difference than any storage product I’ve ever bought.
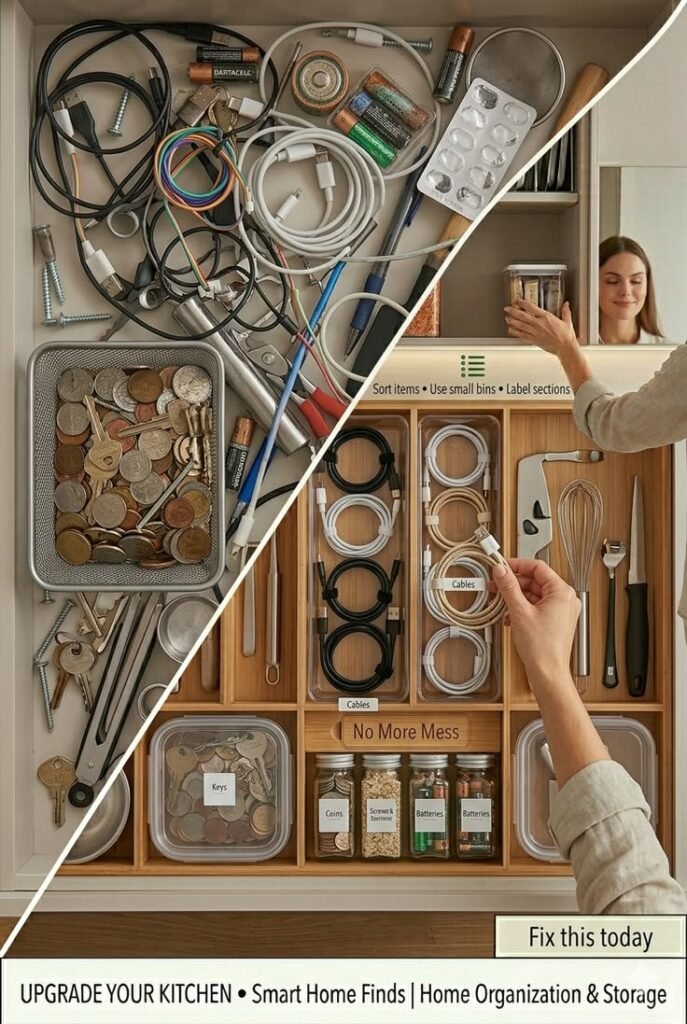
Most organizing advice tells you to group things by category: all your books together, all your kitchen stuff together, all your clothes together. That makes sense in theory, but in a studio where everything is compressed into one space, it creates a problem — you end up with things you use every single day buried next to things you use twice a year.
The better approach: organize by how often you actually use something.
Things you use daily should be the easiest to grab and put away. Things you use occasionally go in secondary spots. Things you rarely use get stored out of the way — high shelves, under the bed, in the back of the closet.
Here’s how I actually applied this:
Daily use items (front and center, arm’s reach):
- Coffee mug, one set of cutlery, one plate and bowl
- Current book or notebook
- Phone charger and earbuds
- Two or three most-worn outfits accessible at the front of the closet
Weekly use items (accessible but not prime real estate):
- Extra dishes and glasses
- Most of my clothes
- Work files and stationery
Occasional/rarely used (stored away):
- Seasonal clothing in vacuum bags under the bed
- Extra bedding in a labeled bin on the top shelf
- Appliances I use once a month (waffle maker, I’m looking at you)
Once I reorganized my kitchen this way, cooking became noticeably faster and less frustrating. I wasn’t digging through six pots to get to the one I use every morning.
This also naturally reveals what you own too much of. When I pulled everything out and sorted by frequency, I realized I had eight mugs. For one person. In a 430-square-foot apartment. Six of them never got used. I donated four and suddenly my cabinet had actual breathing room.
4. Make Your Storage Invisible (Or at Least Tidy-Looking)
Here’s an organizing mistake a lot of renters make: they buy a bunch of open shelving and bins thinking it’ll look organized, and then it just looks like organized clutter.
Visible storage is only clean-looking if everything in it stays neat — which, when you’re busy, it won’t. Open shelves become a dumping ground fast.
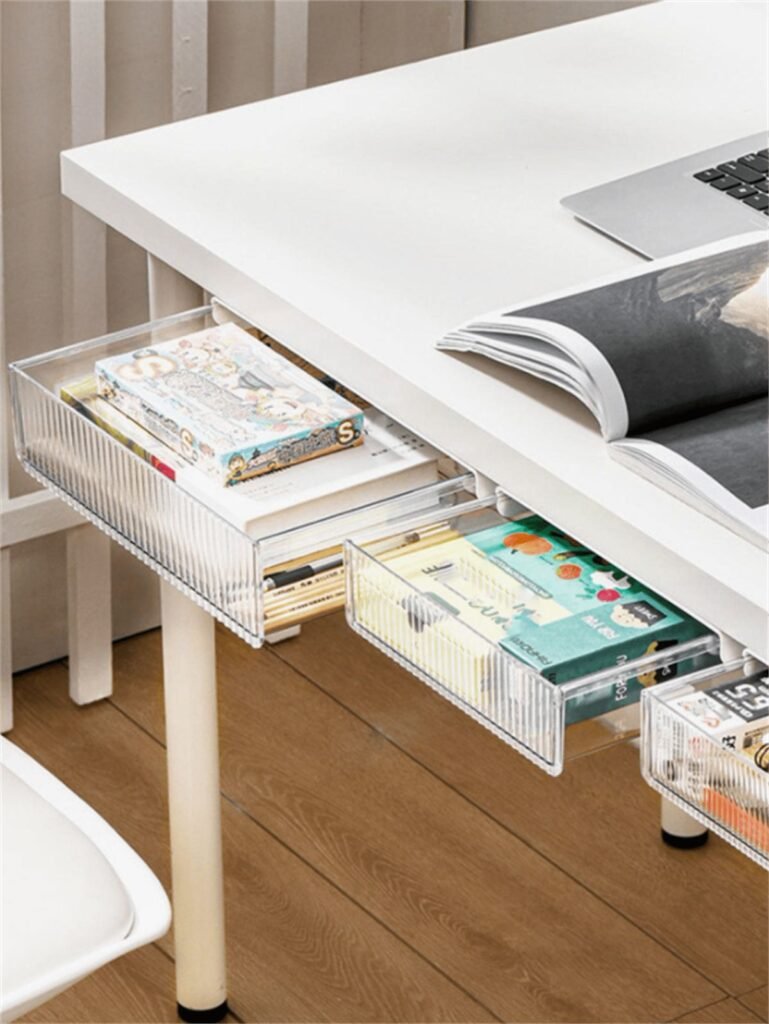
The solution is a mix of concealed storage for everyday stuff and intentional display for the few things you actually want seen.
What this looked like in my place:
- Baskets with lids on open shelves instead of open bins (stuff goes in, lid goes on, looks clean)
- Ottoman with internal storage instead of a coffee table (couch stuff disappears inside it)
- Bed frame with built-in drawers for off-season clothes and extra linens
- A curtain rod hung below my kitchen open shelving to hide the stuff stored underneath
The curtain trick is probably my favorite low-budget solution. I used a tension rod and a $6 curtain panel to hide the bottom shelf of my kitchen unit where I keep bulk pantry stuff and cleaning supplies. Takes about 10 minutes to install and makes the whole kitchen look less chaotic.
For more hidden storage ideas that actually work in tight spaces, 10 studio apartment space hacks for storage you can’t see is genuinely one of the better resources I’ve come across — there are options in there I hadn’t even thought of.
A mistake to avoid: buying matching storage bins before you know what’s going in them. I bought a set of six identical wicker baskets before properly sorting my stuff, and they ended up being the wrong size for half of what I needed to store. Always sort first, measure second, then buy.
5. Create a Weekly Reset Routine (That Takes 20 Minutes, Max)
This is the system that holds everything else together.
Even with a drop zone, even with the one-minute rule, stuff still drifts. Life gets hectic, you have a bad week, and suddenly there are dishes in the sink and your desk looks like a paper explosion.
The weekly reset is your safety net. It’s not a deep clean — it’s a 15–20 minute sweep to bring the apartment back to baseline.
Mine happens every Sunday evening. Here’s the exact sequence:
Step 1 (2 min): Do a lap around the apartment and collect anything that’s not where it belongs. Put it in a laundry basket or just carry it to the right spot.
Step 2 (3 min): Clear and wipe down all flat surfaces — counter, desk, coffee table.
Step 3 (5 min): Deal with any dishes that didn’t get handled during the week.
Step 4 (3 min): Quick bathroom reset — put things back where they live, wipe the sink.
Step 5 (5 min): Tidy the bed area, put away any clothes that are sitting out, take out trash.
That’s it. Twenty minutes, apartment back to a state where it doesn’t stress you out.
The reason this works when big Saturday cleaning sessions don’t is that 20 minutes is non-negotiable. You can’t talk yourself out of 20 minutes. A two-hour cleaning session is easy to procrastinate indefinitely.
I also pair it with something I enjoy — I put on a podcast or a show in the background. The reset becomes associated with something pleasant rather than being a chore I dread.
One thing that helps: taking a quick photo of your apartment when it looks its best (after a good reset). When things start sliding, having that reference image reminds you what you’re aiming for. It sounds a little silly but it genuinely works as a motivator.
The Organizing Mistakes Busy Renters Make Most Often
Getting the organizing right is as much about avoiding the wrong moves as it is about finding the right systems. Here are the traps I fell into (and that I see a lot):
Over-organizing all at once. Spending an entire weekend deep-organizing every corner of your apartment feels productive, but without the daily habits to maintain it, it collapses back to chaos within two weeks. Sustainable beats perfect.
Buying storage products first. I cannot stress this enough — do not buy bins, baskets, or organizers until you know exactly what you’re storing and how much of it there is. So much money gets wasted on storage products that don’t fit the stuff they’re meant to hold.
Ignoring the surfaces you use every day. Most organizing energy goes toward closets and storage areas, but the real problem spots are the surfaces you interact with constantly — your desk, your kitchen counter, your bedside table. These deserve the most organized setups.
Making the system too complicated. If putting something away requires more than two steps, it won’t happen consistently. The easier the system, the more it gets used. Simplicity beats cleverness every time.
| Organizing Mistake | Why It Fails | Better Approach |
|---|---|---|
| Buying storage first | Wrong size, wrong type | Sort, measure, then buy |
| Weekend-only cleaning | Too infrequent, too big | Daily micro habits + weekly reset |
| Open bins for everything | Looks messy fast | Mix concealed + intentional display |
| Category-based organizing | Buries daily items | Frequency-based organizing |
| Complicated systems | Won’t maintain | 2-step max for putting things away |
Putting It Together Without Overwhelming Yourself
You don’t need to implement all five of these at once. If anything, trying to overhaul everything in a week is probably what’s tripped you up before.
Here’s the order I’d actually recommend if you’re starting from scratch:
Week 1: Set up the drop zone. Just that. Get the shelf, the hooks, the tray. Use it for a week and let it become automatic.
Week 2: Start the one-minute rule. No new furniture required, just a habit shift. Pay attention to where you’re creating micro-messes and start dealing with them immediately.
Week 3: Do the frequency-of-use audit. Pull everything out of your main storage areas, sort by how often you use it, and reorganize accordingly. Donate what you don’t actually use.
Week 4: Tackle visible storage — swap open bins for lidded ones, add one concealed storage solution.
Week 5 onward: Lock in the weekly reset. Schedule it, pair it with something you enjoy, keep it to 20 minutes.