
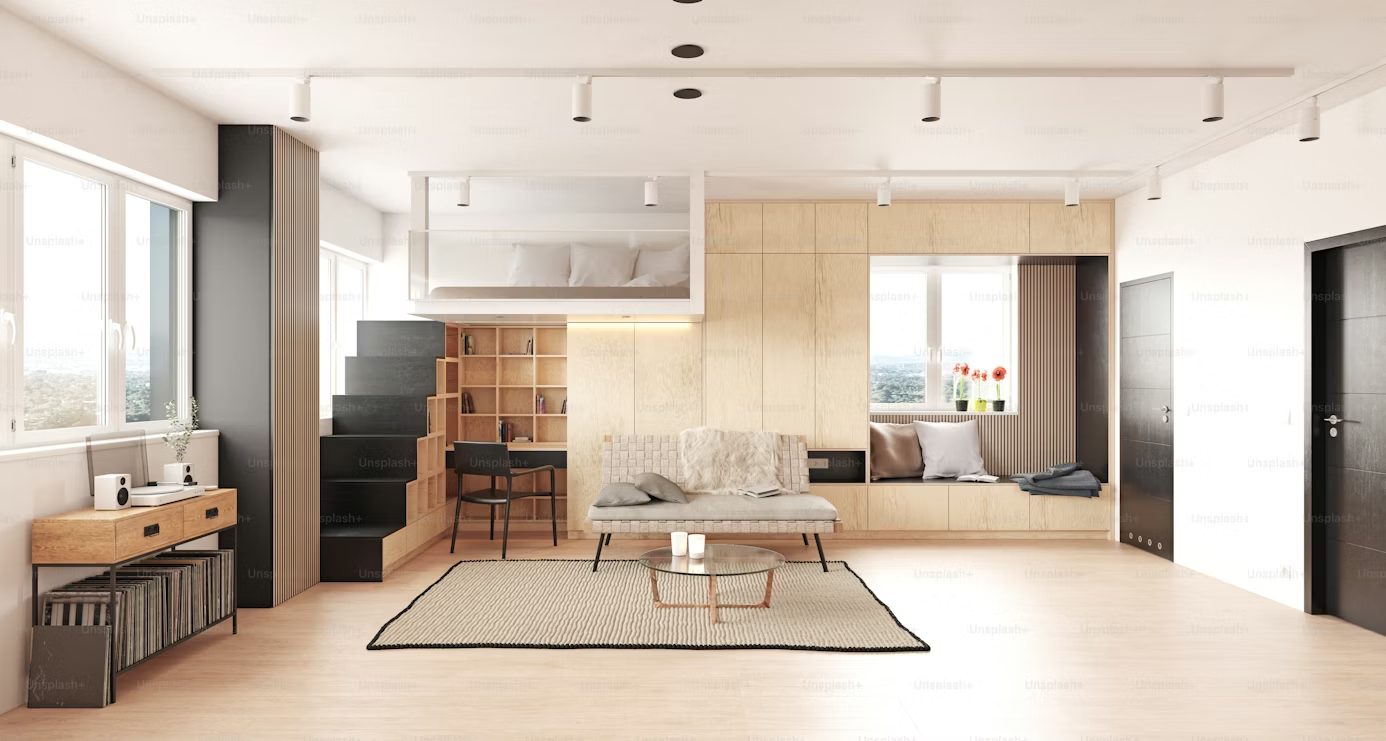
When I first moved into my 380-square-foot studio, I stood in the middle of the empty room and genuinely laughed. Not because it was funny — but because I had no idea where anything was going to go. My bed, my desk, my couch, my kitchen stuff… all of it had to coexist in one room that was barely bigger than some people’s master bathrooms.
I made every mistake in the book. I pushed everything against the walls (bad idea). I bought a massive sectional sofa that ate up half the room. I put my desk in the corner with no natural light and wondered why I felt miserable working from home.
After two years of trial, error, rearranging furniture at midnight, and obsessively watching layout videos, I finally figured out what actually works. And it’s not magic — it’s just a few smart decisions done consistently.
Here are 5 studio layout ideas that genuinely help you make use of every single inch.
1. Create Zones Instead of Trying to “Separate Rooms”
This was the biggest mental shift for me. When you live in a studio, you don’t have rooms — so stop trying to create them. What you can do is create zones: defined areas for sleeping, working, living, and eating that each feel intentional even though there are no walls between them.
The trick is using your furniture, rugs, and lighting to draw invisible boundaries.
Here’s how I set up my zones:
- Sleeping zone: My bed went against the back wall, anchored by a simple headboard and a narrow nightstand. A floor lamp on one side signaled “this corner is for rest.”
- Living zone: A small 2-seater sofa and a round coffee table, sitting on a 5×7 rug. The rug is everything — it tells your brain “this is a different space.”
- Work zone: A floating wall-mounted desk (this was a game-changer, more on that later) near the window so I got natural light.
- Dining zone: A small drop-leaf table against the wall that I fold out when I eat and fold back when I need floor space.
The key is that each zone has at least one anchor piece — something that says “this is what this area is for.” Once you do that, even a tiny studio starts to feel like it has structure.
If you’re struggling with how to physically divide the space, this guide on how to separate rooms without losing style has some genuinely clever ideas I wish I’d found earlier.
2. Use a Floating or Wall-Mounted Desk (Not a Traditional One)
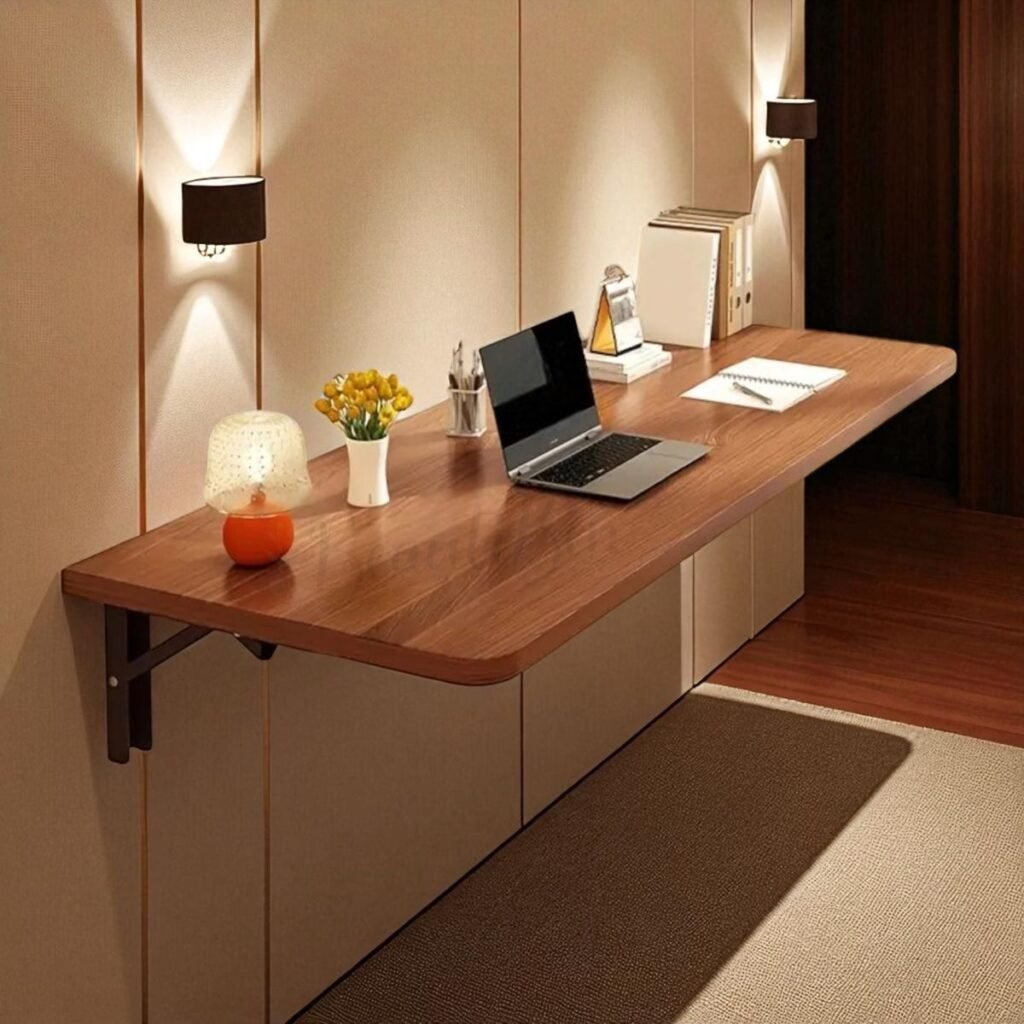
I can’t stress this enough: a traditional four-legged desk in a studio is a space thief.
My first setup had a standard 48-inch desk shoved into the corner. It looked fine in theory, but it took up floor space, blocked natural movement through the room, and made the whole area feel cramped and cave-like.
When I switched to a wall-mounted floating desk — a simple 36-inch shelf with a fold-down surface from IKEA — everything opened up. When I’m not working, I fold it flat against the wall. The floor beneath it is clear. The room breathes.
What to look for in a wall-mounted desk:
- At least 20 inches of depth so you can actually fit a laptop and a notebook
- A small shelf above it for your router, a plant, or desk accessories
- Cable management built in or easy to add
If you’re working from home regularly, also think about what goes around the desk. I added a pegboard above mine for headphones, a small calendar, and a few hooks for my charger cables. Zero drawer usage, everything in sight, nothing on the floor.
Here’s a quick comparison of desk types for studio apartments:
| Desk Type | Floor Space Used | Best For | Flexibility |
|---|---|---|---|
| Traditional 4-leg desk | High | Permanent setups | Low |
| Wall-mounted fold-down | None | Small studios | High |
| Convertible console desk | Medium | Occasional work | Medium |
| Corner floating shelf | Low | Dual monitor setups | Medium |
For more ideas on setting up a functional work-from-home corner, check out these studio apartment space hacks for your work-from-home setup.
3. Put Your Bed on a Platform or Loft Frame (Seriously, Do It)
I resisted this for way too long because I thought it would look weird or feel like a college dorm. I was completely wrong.
Raising your bed — even just 12 to 14 inches off the ground — unlocks an entirely new storage tier underneath. I went with a simple platform bed with built-in drawers on both sides. That single change eliminated my need for a dresser, which freed up about 12 square feet of floor space.
That 12 square feet became my yoga corner. Before, I was rolling out my mat in the kitchen. Progress.
If you want to go more dramatic, a loft bed (where the mattress is raised high enough to fit a desk or seating area underneath) can be a transformative choice — especially if your ceiling height is 9 feet or more. I’ve seen studios where the loft held a full desk setup with a monitor, a bookshelf, and a small reading chair, all in the footprint of a single bed.
What to consider before buying:
- Ceiling height matters. You need at least 7 feet of clearance above the mattress for a comfortable loft.
- Weight capacity — check the rating especially if you have a heavier mattress.
- Ladder placement — a side ladder takes less floor space than a front-facing one.
- If you share the space with a partner, discuss whether both of you are comfortable with a loft situation.
Platform beds with drawers are more manageable for most people. I’d recommend measuring your current dresser and imagining that space empty before you decide. Visualizing the freed space is motivating.
4. Stop Pushing Everything Against the Walls
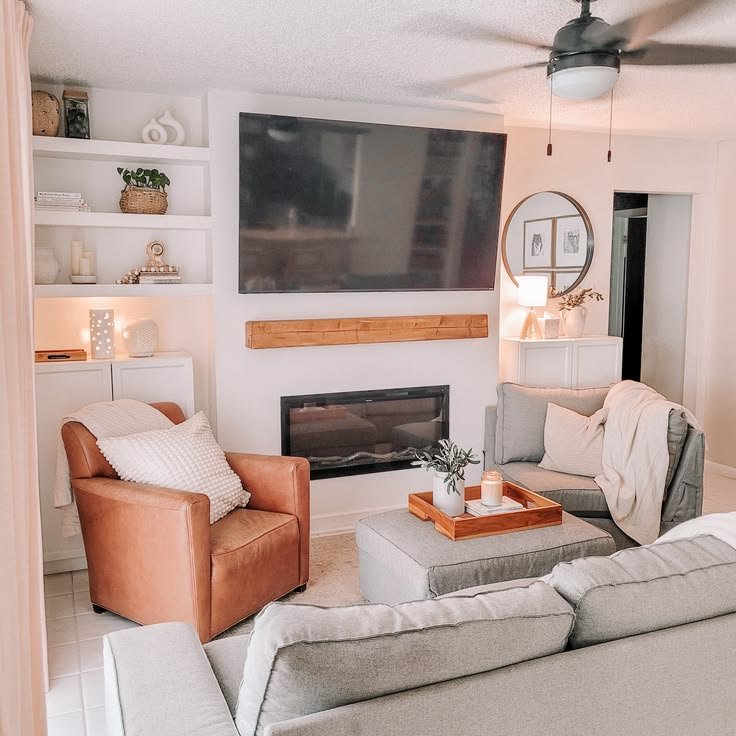
This sounds counterintuitive, right? In a small space, surely everything should be pressed flat against the wall to maximize the center?
Nope. That’s one of the most common studio layout mistakes, and I made it hard for the first six months.
When every single piece of furniture hugs the walls, a few bad things happen:
- The center of the room becomes a big empty void that feels awkward and wasted.
- The room looks like a waiting room or a doctor’s office — no personality, no warmth.
- There’s no sense of flow or intention.
The fix? Float your furniture. Pull your sofa away from the wall by even 6 to 12 inches. Position your coffee table so it naturally defines the front edge of your living zone. Create a small console table or narrow bookshelf behind the sofa to serve as a room divider between your living and sleeping areas.
This is one of those things that looks odd on paper but immediately makes sense when you try it. The room suddenly has layers. It feels bigger, not smaller, because your eye doesn’t travel straight to the bare wall.
Here are some layout principles I now follow:
- The 18-inch rule: Leave at least 18 inches of walking clearance between major pieces of furniture.
- Rugs define the zone: A rug that’s too small makes a space feel disconnected. Go bigger than you think you need.
- Back-of-sofa usage: A narrow console table (12 inches deep) behind a floating sofa creates a “room divider” that also holds a lamp, books, or plants.
If you’re curious about how to improve the overall flow of your studio layout, this article on improving the flow of a studio apartment layout breaks it down really well with practical steps.
5. Go Vertical — Every Wall Is Untapped Real Estate
Floor space in a studio is precious. Vertical space is almost always ignored.
Your walls from about 5 feet up to the ceiling are probably doing absolutely nothing right now. That’s where your storage, your shelving, and even some of your décor should live.
Here’s what I did with my vertical space:
- Floor-to-ceiling shelving unit on the living room wall: Holds books, plants, speaker, decorative baskets (with things inside), and my TV. One unit replaced what would’ve been a TV stand, a bookshelf, and a side table.
- Kitchen pegboard: A large pegboard panel above the counter holds all my pans, utensils, cutting board, and even a small magnetic spice rack. My countertop is almost completely clear.
- Bathroom over-the-toilet shelving: A simple ladder shelf above the toilet holds toiletries, towels, and a small plant. Turns dead space into real storage.
- Wall hooks by the entry: Instead of a bulky coat rack, I installed five hooks at different heights for coats, bags, hats, and an umbrella. Takes up 0 floor space.
The general principle here is: if it can hang, it should hang. If it can float on a shelf, it shouldn’t sit on a counter. And if it can go higher on the wall, it should.
A visual breakdown of where vertical storage tends to work best:
| Area | Vertical Option | Benefit |
|---|---|---|
| Living room | Floor-to-ceiling shelving | Replaces multiple furniture pieces |
| Kitchen | Pegboard, hanging pot rack | Frees up counters and cabinets |
| Bathroom | Ladder shelf, over-toilet unit | Uses otherwise dead space |
| Entry/hallway | Wall hooks, floating shelf | Eliminates bulky furniture at entry |
| Bedroom | Floating nightstands, wall-mounted lamp | No bedside table needed |
For anyone who wants to dive deep into this strategy, these studio apartment space hacks for vertical storage are a solid read with even more specific ideas.
Common Mistakes I Made (So You Don’t Have To)
Since I’ve already mentioned a few of these throughout, here’s a quick list of what I’d tell my past self:
Buying furniture before measuring. I cannot tell you how many times I eyeballed something at the store and convinced myself it would fit. Get a tape measure. Map the room on paper or use a free tool like Roomstyler or IKEA’s planning tool before you buy anything.
Buying matching furniture sets. Those living room “sets” look great in the showroom. In a studio, they’re oversized and inflexible. Mix and match smaller, individual pieces instead.
Ignoring lighting zones. One overhead light in a studio makes the whole space feel flat and institutional. I added a floor lamp in the living zone, a desk lamp at the workspace, and a small warm bedside lamp — and the room immediately felt like three different areas instead of one big box.
Treating it as temporary. I spent way too long living with a bad layout because I thought I’d be moving soon. Don’t do that. Even if you’re there for six months, you deserve a space that works. The time you invest in a good layout pays back daily.
Final Thoughts
A studio apartment isn’t a compromise. It’s a constraint — and constraints force creativity. Some of the most beautiful, functional living spaces I’ve ever seen have been studios under 400 square feet.
The layouts that actually work aren’t about finding some secret trick or buying expensive furniture. They’re about being intentional. Knowing what each area is for. Making your vertical walls do real work. Not defaulting to the lazy “push everything against the wall” layout that feels safe but actually makes your space feel smaller.
Start with one change — float your sofa away from the wall, or install one floating shelf above your desk. See how it feels. Then go from there.
You’ll be surprised how quickly a smart layout starts to make the whole apartment feel like yours.