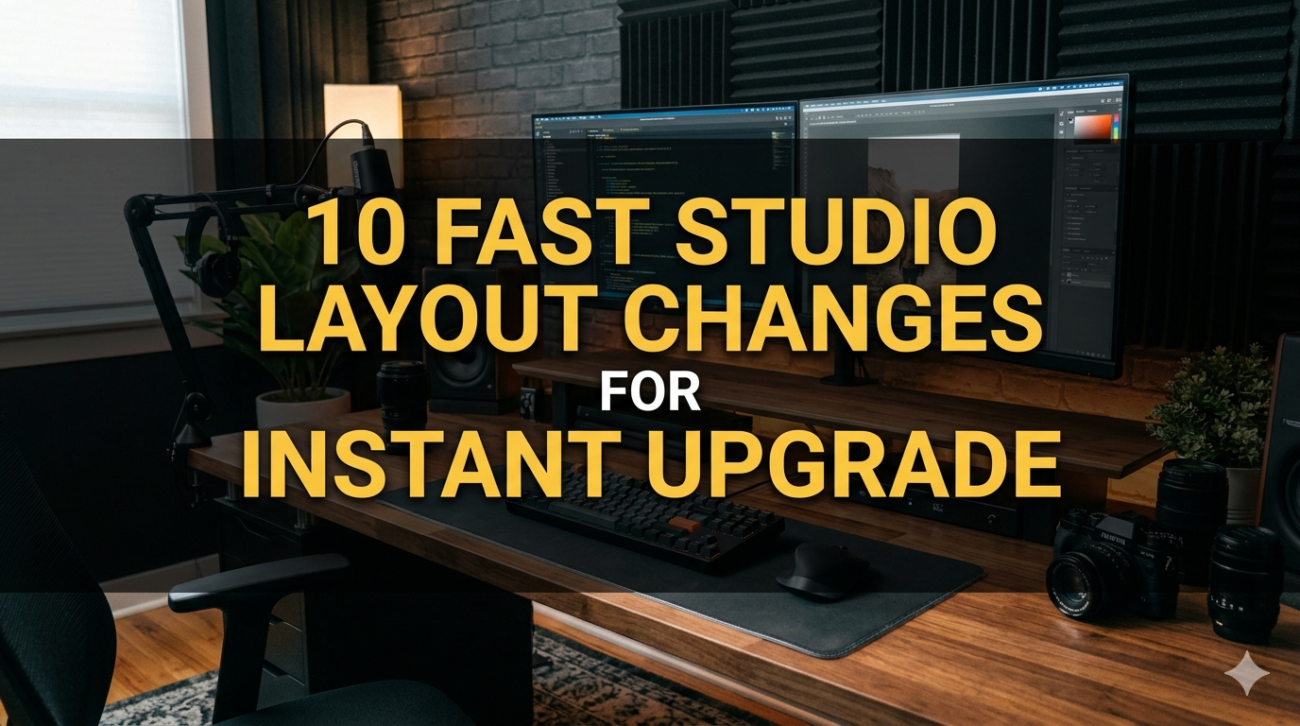
A studio apartment can feel either like a cramped box or a cleverly designed, multifunctional space—it all depends on layout. Unlike larger homes, you don’t always need more furniture or expensive upgrades to transform a studio. In fact, layout changes alone can completely shift how spacious, functional, and comfortable your home feels.
This guide breaks down 10 fast studio layout changes that create an instant visual and functional upgrade. These are not long renovation ideas. They are practical rearrangements and spatial decisions that can be done in hours or less.
Why layout matters more than decor in a studio
In small spaces, layout is the backbone of everything. You can have beautiful furniture, but if it’s poorly arranged, the room will still feel chaotic.
Here’s what layout directly affects:
table: impact of layout in studio apartments
| Factor | Poor Layout Effect | Good Layout Effect |
|---|---|---|
| Space perception | Feels smaller | Feels open |
| Movement flow | Obstructed paths | Smooth navigation |
| Productivity | Distracted focus zones | Clear work separation |
| Sleep quality | Visual clutter near bed | Calm sleeping area |
| Storage access | Inefficient reach | Logical organization |
A good layout is invisible—it simply makes life easier without you noticing.
- Create a floating furniture arrangement
One of the fastest upgrades is pulling furniture away from walls.
Instead of pushing everything to the edges, float key pieces like sofas, beds, or desks slightly inward to define zones.
Why it works:
- Creates visual depth
- Forms natural walkways
- Makes space feel intentional
chart: perception of space
Wall-hugging layout: ███████
Floating layout: █████████████
Even 10–20 cm of separation can change the feel of the room.
- Align furniture to create straight sightlines
When your eyes can travel smoothly across a space without interruption, the room feels larger.
Try this:
- Align bed foot with desk edge
- Keep chair backs parallel to walls
- Avoid diagonal clutter placements
table: sightline comparison
| Layout Type | Visual Flow | Space Feeling |
|---|---|---|
| Random placement | Broken | Tight |
| Partial alignment | Moderate | Balanced |
| Full alignment | Clean | Spacious |
Straight sightlines create psychological order, even if the room is small.
- Separate zones using rugs instead of walls
You don’t need physical dividers to create separation. Rugs act as invisible boundaries.
Example zones:
- Sleeping zone rug
- Working zone rug
- Relax zone rug
chart: zoning effectiveness
No zoning: ███ clutter confusion
Rug zoning: █████████ clear separation
This is especially powerful in studios where everything is in one room.
- Rotate your bed position for instant spatial change
Your bed is usually the largest object, so its position defines everything else.
Try:
- Moving it perpendicular to a wall
- Centering it instead of corner placement
- Aligning it with a window
table: bed placement impact
| Position | Space Efficiency | Comfort Feel |
|---|---|---|
| Corner | High space saving | Slightly cramped |
| Centered | Balanced | Hotel-like |
| Window aligned | Airy | Relaxing |
A simple bed rotation can make your studio feel completely new.
- Use “corner activation” instead of corner dumping
Most studios waste corners. They become storage zones for random items.
Instead, activate corners intentionally:
- Reading chair + lamp
- Small desk setup
- Plant corner
- Vertical shelves
chart: corner usage efficiency
Unused corner: █
Clutter corner: ███
Activated corner: █████████
Corners are high-value space if used correctly.
- Push tall furniture to the back wall
Tall items like wardrobes, bookshelves, and storage units should anchor the layout.
Rule:
- Tall furniture = perimeter placement
- Low furniture = center flexibility
table: vertical balance strategy
| Furniture Type | Best Placement |
|---|---|
| Wardrobe | Back wall |
| Bookshelf | Side wall |
| Sofa | Floating/center |
| Coffee table | Center |
This keeps your eye-level space open, making the room feel bigger.
- Create a “movement corridor”
Every studio needs a clear walking path, even if it’s small.
Ideal corridor:
- 60–90 cm width if possible
- Connects bed, kitchen, and exit
- No furniture overlap
chart: mobility flow
Blocked movement: █████████
Clear corridor: ███
A clear path reduces daily frustration more than any decor upgrade.
- Stack functions vertically instead of horizontally
Instead of spreading items across the floor, stack them upward.
Examples:
- Desk shelf above workstation
- Wall-mounted TV instead of stand
- Hanging kitchen storage
table: space usage comparison
| Layout Style | Floor Usage | Storage Capacity |
|---|---|---|
| Horizontal spread | High | Low efficiency |
| Vertical stacking | Low | High efficiency |
Vertical design is the backbone of studio optimization.
- Shift lighting to define zones instead of ceiling reliance
Lighting is part of layout, not just decoration.
Use:
- Desk lamp for work zone
- Warm lamp near bed
- Floor lamp for lounge area
chart: mood control via lighting
Single ceiling light: ███ flat feeling
Multi-zone lighting: █████████ dynamic space
Lighting separation can “fake” extra rooms in a studio.
- Anchor each zone with one “main object”
Every zone should have a focal anchor that defines its purpose.
Examples:
- Bed = sleeping anchor
- Desk = productivity anchor
- Chair = relaxation anchor
table: zone anchoring system
| Zone | Anchor Object | Purpose |
|---|---|---|
| Sleep | Bed | Rest |
| Work | Desk | Focus |
| Relax | Chair | Recovery |
Without anchors, zones blur together and create visual chaos.
Combined effect of all layout changes
When these changes are applied together, the transformation is dramatic—not because you added space, but because you redefined how space behaves.
chart: overall impact progression
Before changes: ███ cluttered, undefined
After 3 changes: ██████ improving structure
After 7 changes: █████████ organized flow
After all 10: █████████████ transformed studio
The room doesn’t get bigger, but it feels like it does.
Quick implementation table
| Change | Time Required | Impact Level |
|---|---|---|
| Floating furniture | 20–30 min | High |
| Sightline alignment | 15 min | Medium |
| Rug zoning | 10 min | High |
| Bed rotation | 20 min | Very high |
| Corner activation | 30 min | High |
| Tall furniture placement | 15 min | Medium |
| Movement corridor | 10 min | Very high |
| Vertical stacking | 30–60 min | High |
| Lighting zones | 20 min | High |
| Zone anchoring | 10 min | Medium |
Conclusion
Studio living is less about size and more about structure. A well-planned layout removes friction from daily life. You don’t need more square footage—you need smarter spatial decisions.
These 10 fast layout changes work because they:
- Improve flow without renovation
- Create visual openness instantly
- Separate functions naturally
- Reduce daily clutter stress
Even implementing just three or four of these can noticeably upgrade your living space within a single day.
FAQs
- How quickly can I see results from layout changes?
Most changes create immediate visual improvement, often within the same hour of rearranging. - Do I need to buy new furniture for these upgrades?
No. These strategies are based on repositioning existing items, not purchasing new ones. - What is the most impactful change for a very small studio?
Creating a movement corridor and floating furniture usually delivers the fastest transformation. - Can these layout changes work in shared studios?
Yes, but zoning and sightline alignment are especially important in shared spaces. - What if my furniture is too heavy to move alone?
Start with lighter adjustments like rugs, lighting, and corner activation first. - Should I apply all changes at once?
You can, but it’s often better to start with 2–3 changes and build gradually for better long-term organization.