
I still remember the day I moved into my first studio apartment. It was 380 square feet, shaped like a long rectangle — basically a hallway someone decided to put furniture in. I stood in the middle of it with a couch I’d carried up three flights of stairs and thought, where on earth does this even go?
If you’ve ever lived in a narrow or small studio, you know that feeling. It’s not just about having less space — it’s about the shape of that space working against you. Everything feels squeezed. Zones bleed into each other. You eat dinner two feet from your bed and call it “open concept.”
But here’s what I learned after a lot of trial, error, and one very bad furniture rearrangement at 11 PM: layout is everything. The right layout doesn’t just make your apartment look bigger — it makes it feel like a real home.
So let me share the 9 layout tips that actually worked for me and a bunch of other people I know who’ve navigated the narrow-studio struggle.
1. Stop Pushing Everything Against the Walls
This was my first mistake, and honestly, it’s most people’s first instinct. You think: small space = push furniture to the edges = more room in the middle. Makes sense, right?
Wrong.
When everything lines the walls, you end up with a weirdly empty dead zone in the center and no sense of distinct areas. The room reads as one long corridor.
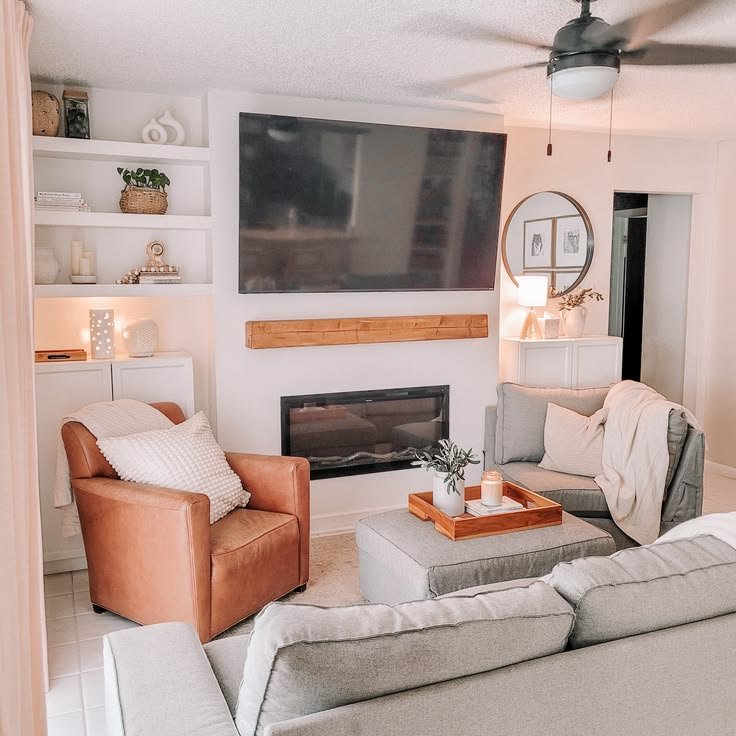
Instead, try floating your furniture slightly away from the walls — even just 3 to 6 inches. Pull your sofa forward. Let your bed breathe a little. This actually creates visual depth and makes zones feel intentional.
I moved my couch about 4 inches from the wall and placed a small console table behind it. Suddenly, I had a “living room” and a “hallway” — two distinct spaces from literally one piece of furniture.
2. Use a Rug to Define Each Zone
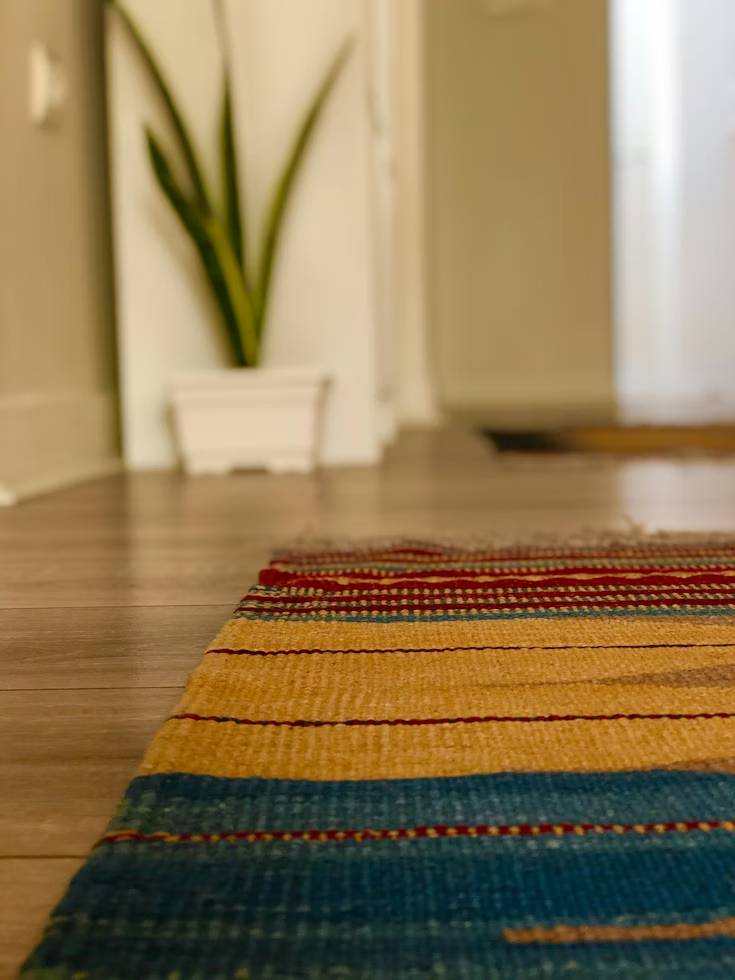
In a narrow studio, the floor is your best friend. Without walls to separate spaces, rugs do the heavy lifting.
Here’s how it works: different rug = different zone. Place a large rug under your seating area (make sure at least the front legs of the sofa are on it). Use a smaller, different-textured rug near the bed. Skip a rug entirely in the kitchen or desk area if you want that zone to feel lighter.
This visual separation is surprisingly powerful. Your brain registers “I’m now in the living area” versus “I’m in the sleeping area” even though it’s technically the same room.
| Zone | Rug Suggestion | Why It Works |
|---|---|---|
| Living area | 5×8 or 6×9 ft, warm tone | Grounds the seating group |
| Sleeping area | Smaller, softer texture | Creates cozy, bedroom feel |
| Desk/work area | No rug or flat weave | Keeps it feeling professional |
| Entry/foyer | Small runner or mat | Defines the “door zone” |
3. Treat the Narrow End as Your Focal Point
Most narrow apartments have two short walls on either end and two long walls running parallel. People tend to focus on decorating the long walls — which makes the tunnel feel even longer.
Flip that.
Pick one of the short end walls as your focal point. Put your most statement piece there — a gallery wall, a large mirror, a bold piece of art, or even just a painted accent. This draws the eye down the length of the apartment and makes the narrow shape work for you instead of against you.
I painted my far end wall in a warm terracotta and hung two large framed prints. People who came over always commented on how “cozy” the apartment felt. They had no idea why — but it was this trick doing the work.
4. Think in Zones, Not Rooms
This is the mindset shift that changes everything for studio living. You don’t have rooms — you have zones. And zones can be created with furniture arrangement, lighting, level changes, and visual cues.
The typical zones for a studio:
- Sleeping zone (bed area)
- Living/lounging zone (sofa, TV or reading area)
- Work zone (desk or table)
- Dining zone (even a small one counts)
- Entry zone (even just a coat hook and a mat)
In a narrow apartment, you want these zones to flow linearly — like chapters in a book, not overlapping circles. Try this arrangement: Entry → Work/Dining → Living → Sleeping. Each zone transitions into the next without cramming.
Check out some of these 6 smart studio apartment space hacks for perfect furniture placement that go deeper into zone-based furniture thinking.
5. Go Vertical — Especially in Narrow Spaces
When floor space is limited, the only direction left is up. And in a narrow apartment, vertical storage and décor is an absolute game-changer.
I’m talking about:
- Tall bookshelves instead of low, wide ones
- Wall-mounted shelving that goes all the way to the ceiling
- Hanging pot racks in the kitchen
- Over-door organizers
- Tall floor lamps instead of tabletop ones (they draw the eye up without taking floor real estate)
The psychological effect of vertical elements is that they make ceilings feel higher and rooms feel less boxy. In a narrow apartment, they also pull attention upward rather than letting it run down the tunnel.
One thing I tried that worked brilliantly: a floor-to-ceiling bookshelf on one of the long walls. It didn’t just give me storage — it became a visual anchor that made the room feel taller and wider at the same time.
6. Don’t Skip the Dining Zone — Just Shrink It
A lot of people in small studios give up on having a dining area entirely. They eat on the couch or at the coffee table and tell themselves it’s fine.
It’s not fine. (At least, it wasn’t for me.)
Having a proper dining spot — even a tiny one — changes how you feel about your apartment. It adds a sense of structure and normalcy.
You don’t need a full dining table. Consider:
- A fold-down wall-mounted table (Ikea’s NORBO is a classic option)
- A bar-height table with two stools that tucks under a counter
- A round bistro table with folding chairs stored nearby
- A kitchen island on wheels that doubles as a dining table
In a narrow apartment, bar tables actually work better than standard dining tables because they don’t need chairs to be pulled out far — people sit on stools that tuck in neatly underneath.
7. Mirrors Are Not Optional — They’re Infrastructure
I know, I know. Everyone says “use mirrors to make a space look bigger.” But most people do it wrong. They hang one small mirror somewhere random and call it a day.
Here’s how to actually use mirrors in a narrow studio:
Lean a large mirror on the floor. A floor-length mirror leaning against the narrow end wall reflects the entire depth of the apartment. It’s like adding another visual room.
Put a mirror opposite a window. This doubles the natural light and makes the whole space feel brighter and wider.
Use mirrored furniture sparingly. One mirrored surface (like a bedside table or a console) adds light without making things look like a funhouse.
The goal is to reflect space and light — not just put a mirror somewhere because you feel like you should.
8. Use a Bookshelf or Open Shelving Unit as a Room Divider
This one blew my mind when I first tried it. In a narrow apartment, you can use a open bookshelf — like the classic Ikea KALLAX — as a partial wall between your sleeping zone and living zone.
Here’s why it works:
- It divides space without blocking light (open shelving lets light pass through)
- It gives you double-sided storage (both sides are accessible)
- It creates visual separation without making the apartment feel smaller
- It’s not a permanent change — no landlord permission needed
Place it perpendicular to the long wall, about two-thirds of the way down the apartment. Suddenly you have a sleeping “room” and a living “room” — no construction required.
This pairs really well with other clever studio apartment hacks for separating rooms without losing style.
9. Light Each Zone Separately
Most studios come with one overhead light, usually in the dead center of the ceiling. This is fine for lighting the room. It’s terrible for making the room feel like anything other than a waiting area.
The trick is to layer lighting and assign each zone its own light source.
Here’s what that looks like in practice:
- Living zone: Floor lamp beside the sofa or armchair
- Sleeping zone: Bedside wall sconce or clamp lamp (saves nightstand space)
- Work zone: Desk lamp with adjustable brightness
- Dining zone: A pendant light above the table (even a plug-in pendant works great)
- Entry: A small wall light or even a plug-in sconce
When you turn on just the living room floor lamp and the dining pendant in the evening, the rest of the apartment naturally dims and recedes. It feels like you’re in a much larger space — like only the part of the home you’re using is “on.”
I added a smart plug to my floor lamp and connected it to an Alexa routine. Now when I say “good evening,” the living zone lights up and the overhead turns off automatically. Small thing, massive vibe difference.
Common Mistakes I See All the Time (And Made Myself)
Let me save you some pain:
Buying a sofa that’s too big. I had a 3-seater in a 380 sq ft apartment. It ate the entire living zone. Swap for a loveseat or a compact 2-seater — you’ll almost never need three seats anyway.
Choosing dark paint on the long walls. Dark colors look incredible in wide rooms. In narrow rooms, they make the walls close in on you. Keep long walls light; save dark or bold colors for the short end walls.
Ignoring the entry zone. No mat, no hooks, no shelf — just shoes scattered by the door. Adding a small entryway setup (coat hook + narrow bench or shelf) immediately makes the whole apartment feel more organized.
Over-decorating. Every surface full of stuff, every shelf packed. In a small space, visual clutter is exhausting. Edit ruthlessly. Less on display = more breathing room.
Hanging art too high. This one is weirdly common. Standard hanging height is eye level (about 57 inches from the floor to the center of the piece). Too high and it disconnects from the furniture below.
For more ideas on avoiding these kinds of layout pitfalls, this deep dive into 10 tips for improving the flow of a studio apartment layout is worth a read.
A Quick Visual Summary
| Layout Tip | What It Solves | Effort Level |
|---|---|---|
| Float furniture from walls | Dead center zone, tunnel feel | Low |
| Use rugs per zone | No visual separation | Low |
| Focal point on short wall | Narrow tunnel effect | Low |
| Zone-based layout | Everything bleeding together | Medium |
| Go vertical with storage | Floor space overload | Medium |
| Compact dining setup | Losing functional dining | Low–Medium |
| Strategic mirror placement | Dim, cramped feeling | Low |
| Bookshelf as divider | No bedroom separation | Medium |
| Layered zone lighting | Flat, institutional feel | Medium |
Final Thoughts
Living in a small, narrow studio doesn’t have to mean accepting that your home feels like a hallway with a bed in it. The layout decisions you make — even small ones, like which wall gets your mirror or where your rug starts — add up to a completely different experience of the same space.
You don’t need to renovate. You don’t need to spend a lot. You mostly need to stop thinking about your studio as a “small apartment” and start thinking of it as a space with specific constraints that have specific, creative solutions.
Start with one tip. Just one. Move a rug, float your sofa, add a lamp. See how it changes things. Then try another.