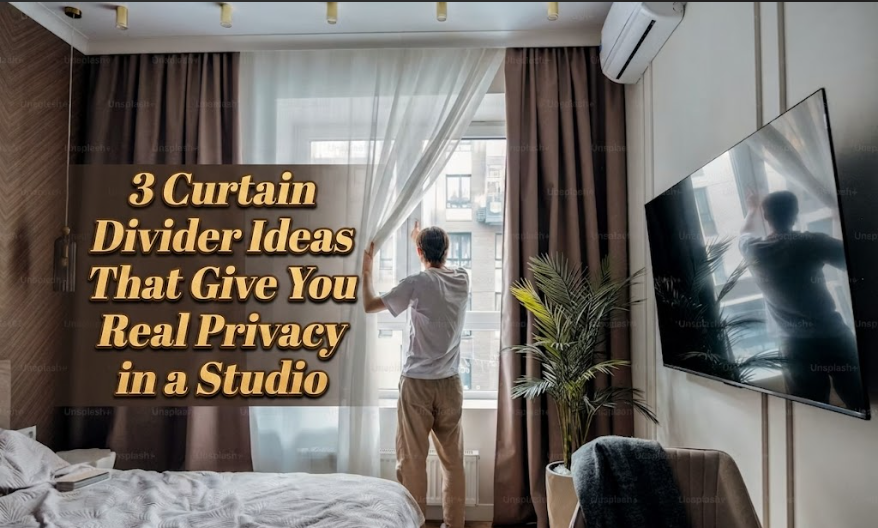
A client called me last fall asking if she could just hang curtains from the ceiling to cut her studio in half. She’d seen it done on Instagram, had a rough idea of how it might work, and needed someone to either confirm or redirect her.
My answer was yes. But the way you do it matters more than the curtains themselves.
Most people approach curtain dividers as a decoration problem. They focus on fabric, pattern, color. Those things matter, but they’re the last consideration, not the first. The actual question is where the curtain hangs from, and how that single choice affects the light and spatial logic of the entire room. Get the hardware and placement right, and a curtain divider does something genuinely impressive in a studio. It creates visual separation, softens sound to a useful degree, and gives the sleep zone something no piece of furniture can offer: a door-like sense of enclosure. Get it wrong and you’ve spent a few hundred dollars on fabric that makes the room feel smaller, darker, and oddly cut off.
These three approaches actually work. Each has a specific context where it fits best, and knowing which one applies to your situation is more useful than seeing a list of pretty examples with no practical guidance attached.
1. The Ceiling-Mounted Track System
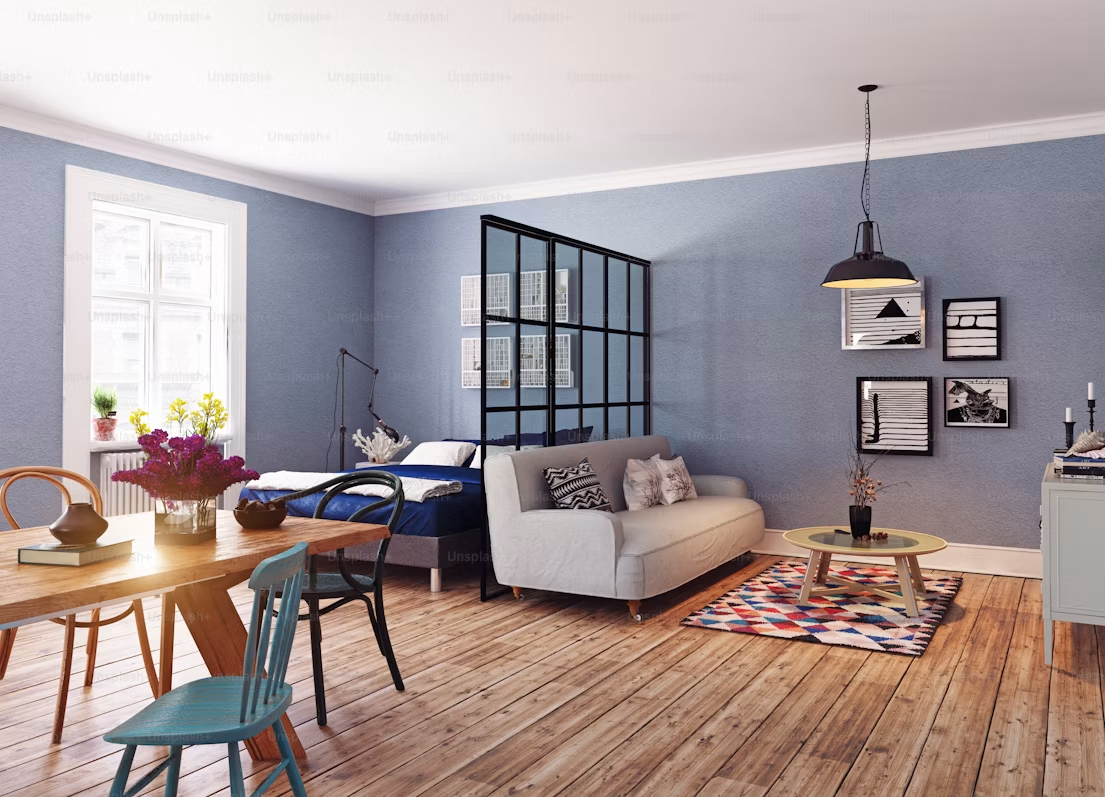
This is the most committed of the three options, and consistently the most effective. A ceiling-mounted curtain track runs along the ceiling in a straight line, an L-shape, or even a full U-shape around a sleep zone, giving you a curtain that hangs from directly overhead. When drawn closed, it creates something close to an actual room. When pulled back against the wall, it practically disappears.
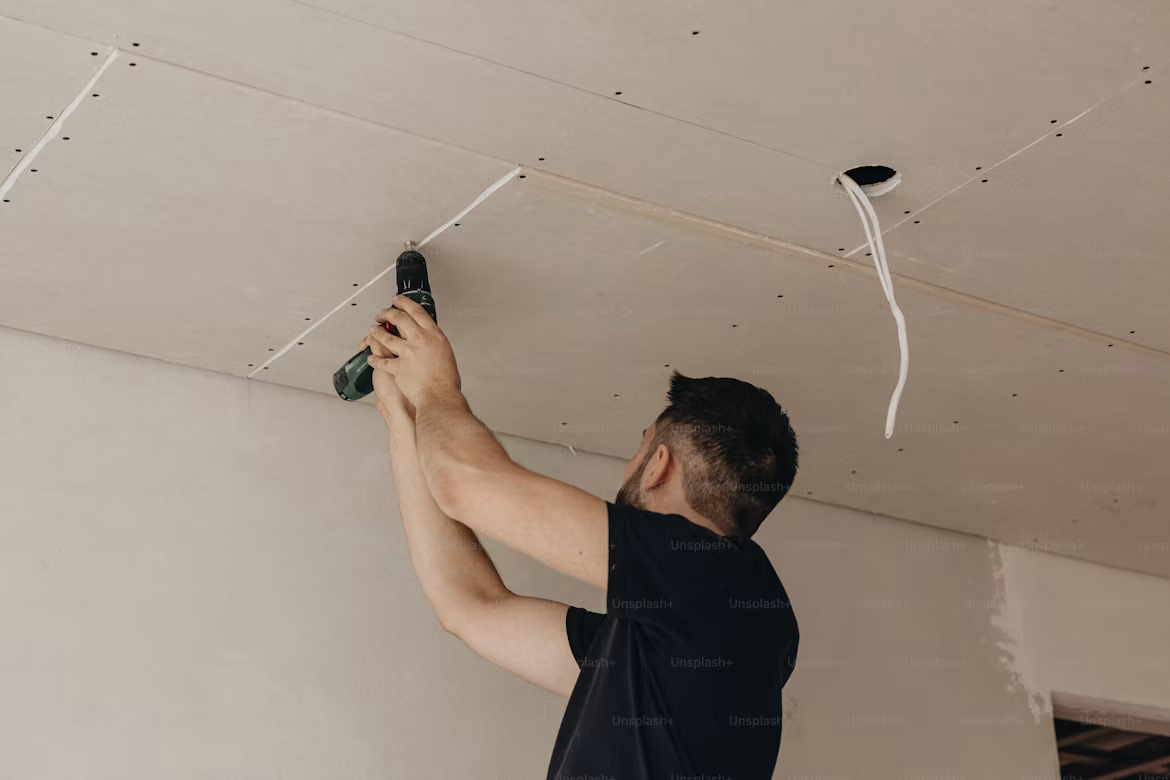
The track itself is almost always aluminum or steel. There are two main types: a recessed track built into the ceiling drywall, which is more common in renovated spaces, and a surface-mounted track that attaches directly to the ceiling with hardware. For most studio renters, surface-mounted is the only real option. It requires drilling into the ceiling, so you’ll need landlord permission first, and you need to know what’s above you before you commit to any holes.
I’ve installed this system in a number of client studios, and the results are consistently the most satisfying outcome I’ve seen from a curtain divider. The floor-to-ceiling length is what makes it work. A panel that runs from ceiling to floor reads as an architectural element, not a curtain hung for privacy. It looks like a deliberate design decision, because it is one. If you’re thinking about how the broader layout needs to support something like this, the Studio Apartment Setup piece on four layout principles every interior designer uses first gives useful context for thinking through zone placement before you start drilling.
Where this falls down: anything less than floor-to-ceiling length undercuts the effect completely. A panel that stops a foot above the floor, or drops from a track positioned three feet below the ceiling, looks unfinished. And fabric weight matters more than most people realize. Thin fabric on a ceiling track moves with every draft from a window or the AC unit, which is distracting in a way that compounds over time. You want something with enough body to hang still, something in the 250 GSM range or heavier.
2. The Tension Rod Approach
Tension rods are the renter’s solution. No drilling, no ceiling modifications, no landlord conversation required. You wedge a rod between two surfaces and hang fabric from it, and when you move out, you take the whole system with you.
The limitation is structural. You can only place a tension rod where two opposing surfaces are the right distance apart to hold it under tension. In a studio, this usually means a doorway-width alcove, a nook, or a corridor created by furniture you’ve already placed. What it doesn’t mean is a wide-open span in the middle of the room. A tension rod stretched across ten feet of open space will bow, slip, and eventually drop at 2am. I speak from personal experience on that particular detail, more than I’d like to.
Used in the right context, the tension rod approach is genuinely useful, and it’s underestimated. A sleep alcove created by a freestanding wardrobe on one side and a tall bookshelf on the other, with a gap of around four to five feet between them, is a near-perfect candidate. Install a tension rod in that gap, hang a floor-length panel on it, and you’ve created a defined sleep boundary without a single hole in the wall. Understanding how furniture placement creates these natural anchoring points is something the Studio Apartment Setup piece on room divider ideas that don’t block natural light covers well, and it’s worth reading before you arrange anything permanently.
Fabric choice here carries most of the responsibility. Lightweight linens look soft and considered but offer almost no real visual privacy. If the point is to actually block sightlines when the curtain is drawn, you need a medium-weight fabric with enough opacity to do that. Anything under 200 GSM is probably too thin for the job. The curtain can still be beautiful. It just has to be functional too.
3. The Double-Layer Sleep Boundary
This one is less about the hardware and more about the logic of the curtain.
Most people who use curtains as studio dividers install a single panel. Sheer to keep it light, or blackout to get real privacy. Rarely both. The double-layer approach uses two separate panels on a double-track system: a sheer layer for daytime use when you want the zone defined without the room feeling split in two, and a blackout layer for when you’re actually sleeping or need the area to feel fully enclosed.
It’s the same principle as a standard window treatment, just oriented horizontally across a room instead of vertically over glass. And it works well for the same reasons. The sheer gives you zone definition during waking hours without physically cutting the studio in half. You can see through to the bed, but the soft opacity signals clearly that this area operates differently from the rest of the space. Then at night, the blackout layer pulls across and the sleep zone becomes genuinely dark, sound-softened in the way fabric-enclosed spaces are, and psychologically separate from whatever is happening ten feet away.
For anyone managing a work-from-home situation in a studio, this double-layer system handles the work-sleep boundary problem more effectively than almost anything else I’ve recommended. The Studio Apartment Setup guide on separating your work and sleep zones addresses this specific challenge in detail, and it pairs well with the physical solution this curtain system provides.
One constraint worth stating clearly: the double-layer only works from a ceiling-mounted double track. Tension rods cannot reliably support two layers without collapsing. So this approach is only viable if you’ve already committed to hardware on the ceiling.
The Honest Comparison
| Approach | Privacy Level | Renter-Friendly | Light Control | Approximate Cost |
|---|---|---|---|---|
| Ceiling-mounted track, single panel | High | Partial (ceiling holes required) | Medium | $150 to $400 |
| Tension rod, single panel | Medium | Yes, no drilling | Low to Medium | $40 to $120 |
| Ceiling-mounted double track, two layers | Highest | Partial (ceiling holes required) | Excellent | $250 to $600 |
These ranges assume you’re sourcing the track and fabric separately, which is almost always the better approach. Curtain divider kits sold as complete solutions tend to be the wrong dimensions, and the included fabric is rarely worth keeping. Put more of the budget into the hardware and source the fabric independently.
Where People Get This Wrong
The single most common mistake is hanging the curtain too short.
I see it constantly. Someone sources a good track, installs it carefully, and then the panel ends eight inches above the floor because the fabric wasn’t cut or ordered at full length. The effect is completely lost. A curtain divider that doesn’t reach the floor reads as unfinished, like you ran out of material. The gap at the bottom also breaks any sound-softening effect you were hoping for, because sound travels low.
The second mistake is choosing a rod or track that’s too narrow for the span. Beyond about five feet, a tension rod will sag noticeably, and a curtain rod without midpoint support will do the same. For spans wider than that, a ceiling track with a bracket at the midpoint is the right structure. The physics on this aren’t negotiable.
And the third, which is more of a visual design error than a technical one: choosing fabric that creates a stark visual collision with the rest of the room. A heavy charcoal velvet curtain in a studio with light oak floors, white walls, and warm linen furniture doesn’t land as a dramatic statement. It reads as a mistake. The curtain doesn’t need to match everything in the room. But it should belong to the same tonal family. Warm neutrals, muted linens, and washed natural fabrics integrate. A high-contrast statement fabric stops the eye in a way that, in a small space, is disruptive rather than interesting. If you’ve been feeling like your studio just doesn’t read as a cohesive space no matter what you try, the Studio Apartment Setup article on why your studio feels chaotic and the one fix that changes it is worth reading alongside this, because visual friction from a curtain choice often compounds a problem that was already there.
Frequently Asked Questions
Will a curtain divider actually reduce sound between the sleep zone and the rest of the studio?
Somewhat. A medium-weight panel with some body to it will take the edge off ambient noise, but it won’t deliver real acoustic separation. If sound control is the main concern, you want multiple fabric layers, and ideally a lined or interlining panel. Sheers contribute almost nothing acoustically and shouldn’t be expected to.
My studio has concrete ceilings. Can I still use a ceiling-mounted track?
Yes, but it requires masonry anchors and the right drill bit for concrete. Most landlords won’t allow this without written permission, so sort that out first. A few ceiling track systems offer strong-adhesive mounting options, though the weight capacity is limited and they’re not suitable for heavier fabric or long spans.
Does the curtain need to span the full width of the room?
Not necessarily. If your sleep area sits in a corner or is partially defined by furniture on two sides, a curtain covering the remaining open side may be all that’s needed. The goal is sightline control, not structural enclosure. Work with the furniture layout you already have and use the curtain to fill in the gap.
Should I use a sheer or a blackout panel for a curtain divider?
That depends on the primary goal. A sheer defines the zone during the day without making the room feel smaller, but gives no real privacy. A blackout gives actual visual separation and darkness, but makes the studio feel more divided at all times. The double-layer system solves both, but it requires ceiling hardware and a larger budget.
My landlord won’t allow ceiling drilling. What actually works?
Tension rods in alcoves or between furniture spaced four to five feet apart work well. Alternatively, freestanding curtain partition frames, essentially a floor-standing frame with legs that holds a panel, require no hardware at all. They’re bulkier than a mounted track and less visually seamless, but they’re fully functional and genuinely renter-safe.
A curtain divider works best when it’s solving a specific problem rather than a general feeling that the room needs dividing. Know what you’re actually trying to achieve, whether that’s visual separation during the day, blackout conditions for sleeping, sound softening, or some combination of all three, and let that drive the system choice. The fabric comes last. It’s the hardware, the height, and the placement that determine whether the result looks like an intentional design choice or an afterthought.