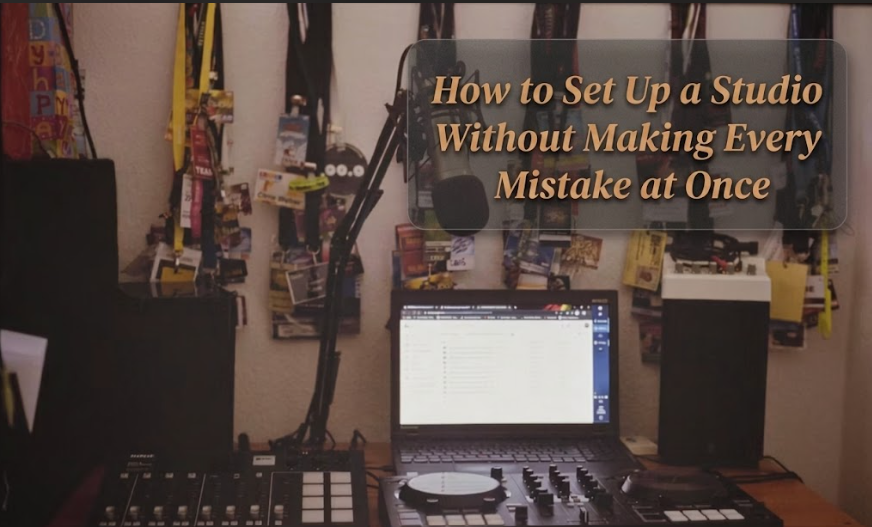
The first studio I ever helped set up as an actual designer rather than a design student was about 380 square feet in midtown Toronto. My client had already moved in three weeks earlier. I walked in expecting to refine things. Instead I found a mattress propped against the wall, a pile of boxes serving as a side table, and one of the most beautiful sofas I had ever seen sitting in the dead center of the room pointing at nothing.
She wasn’t disorganized. She was stuck. She had started with the piece she loved most, placed it where it seemed to fit, and then couldn’t figure out why nothing else was working around it. I had seen it before, but I had also done a version of it myself once, in my first solo apartment out of school, and it took me two months to understand why the space felt off.
The mistake isn’t the sofa. The mistake is the order.
Studio setup fails almost never happen because someone chose the wrong piece of furniture. They happen because a series of smaller decisions got made in the wrong sequence, and then every decision after that spent its energy compensating for the earlier ones. That’s what this is about.
1. Measure First, Feel Later
The instinct is to walk into a new space and feel it. To stand in the middle of the room and imagine where things will go. And I understand that instinct, it’s where all design starts, but it’s a terrible place to stop.
Before you buy anything or move anything in, you need hard information. Measure every wall, not just the long ones. Note where the outlets are and how many there are per wall. Clock which direction the morning light comes from and where it shifts by three in the afternoon. Find out whether the bathroom door swings into the room or into the bathroom, because a door swinging the wrong way can eat a square foot you were already counting on.
Write this down. Take a photo of each wall. It sounds tedious because it is, and skipping it costs you in ways that only show up months later when you can’t figure out why the corner near the window never works.
If you’re starting from nothing, the guide at Studio Apartment Setup on where to begin when you have nothing is one of the most grounded starting-point resources I’ve come across. It doesn’t try to inspire you. It just gets you oriented.
Measurement is not the fun part. It’s the part that makes every other part easier.
2. Zone First, Furniture Second
This is the step that most people skip entirely.
Zones in a studio are not created by furniture, they’re decided before furniture. The furniture is just what makes the decision visible. If you put the sofa down and then decide that’s your living zone, you’ve let a single purchase make a structural decision for you. Sometimes that works out. Often it doesn’t.
Decide on paper where your zones will live: sleeping, living, working (if you work from home), and eating if that’s a genuine daily activity in your space. Give each zone a rough square footage budget based on what you actually need to do there. A sleeping zone needs enough room for the bed plus at minimum 24 inches of clearance on at least two sides. A working zone needs a chair that can pull out, a surface at the right height, and ideally some visual separation from the bed.
Then sketch the traffic path between your front door and your bathroom. That path should never be blocked by a piece of furniture.
I always do this on paper first, not a professional plan, just rough blocks on a grid. The furniture comes after the blocks. And the sleeping zone almost always belongs in the quietest corner of the room, away from the main entrance and away from whatever functions as your living or sitting space. When that’s possible, the apartment stops feeling like a room and starts feeling like a small home.
The breakdown on creating separate zones in a studio without walls at Studio Apartment Setup handles this in detail, and it does it better than most professional resources I’ve seen.
3. The “Good Enough” Trap Nobody Warns You About
There’s a particular phase of studio setup that I’ve watched happen to dozens of clients and, honestly, to myself more than once. You get the big pieces in. Bed is placed, sofa is positioned, maybe there’s a rug on the floor. The apartment is livable. You’ve used most of your energy and most of your initial budget and so you stop, with every intention of “finishing later.”
Later doesn’t come. Or it comes six months after, once you’ve adapted to the half-finished state and it’s now somehow harder to revisit than it was on day one.
The reason isn’t laziness. The decisions that remain, lighting, storage, the third zone, the kitchen organization, require a different kind of thinking than the big purchases. They’re smaller and more specific, and they involve a lot of standing in the space trying to answer questions you don’t quite know how to ask.
Lighting is the most common casualty of this trap, and it’s also the most consequential. A single overhead fixture, which is what almost every studio comes with, does almost nothing useful for making a space feel like a home. You need at least three light sources at different heights to create a room that reads as warm and functional rather than institutional. The piece at Studio Apartment Setup on why one overhead light ruins everything explains exactly why, and it’s one of those reads where you finish it and immediately look at your ceiling.
The practical fix for the “good enough” trap is to separate remaining tasks by category. Lighting is its own problem to solve. Storage is a separate one. Treating them independently stops the paralysis that comes from looking at everything at once.
4. The Setup Order That Actually Holds Up
After years of doing this, both on the residential side and through my segments on Cityline, here’s the sequence that actually produces a studio that works from the beginning instead of one you spend six months adjusting.
| Step | What Most People Do | What Actually Works |
|---|---|---|
| 1 | Buy the statement piece they love | Measure every wall, note outlets and light direction |
| 2 | Place furniture where it fits | Sketch zone locations on paper before anything moves in |
| 3 | Buy storage when they run out of space | Catalog what you own, then decide on storage |
| 4 | Add lighting after decor, if at all | Layer lighting before you settle furniture positions |
| 5 | Decorate to hide what isn’t working | Choose decor that earns its square footage outright |
The most counterintuitive shift in that table is lighting before decor. It seems backward, but a well-lit room with modest furniture reads as a considered space. A badly lit room with beautiful furniture still feels wrong. And you cannot reliably judge furniture placement until the room has its proper light layers, because the shadows and warmth of a space change everything about how it reads proportionally.
The second shift worth holding onto: inventory what you own before you buy storage. Open every box. Lay things out. Count how many pairs of shoes you actually have, how many books, how many kitchen items. Then buy storage based on reality rather than optimism. People consistently underestimate what they own and over-buy stylish storage that doesn’t actually solve their specific problem.
And, a thing I should probably mention, catalog the things you don’t need to keep. A studio will absorb clutter faster than any other type of home. Moving in is the cleanest moment you’ll ever have in that space. It’s worth using it.
My client with the beautiful sofa, we rearranged her apartment at the end of her second week. Moved the bed across the room, brought the sofa off-center, added two floor lamps. It worked. But it would have worked the first time if we’d started with the framework rather than the furniture. The principles that designers use in large rooms apply completely in studios, the margin for error is just much smaller, so the mistakes show up faster.
If you’re in the planning phase, the guide on the four layout principles every interior designer uses first is worth your time before you move a single thing in.
Frequently Asked Questions
What should I set up first in a studio apartment?
Measurement comes before furniture. Walk the space with a tape measure, write down every wall dimension, note outlet locations, and track where your natural light comes from at different times of day. Once you have that, sketch where your zones will live on paper. Furniture comes after the framework, not before.
I’m on a tight budget. What’s actually worth spending on first?
Bed, lighting, and one storage solution, in that order. Your sleep environment affects everything else. Lighting matters more than most people expect because a badly lit studio feels unpleasant regardless of how nice the furniture is. And storage matters because clutter in a small space creates constant low-level friction every time you walk through the door. Decor can wait.
My studio feels chaotic but I can’t figure out what’s causing it.
Three things cause this most often. Too much furniture without enough floor clearance between pieces (you need roughly 30 inches between items for a room to read as organized). Reliance on a single overhead light source. And a sleeping zone that has no visual separation from the living area at all. Floor clearance is usually the quickest fix, check that first.
Is multifunctional furniture actually worth it in a studio?
Sometimes. A storage ottoman can replace a coffee table and add real storage. A daybed pulls double duty if you have overnight guests. But be cautious about buying pieces that try to do two things equally, they often do both things less well than a piece designed for one. Murphy beds are genuinely worth it in studios where floor space is the primary constraint. Sofa beds, in my experience, are almost never as comfortable as either a proper sofa or a proper bed.
How long does setting up a studio actually take?
The functional setup, bed positioned, basic furniture in, first layer of lighting sorted, takes one to two weeks if you’re making deliberate decisions rather than reactive ones. Finishing touches and final adjustments realistically take another month. Anyone who tells you they completed a studio setup in a weekend either lives very minimally or will be rearranging things again before spring.